Your first show
From an empty room to a show that moves on the beat, in about 15 minutes. Follow the steps in order: set up the projector, let your phone measure the room, choose what to light, give each object a look, add music, save two scenes and press GO.
(the scan itself: about half a minute)
1Before you start
- Connect the projector to the laptop, ideally with an HDMI cable, and set the displays to Extend, not mirror (on Windows: Win + P ▸ Extend).
- Aim and focus it on the things you want to light: a wall with two or three boxes in front of it is perfect. Switch off the projector's auto-keystone, auto-focus and eco (dynamic) dimming in its own menu.
- Dim the room. The scan needs the projector to be the brightest thing in the room.
- Have the phone ready, charged, with something to prop it on right next to the projector's lens.
- Open prism in Chrome or Edge on the laptop.
2Make a project
- On the start page, click Scan with your phone.
- Give the project a name and press Create.
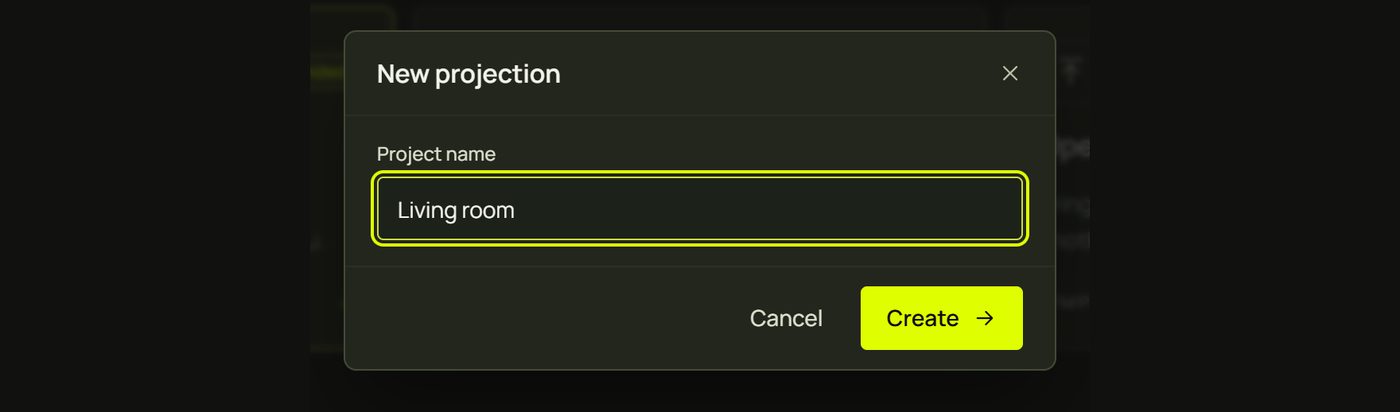
prism opens Setup at its first step, Outputs. The small bar under the top bar shows where you are: Outputs › Pair phone › Scan › Review.
3Open the projector window
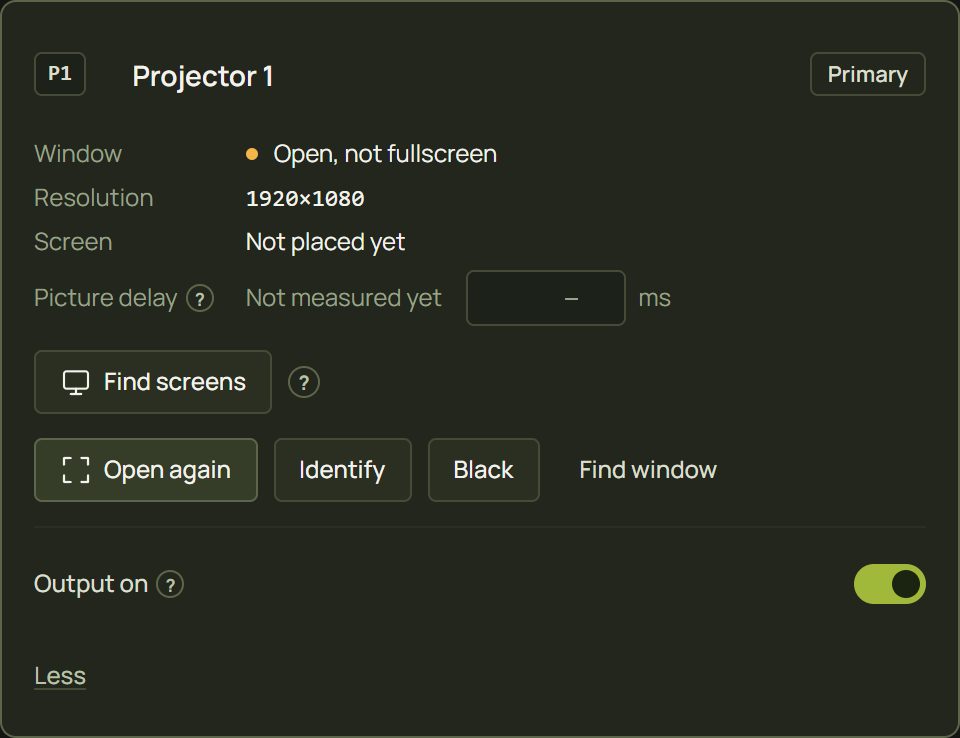
prism draws the projector's picture in a window of its own, which must fill the projector's screen.
- On the projector card, click Open window. A new window opens.
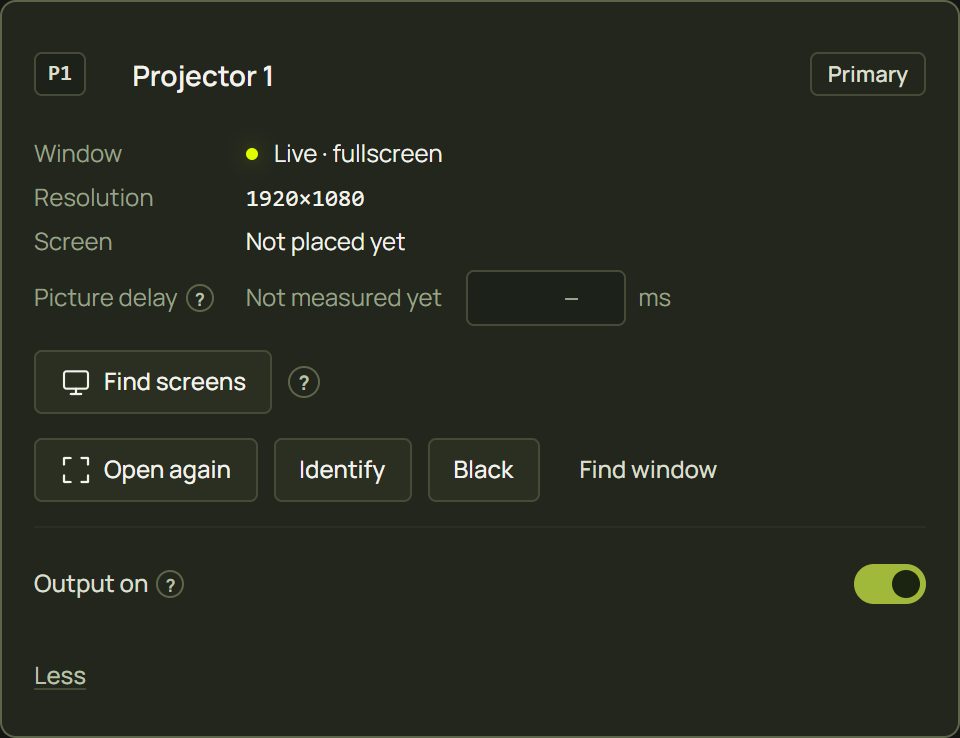
- Drag it onto the projector's screen (it's on your extended desktop), then click inside it: it goes fullscreen.
- Check the card says Live · fullscreen and the status light in the top bar says P1 ready.
- Click Identify: the projector shows a test pattern with its name and resolution. The grid should fill the whole picture, sharp and square.
- Tick the Projector checklist, then click Next: pair phone.
4Pair your phone
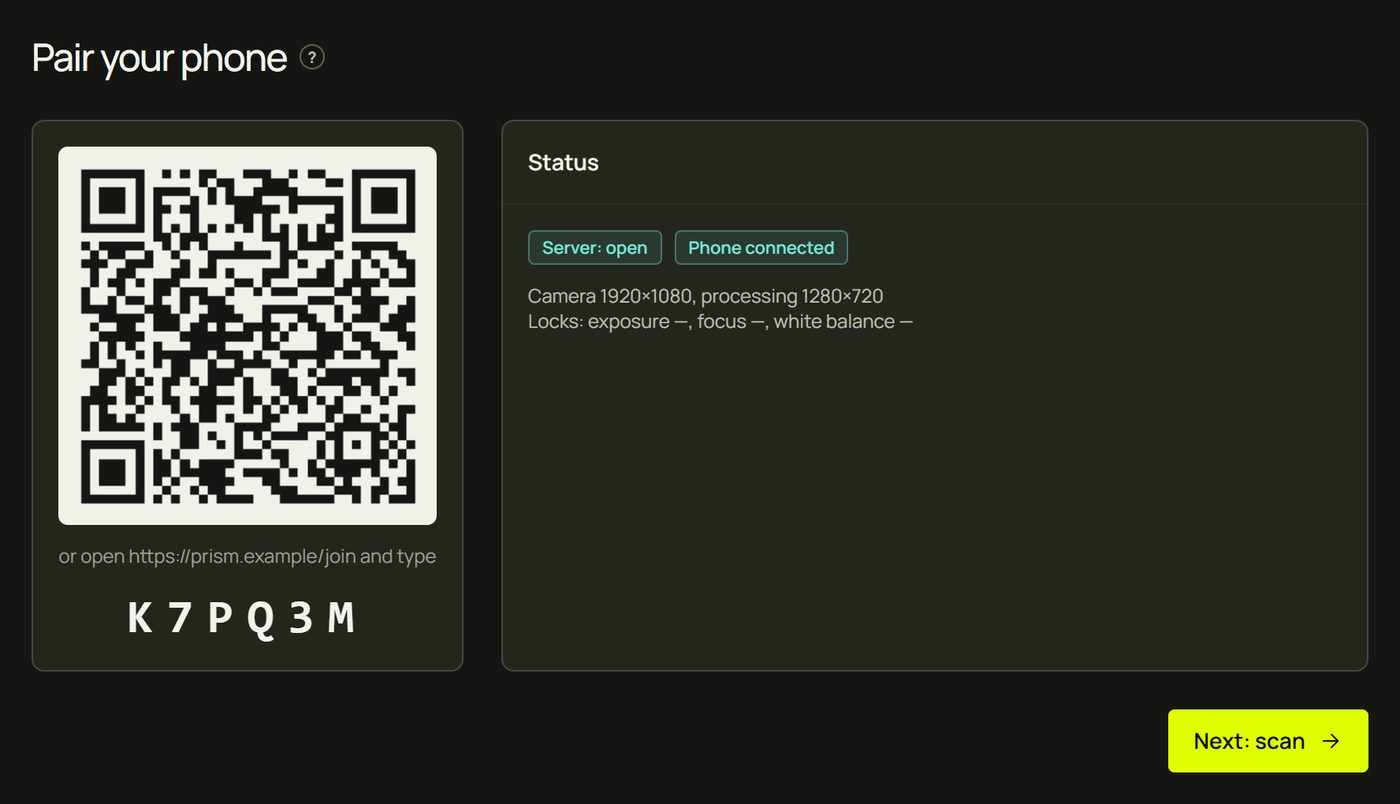
- Point the phone's camera app at the QR code on the laptop and tap the link it shows. (No QR reader? Open the address shown under the code on the phone and type the 6-character room code.)
- On the phone, tap Start camera and allow camera access.
- The laptop's Status turns to Phone connected. Click Next: scan.
5Scan
- Prop the phone right next to the projector lens, on its normal 1× camera, turned sideways, pointing at the scene. It must not move from now on.
- The projector blinks. Watch the four checks on the laptop tick: Phone connected, Projection found, Whole projection in view, Phone steady. The lime outline is the projection as the phone sees it.
- Click Start scan on the laptop, and don't touch anything. The projector flashes black, white and a series of stripes for about half a minute.
- When it's done, the laptop shows the scan's quality. Click Review surfaces.
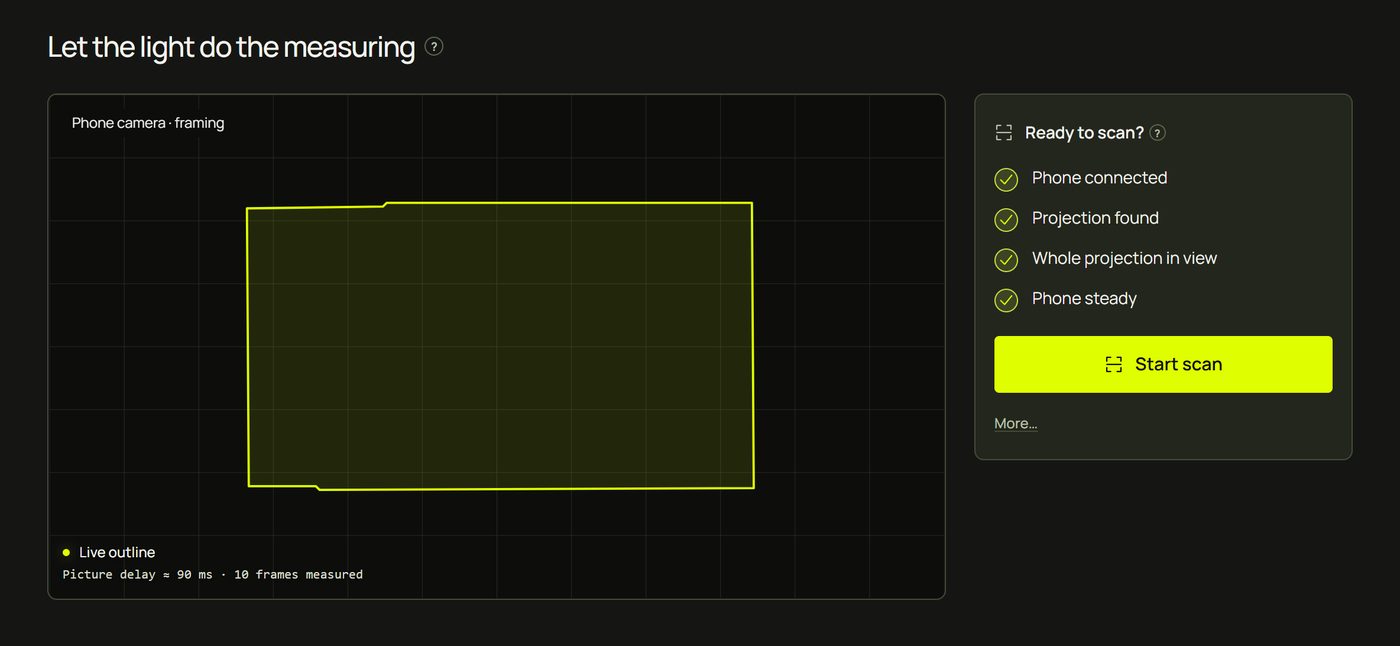
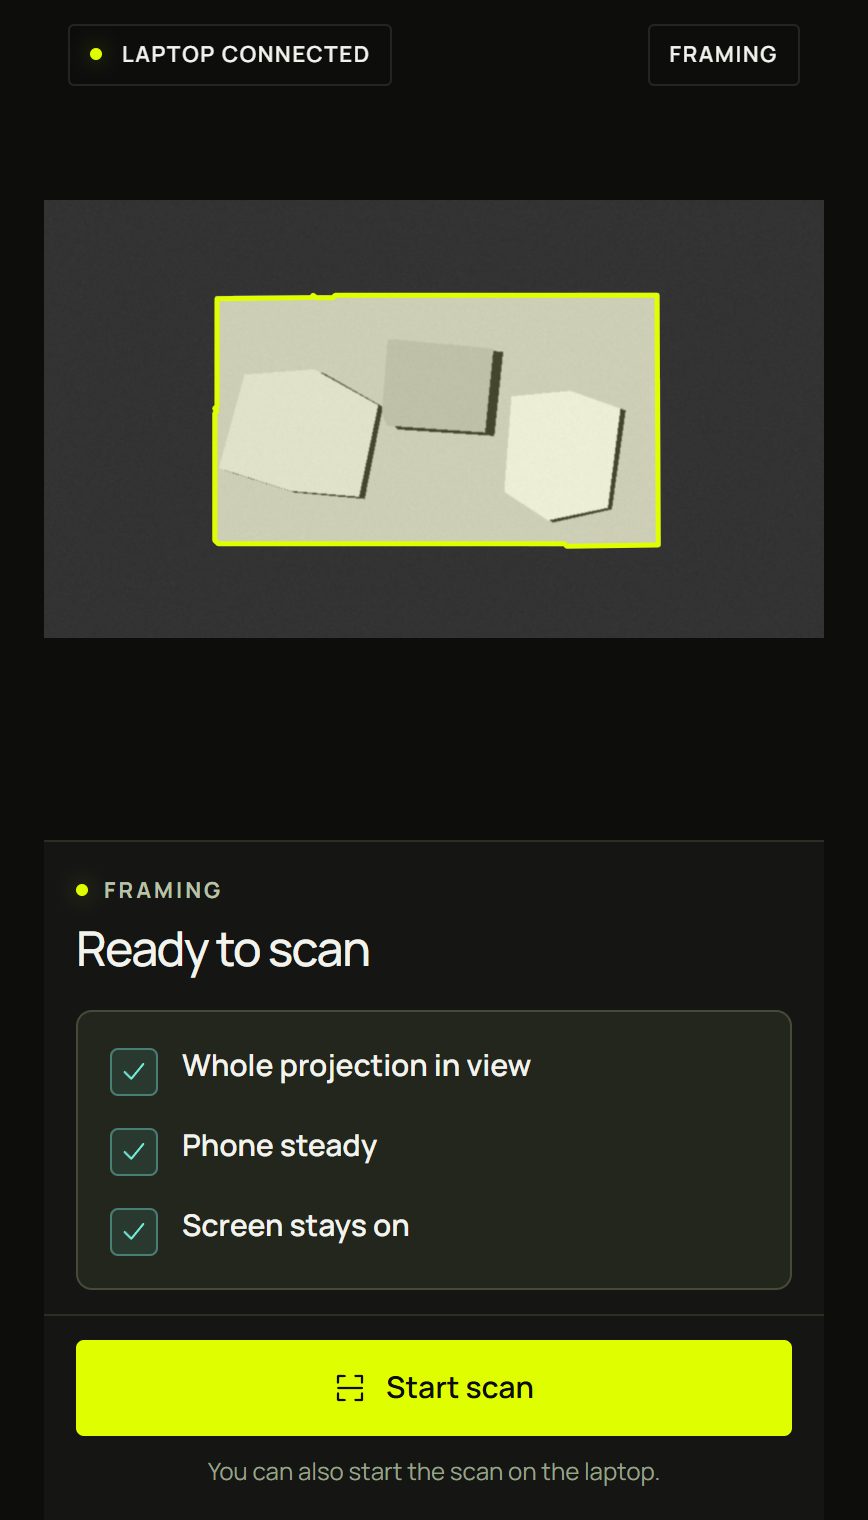
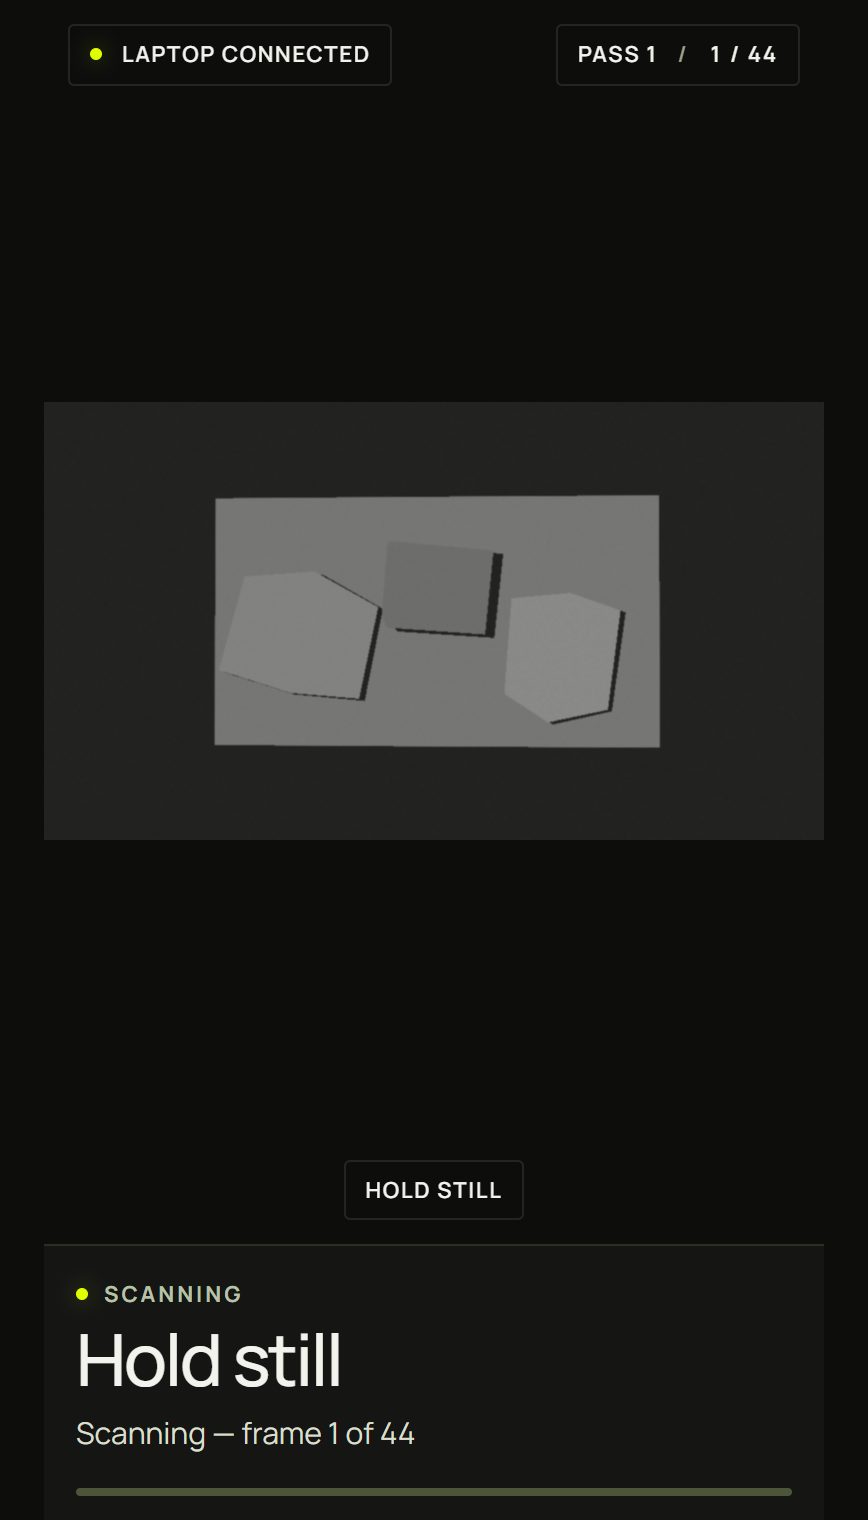
How the stripes work, how to place the phone and what to do if a scan stops: Pair your phone and scan.
6What do you want to map?
prism shows the photo the phone took and outlines the objects it found, numbered; the ones it suggests are already chosen. On the real objects, the projector draws the same outlines.
- Click an outlined object to leave it out, or click it again to take it back.
- Click anything that isn't outlined to add it: move the pointer over it first and prism shows what a click would add.
- Want the wall lit too? Switch on Also map the walls / floor as background. Off, only the objects light up.
- Click Map 4 objects (the number is how many you chose), or press Enter.
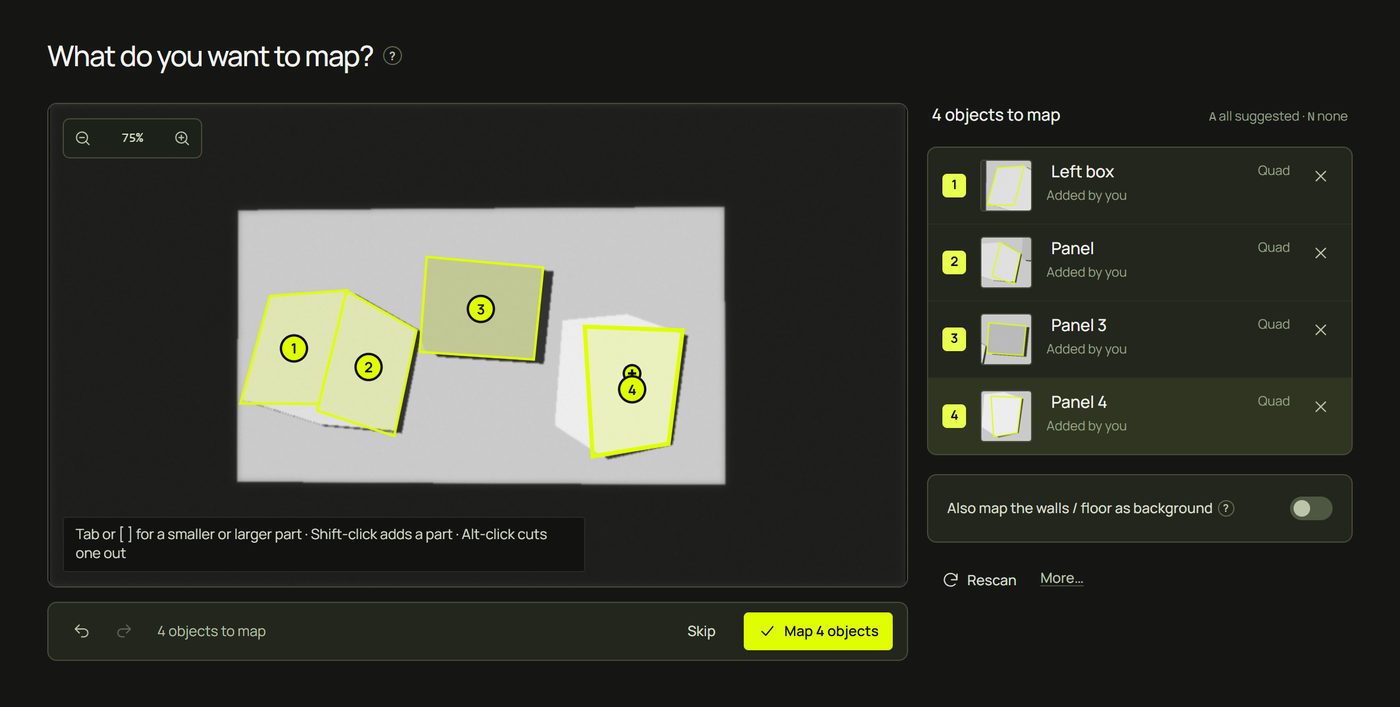
prism now opens Design. Each object is a surface with the Test Grid look, a numbered grid that shows at a glance that the light sits right on the object.
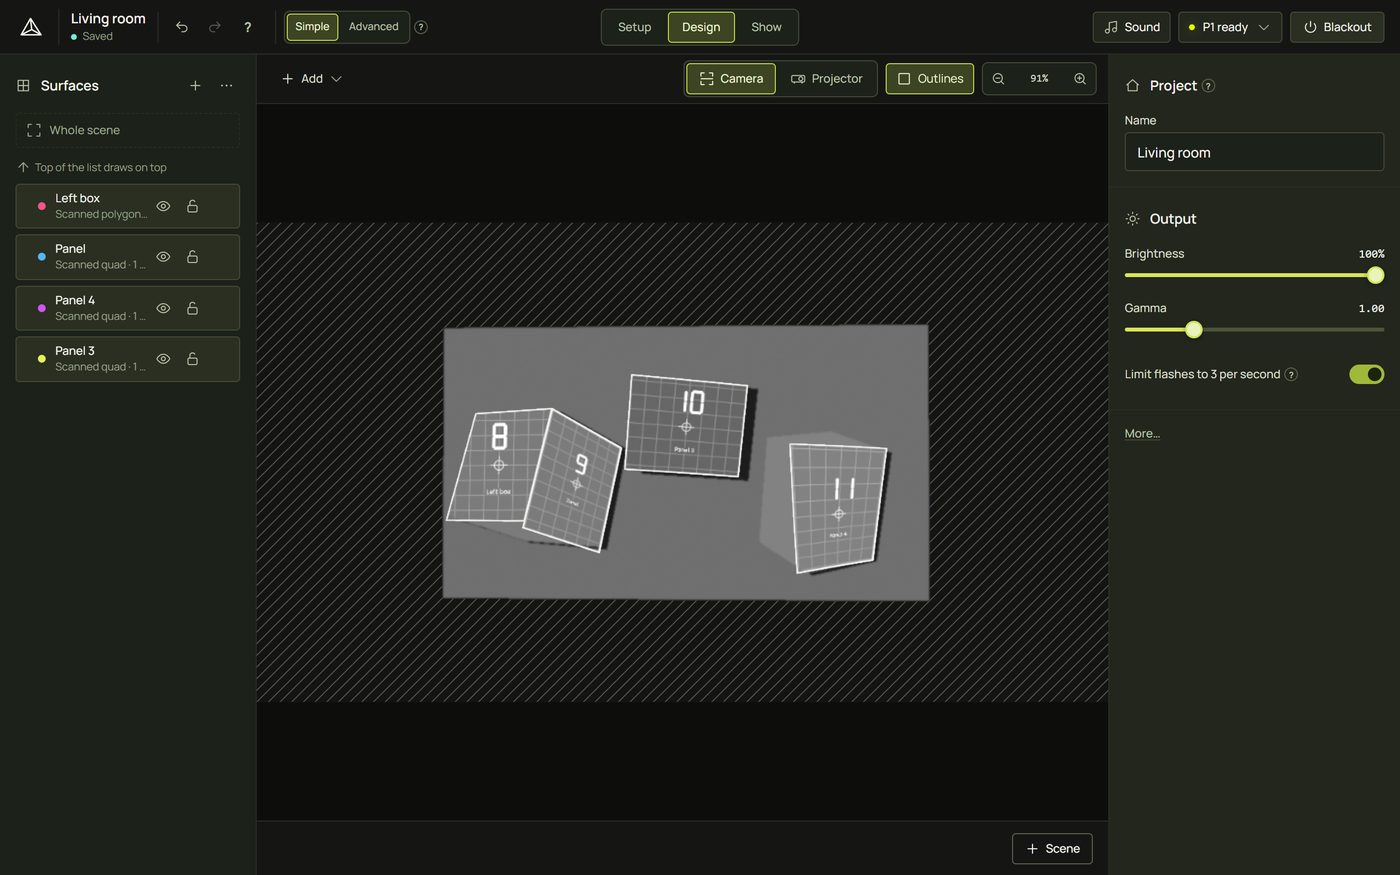
More about choosing, parts, names and choosing again later: What do you want to map?.
7A look for each object
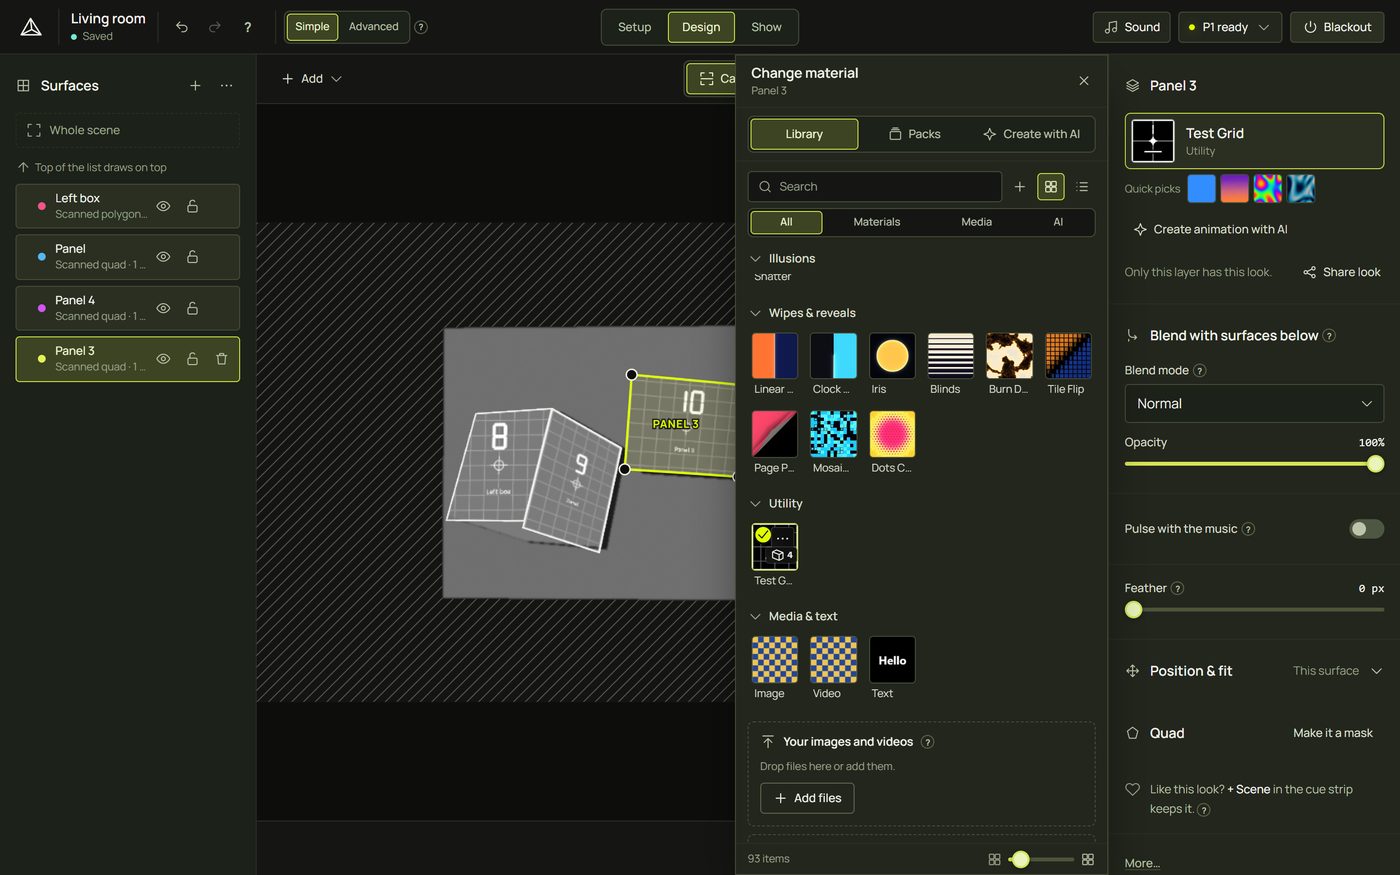
- Click an object, on the picture or in the Surfaces list.
- On the right, click its look slot (it says Test Grid). The library opens beside it.
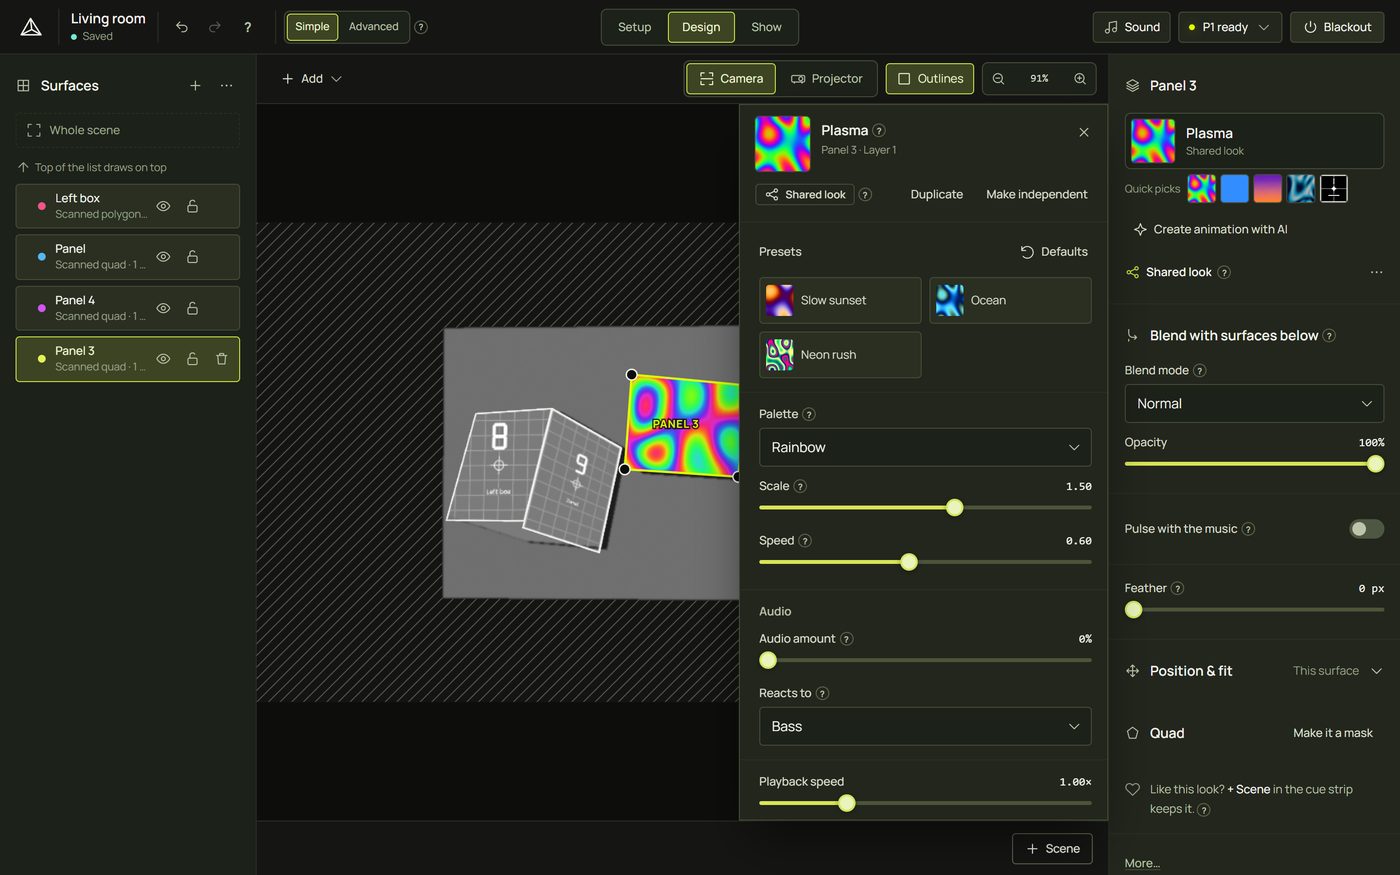
- Click a look, for example Plasma. The object changes at once, on the projector too.
- The look panel opens next to it: try a preset (Slow sunset, Ocean…) or the main settings (colours, size, speed).
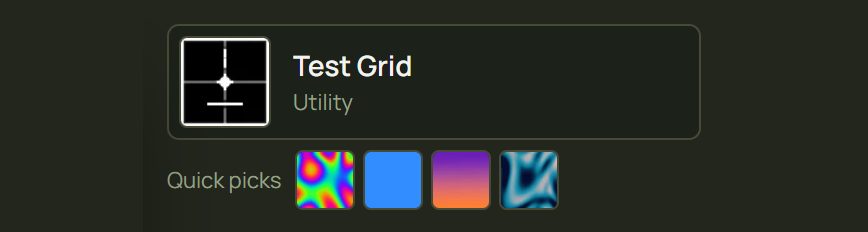
- Do the same for each object. For a quick change, the Quick picks under the slot hold looks you used recently.
8Make it move to the music
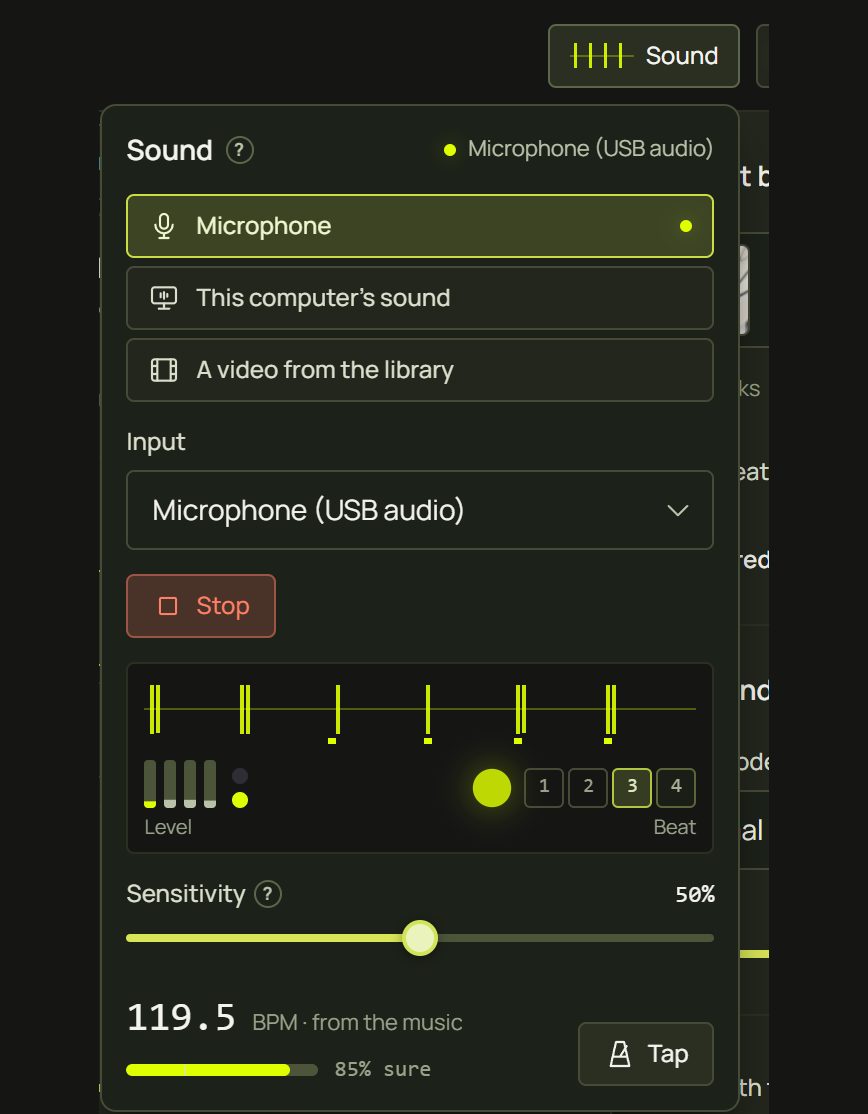
- Click Sound in the top bar. Choose Microphone and click Listen. (For This computer’s sound the button is Share and listen: share the entire screen with its audio on. A video from the library uses a video's soundtrack.)
- Play some music. The level meter and the beat lamp should move, and the tempo appears (“BPM · from the music”).
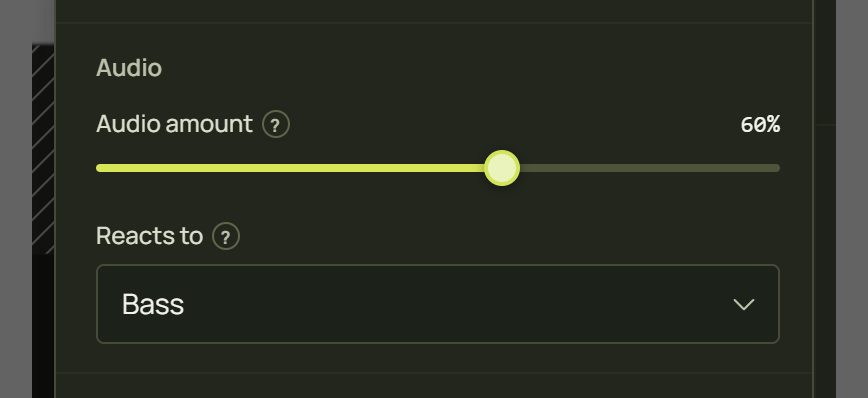
- Select an object. In its look panel, the Audio group has Audio amount: raise it, and choose what it Reacts to (bass, the kick drum, the level…).
- For any look, the look panel's Music area has Pulse with the music: the object dims in the quiet parts and lights up on the loud ones. Follow picks what it listens to and Amount sets how far. Under it, one-click reactions: Flash on the beat, Change colour with the beat and more.

9Save scenes
A scene remembers the whole look of your show: every object's look and settings. You come back to it with a smooth crossfade.
- When you like what you see, click + Scene in the strip under the picture. It becomes tile 1.
- Change things: other looks, other presets, other colours.
- Click + Scene again: tile 2.
- Click a tile to show that scene. The one showing has a lime ring; the next on GO has a dashed outline.

10Press GO
- Click GO (or press Space): the next scene in the GO order fades in. The arrows either side step back and forward.
- Double-click a tile for its options: its name, its picture, how long its crossfade takes, and what happens then: wait for GO, or go on by itself after a time or a number of beats.
Scenes, their options and cues: Scenes and cues.
11Show mode
Click Show in the top bar. Everything you need during a performance is on one screen, big enough to hit in the dark: GO with what comes next, Previous, Play and Next, the scenes, trigger pads (a new project has Tap to flash white, T; 1 next scene; 2 flash white; 3 randomize), the Sound panel, a preview and Blackout.
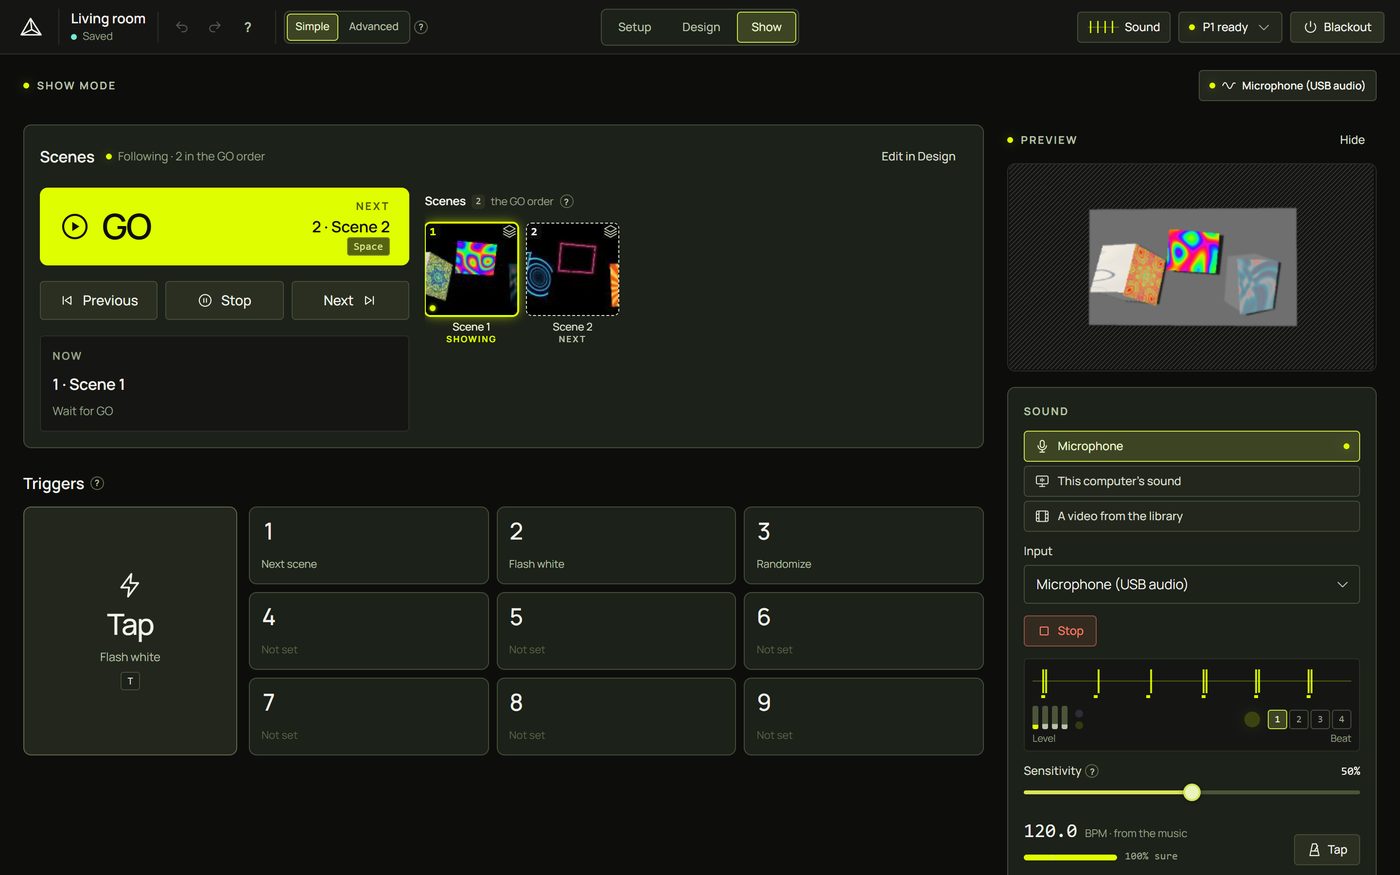
That's a show. Everything is saved as you go. More in Show mode.
Hints and tips
- Scan once, design for hours. After the scan, you can close the phone's page. Rescan only if the projector or the objects move.
- Keep the Test Grid for a minute. Its numbered grid shows on the real object whether each surface fits. If an edge spills onto the wall, Design lets you drag the surface's corners, and Feather softens its edges.
- Dark looks look great. Projected black is “no light”: looks with black backgrounds make the objects float.
- Blackout hides everything at once: handy before the show starts, and between parts. Click it again to bring the picture back.
- Flash safety is on. Every projector is limited to 3 flashes a second; see Flash safety.
- Back it up. Before a show, export the project from the start page (a
.pmprojfile).
When something looks wrong
| You see | Why | Fix |
|---|---|---|
| Next: pair phone is greyed out | No projector window is open. | Click Open window on the card first. |
| The projector says “Click to go fullscreen” | The window isn't fullscreen yet. | Move it onto the projector and click inside it (or press F in it). |
| The status light says “Phone not connected” | The phone's camera page is closed or asleep. | Open the link again (Pair phone), and keep the phone's screen on. |
| A check won't tick | The phone can't see the whole projection, or it moves. | Step back or turn the phone until the outline doesn't touch the edge; prop it firmly; dim the lights. |
| The scan stops: “Phone moved” | The phone was touched or slid. | Prop it firmly, start from the laptop, and scan again. More failures: If it fails. |
| “The scan didn't single out any objects” | Nothing stood out clearly enough. | Click the objects on the photo to add them, or rescan with the lights lower. |
| Light spills past an object's edge | The surface's outline is a little off. | In Design, drag its corners onto the real ones; raise Feather. |
| Nothing moves with the music | No sound is coming in, or the look doesn't react. | Sound ▸ Listen and watch the meter; raise Audio amount, or switch on Pulse with the music. |
| GO isn't there | There are no scenes yet. | Click + Scene first. |
| Beat effects land late on a Wi-Fi projector | The wireless link delays every picture. | Let a scan measure the delay, or type it: see the picture delay. |
Mouse and keyboard
| Action | How |
|---|---|
| GO | Space, or click GO |
| Blackout | Blackout in the top bar · B in Show mode and in the projector window |
| Projector window | F fullscreen · I identify · B blackout |
| Choosing objects | Click to add or leave out · A all suggested · N none · Enter map them · Esc skip |
| Look panel | E shows or hides it for the selected surface |
| Undo, redo | Ctrl + Z · Ctrl + Shift + Z |
| Every shortcut | ?, or Help ? ▸ Keyboard shortcuts (see Keyboard shortcuts) |
| This documentation | F1 |