The look panel
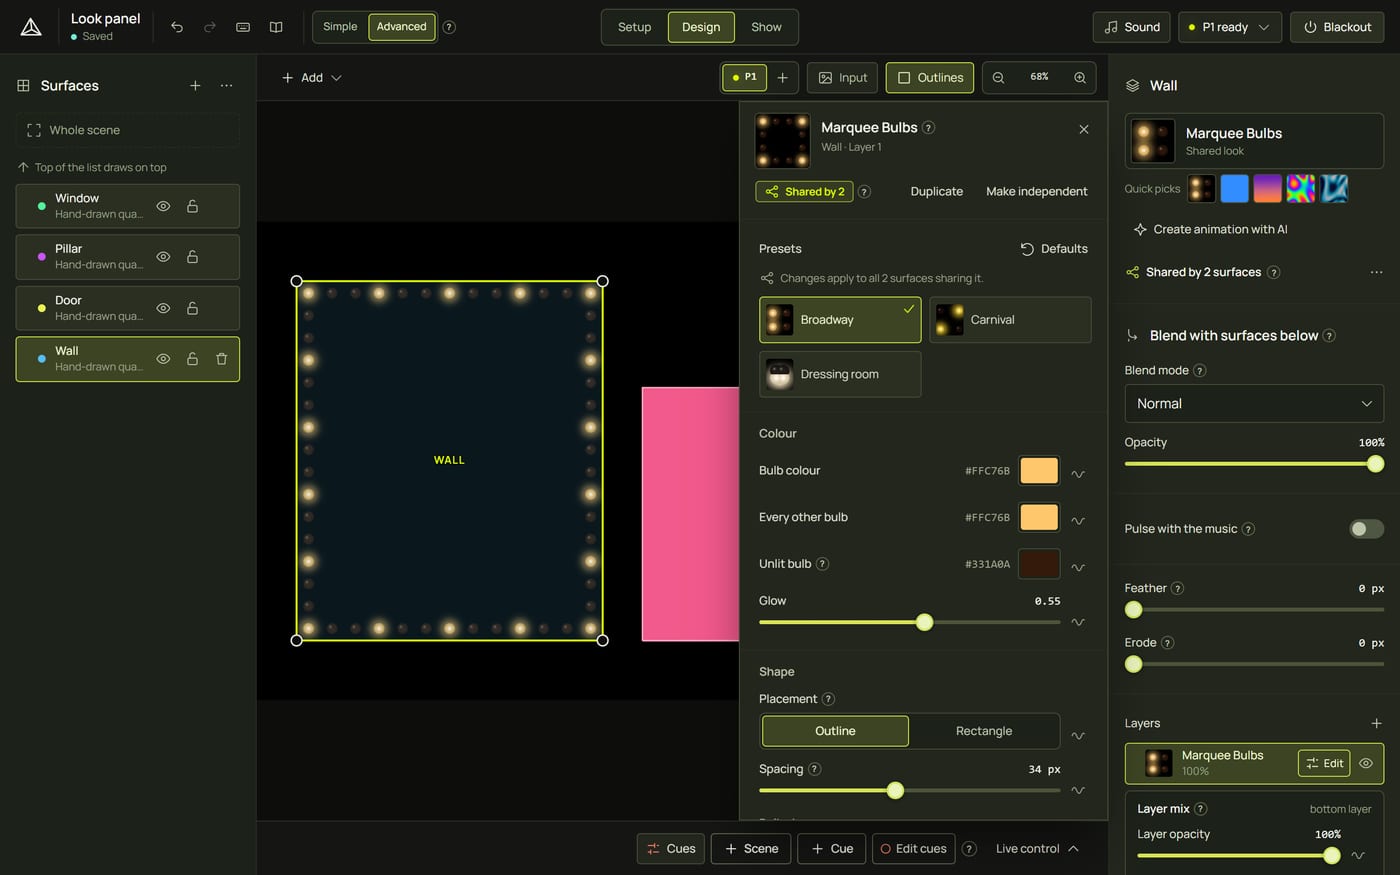
The look panel is where you change a look: pick a preset, set its colours, size and speed, make it react to the music, or put it all back with Defaults. It sits over the canvas beside the inspector and follows whichever surface you select, so you can tune a look while watching the projector.
Advanced wave buttons, live markers, Restart on cue, automation and timeline items
1Open and close it
The panel opens by itself when you pick a look in the library or from the quick picks. You can also open it any time:
- press E in Design (press it again to close);
- click Edit on a layer's row in Layers (click it again to close);
- double-click the look's slot at the top of the inspector;
- right-click a layer ▸ Edit the look.
Close it with its ✕, with E, or with Esc while you are working in it.
2The header
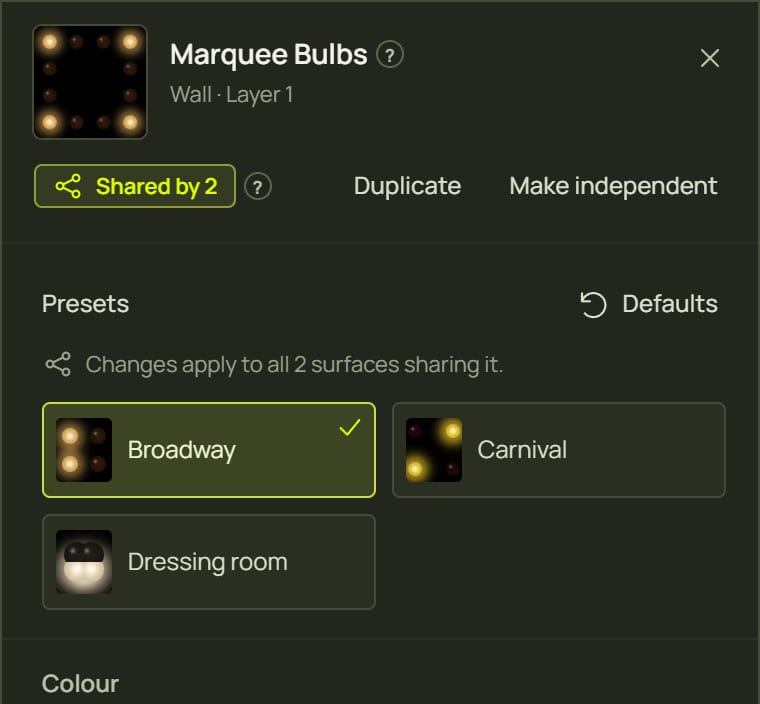
- A live preview of the look with this layer's settings. Hover it to see it move.
- The look's name with a ? that says what it does, and where it is: Wall · Layer 2 of 3.
- Shared looks show Shared by 2 and two buttons: Duplicate gives this surface its own copy to change separately; Make independent keeps the look but stops following the shared one. See One look on several surfaces.
- A locked surface says Locked: its look can't change here. Every setting still shows, but nothing moves.
3Presets and Defaults
- Under the header, Presets shows the look's presets as small pictures (most looks have three). Click one to use its settings. The preset your layer matches has a tick.
- Adjust anything from there: a preset is just a starting point.
- Click Defaults to put every setting back to the look's own values.
- Presets and Defaults never touch your picture, your video or your text.
- Defaults leaves Playback speed and Restart on cue as they are.
- Each click is one undo step, such as Apply Carnival to Marquee Bulbs (2 surfaces).
- On a shared look, a line under the presets says Changes apply to all 2 surfaces sharing it.
4Settings, groups and units
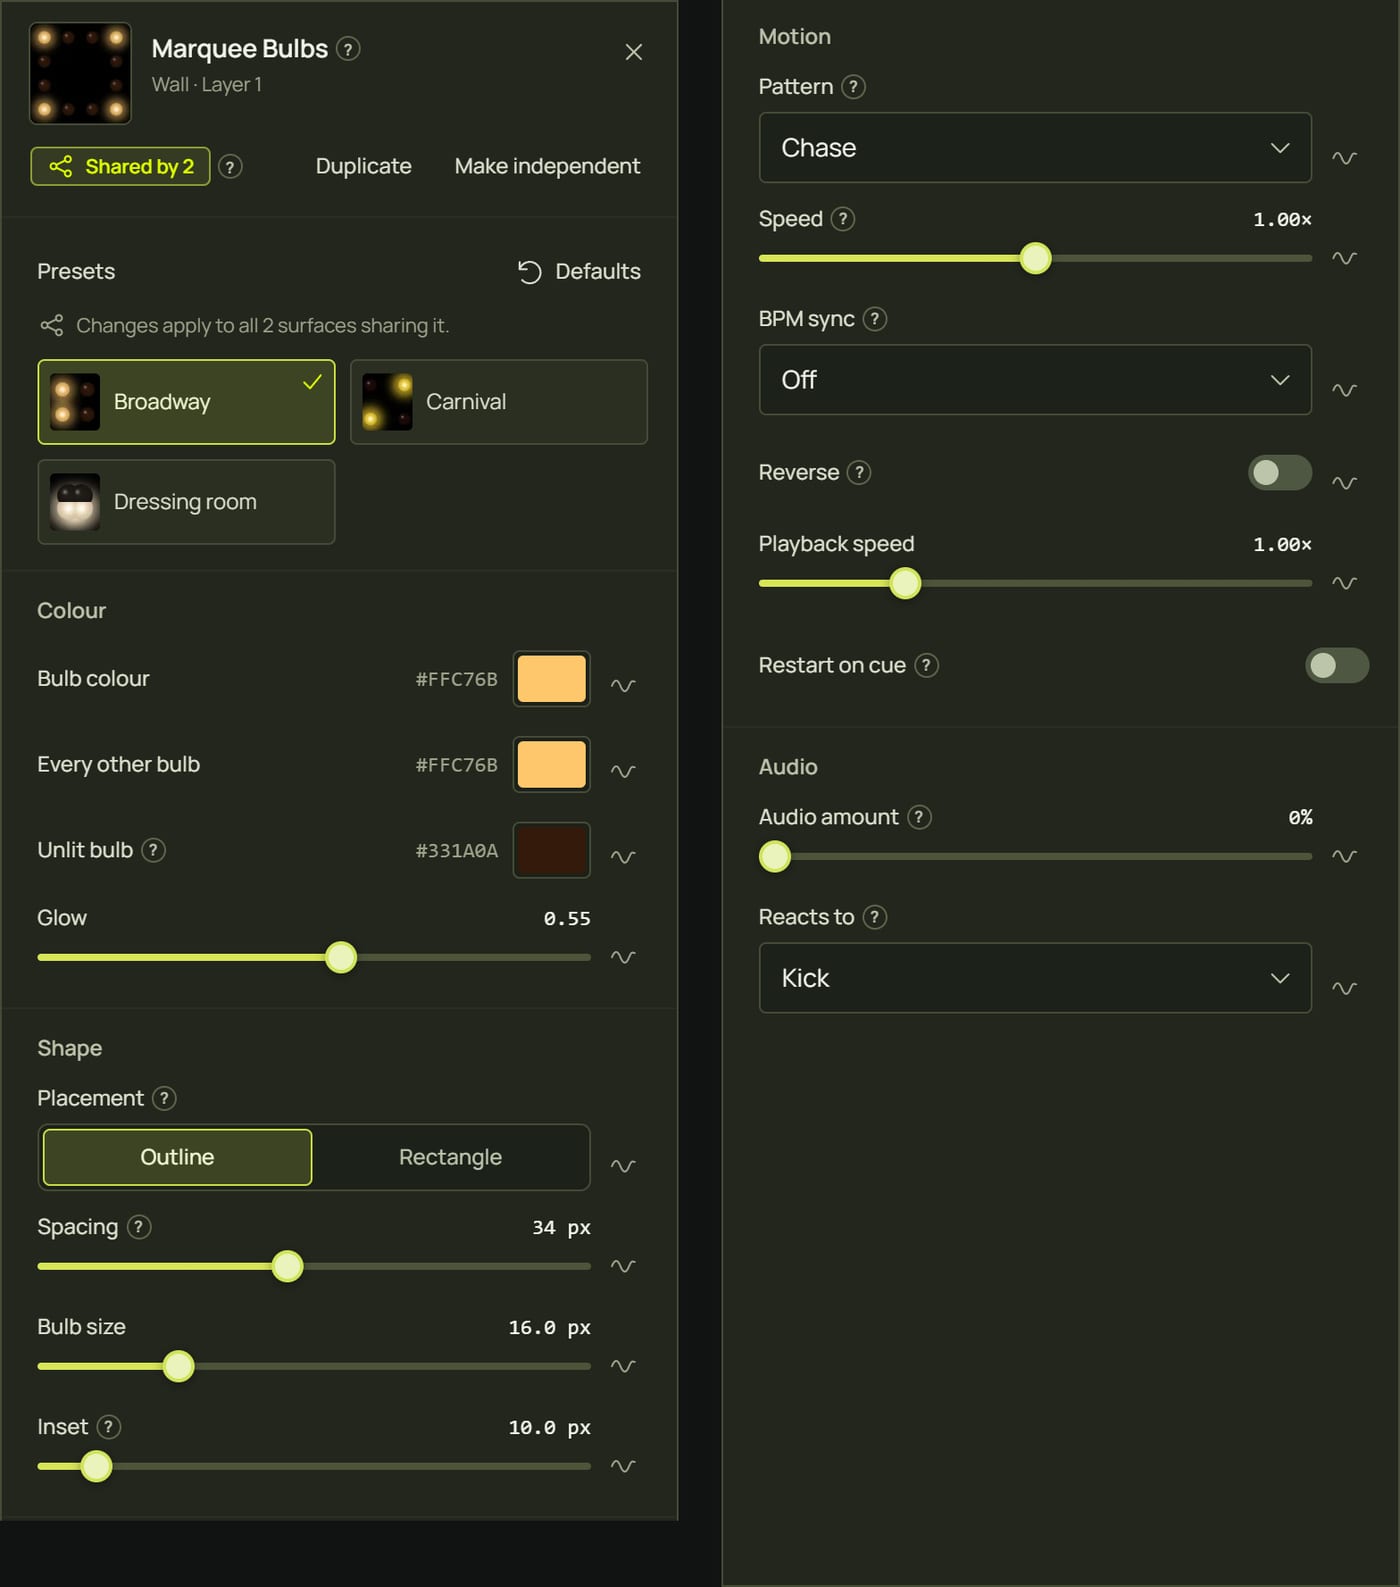
Below the presets are all the look's settings: sliders for numbers, colour pickers, switches and choices. Every change shows on the projector at once.
Groups
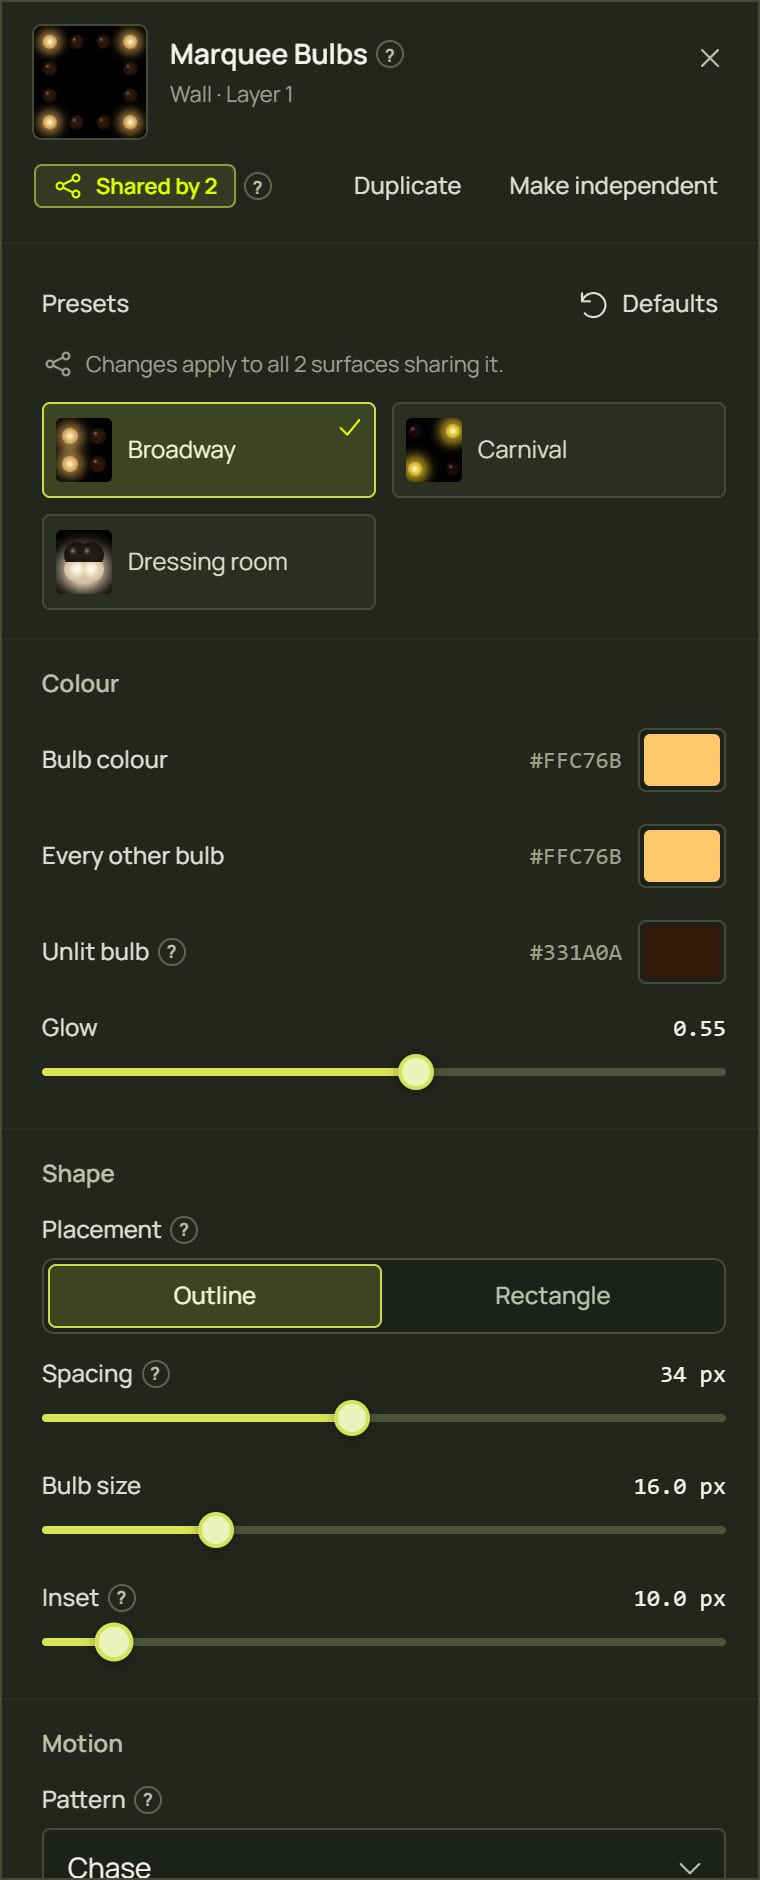
Looks with six settings or more are sorted into groups, always in this order (empty groups are left out):
| Group | What's in it |
|---|---|
| Content | Pictures, videos and text |
| Colour | Colours, palettes, brightness, opacity, saturation |
| Shape | Sizes, counts, widths, angles, positions |
| Motion | Speeds, directions, Auto-play and Progress, then Playback speed and Restart on cue |
| Music | The look's own Audio amount and Reacts to (bass, kick, beat…) and the music looks' own sensitivity settings; then Pulse with the music with what it Follows, and the one-click reactions: Flash on the beat, Change colour with the beat, Speed up with the music, Size with the bass (React to the music) |
| Other | Anything else |
Shorter looks keep one list in their own order.
Units, hints and sliders
- Units follow the value: 90°, 1.50×, 40%, 12 px, 3 Hz, 2.5 s, 1 beat.
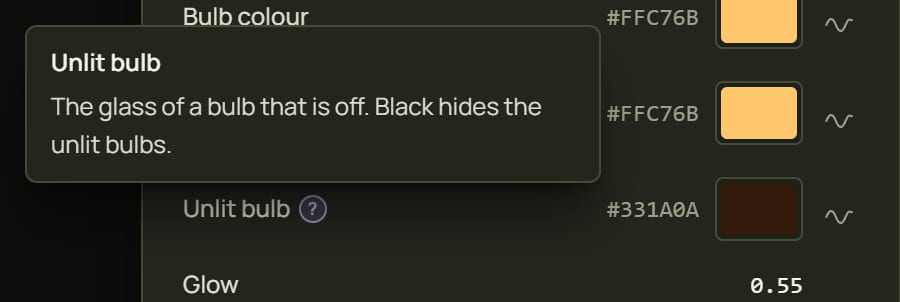
- A ? beside a setting explains it. Click it to read the hint.
- Curved sliders. Speeds and sizes move finely at the low end, where small changes matter, so on a 0–4 speed the middle of the slider is 1.
- With the keyboard, a focused slider moves one notch with the arrow keys, a tenth with Page Up / Page Down, and to its ends with Home / End.
5Playback speed and Restart on cue
- Playback speed (0 to 4×, normally 1.00×) sets the pace of the whole look. It changes smoothly, without a jump, even while music or an LFO moves it, so it is the speed to automate. Many looks also have their own Speed: fine for setting a pace, but moving it quickly makes the animation jump.
- Advanced Restart on cue: Each cue that shows this layer plays its animation from the start. Use it for one-shot wipes and illusions that should begin exactly on the cue (see Scenes and cues). Videos have their own Restart on cue setting, on by default.
6Simple mode: main settings first
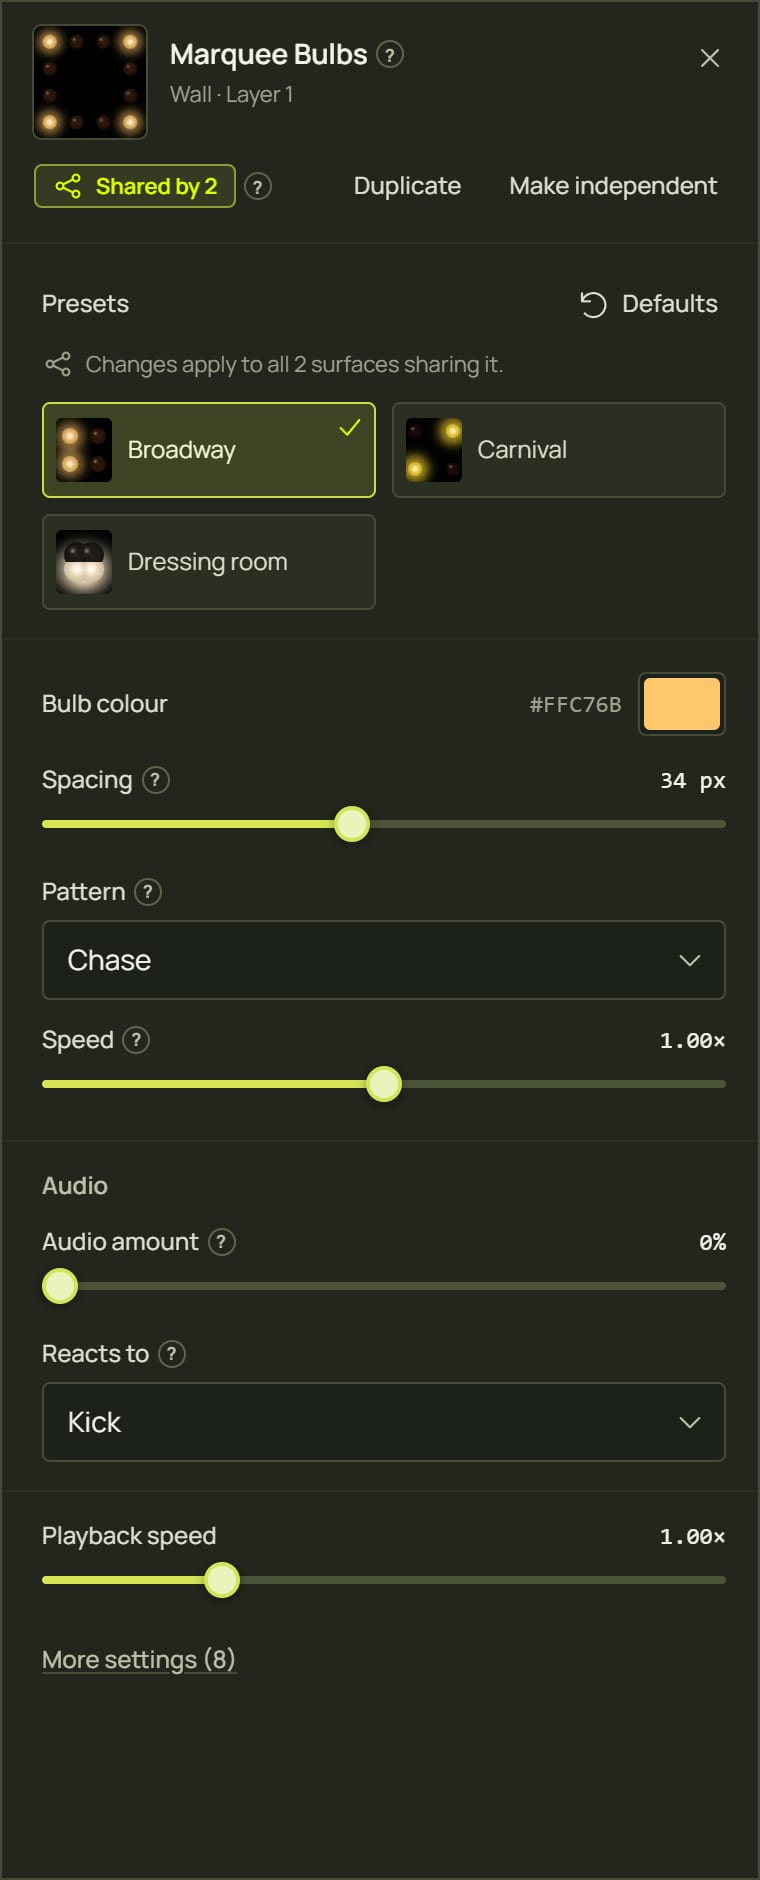
In Simple mode the panel starts short. From the top:
- the header, Presets and Defaults;
- the look's main settings, usually three or four: its colours, its main size and its speed;
- its Music area (its Audio settings, Pulse with the music and the one-click reactions), so any look can react to the music in Simple mode too;
- Playback speed;
- More settings (N), which shows everything else in place, in its groups. Less hides it again.
The wave buttons, live markers, Restart on cue, the Edit cues markers and the timeline's diamonds are hidden in Simple mode. If automation already moves a setting, a small Advanced chip sits beside it; click it to switch to Advanced and see that automation. The catalogue lists every look's main settings (Every look), and Simple and Advanced explains the two modes.
7A setting's right-click menu
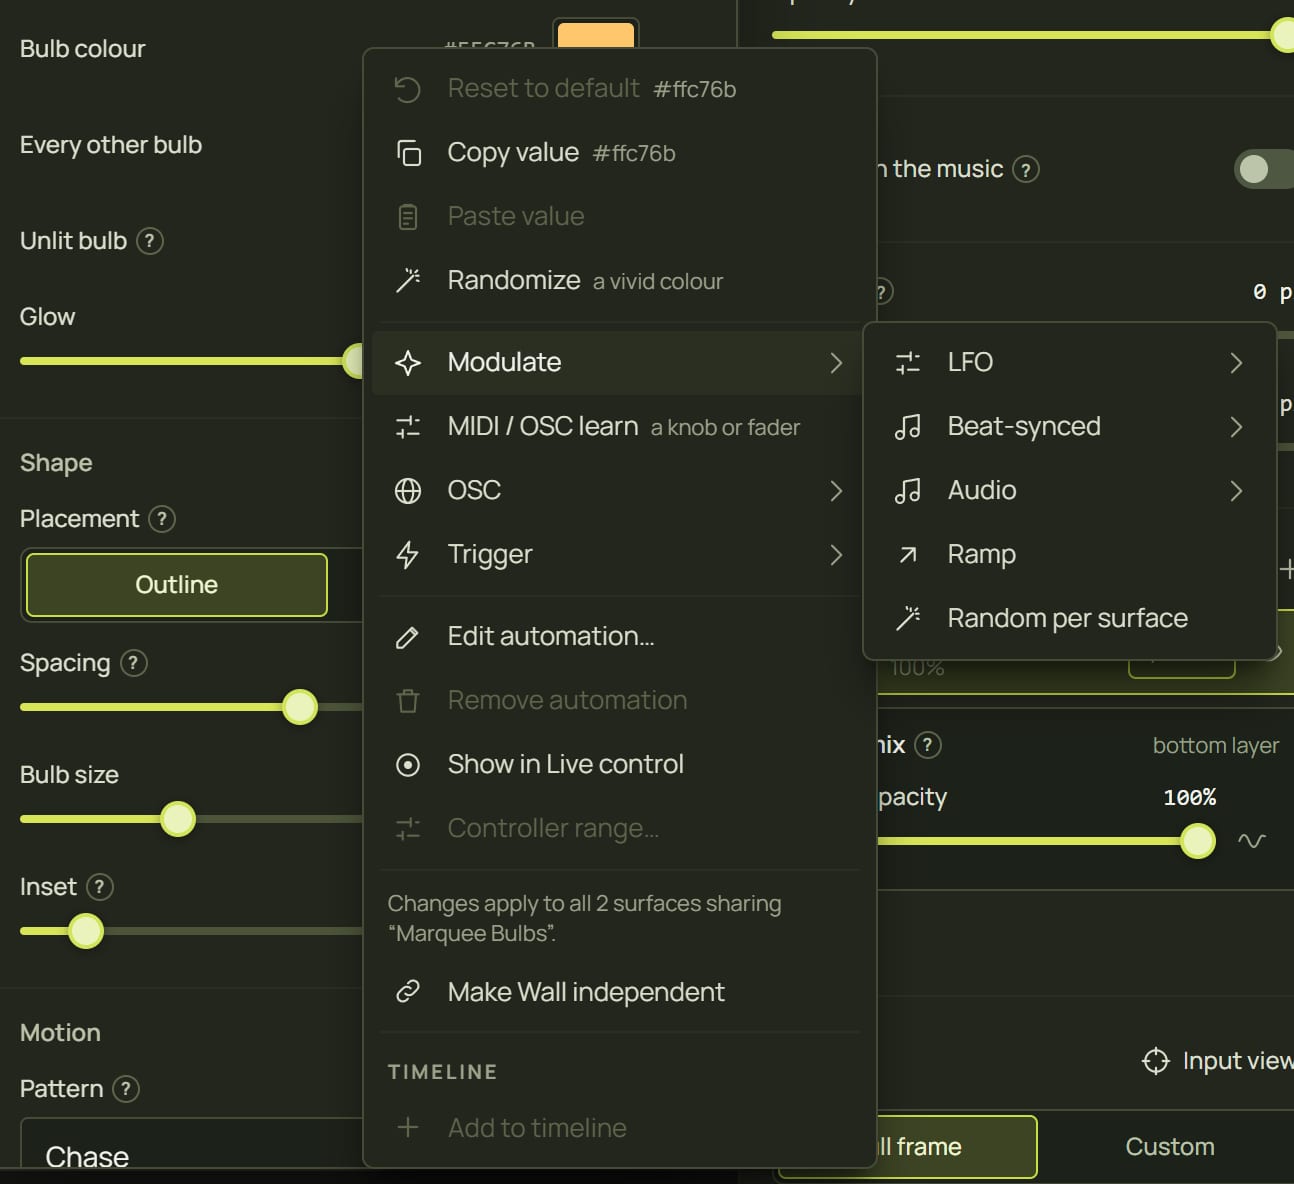
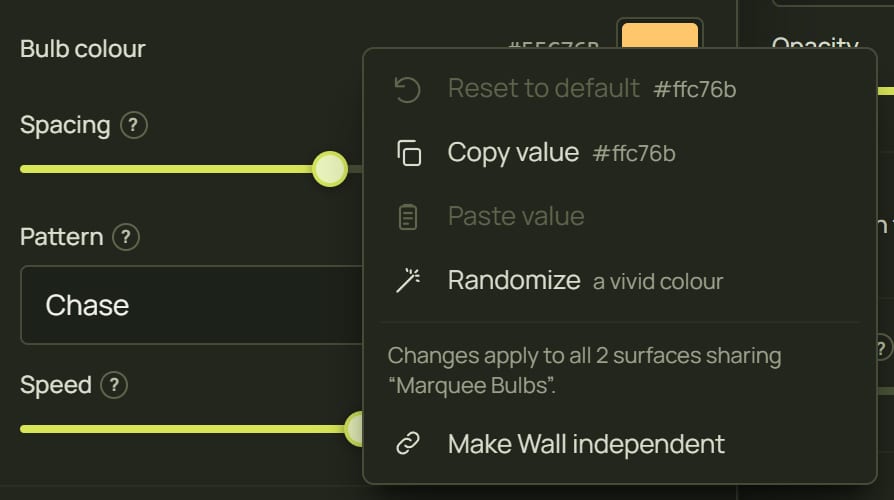
Right-click any setting (or long-press it on a touch screen, or press Shift+F10 or the Menu key on it) for everything you can do with that one setting.
| Item | What it does |
|---|---|
| Reset to default | Back to the look's own value (greyed out when it already is). |
| Copy value · Paste value | Copy a colour or a number and paste it into another setting of the same kind, in any look. |
| Randomize | A random value within the setting's range; for a colour, a random vivid colour. Ctrl+Z if you don't like it. A few settings, such as Audio amount, are kept out of it. |
| Make Wall independent | On a shared look: this surface stops following it (the menu notes Changes apply to all 2 surfaces sharing “Marquee Bulbs”). |
| Advanced Modulate ▸ | Move it automatically: LFO ▸ (sine, triangle, saw…), Beat-synced ▸ (¼ beat to 8 bars), Audio ▸ (level, bass, kick, hi-hat, a frequency band…), Ramp, Random per surface. See Automation. |
| Advanced MIDI / OSC learn · OSC ▸ · Trigger ▸ | Tie it to a knob or fader, copy its OSC address, or set it from a key, the beat or a button. See MIDI, OSC, keys and triggers. |
| Advanced Edit automation… · Remove automation · Show in Live control · Controller range… | Look after the automation that moves it. |
| Advanced Add to timeline | Animate it over time on the selected scene's or cue's timeline (The timeline). |
| Advanced Edit cues items | While Edit cues is on: put the setting into the cue, update it, revert it or take it out (Edit cues). |
8Hints and tips
- Preset first, then tweak. It is the quickest way to a good look; Defaults always gets you back.
- Tune on the real object. The panel leaves the canvas in view and the projector updates as you drag, so watch the wall, not the screen.
- Match colours between looks with Copy value and Paste value.
- Hunt for colours with Randomize on a colour, several times, then Ctrl+Z back to your favourite.
- Make it dance. If the look has Audio settings, turn up Audio amount and choose what it Reacts to. Any look: switch on Pulse with the music or a one-click reaction in the Music area (React to the music).
- Speed it up for a moment with Playback speed, not the look's own speed: it never jumps.
9When something looks wrong
| You see | Why | Fix |
|---|---|---|
| Other surfaces change too | The look is shared (Shared by 2). | Duplicate or Make independent in the header first. |
| Nothing moves when you drag | The surface is locked. | Unlock it in the Surfaces list. |
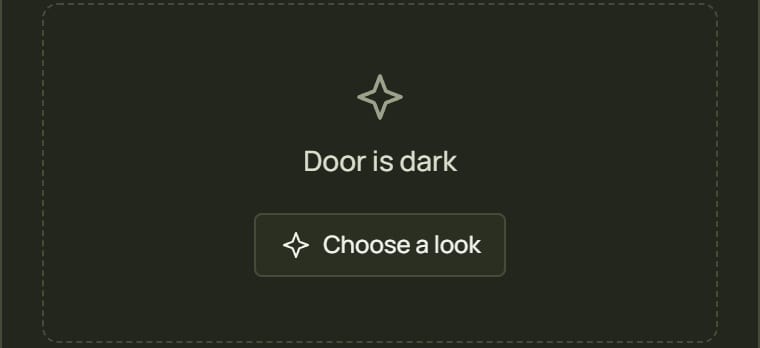
| “Door is dark” | The surface has no look yet. | Click Choose a look. |
| A setting you expected is missing | Simple mode shows the main settings first. | Click More settings. |
| A small Advanced chip by a setting | Automation moves it, and Simple mode hides automation. | Click the chip to see it in Advanced mode. |
| The animation jumps when you change its speed | A look's own speed setting restarts its timing. | Change Playback speed instead. |
| The panel covers what you need | It sits over the canvas. | Close it with E or ✕, and press E again when you need it. |
10Mouse and keyboard
| Action | How |
|---|---|
| Open or close the panel | E · Edit on a layer's row · double-click the look's slot · ✕ · Esc while in it |
| Move through it | Tab |
| Change a slider | Drag · arrow keys · Page Up / Page Down · Home / End |
| A setting's menu | Right-click · long press · Shift+F10 · the Menu key |
| Undo any change | Ctrl+Z |