Pair your phone and scan
Your phone is prism's measuring tape. The projector shows a series of stripes while the phone watches from beside it, and from what it sees prism works out exactly where every projector pixel lands in your room. Over a cable it takes about half a minute.
About 2 min (wireless projector)
Advanced the detection choice
1Pair the phone
Open the projector window first (Projectors and outputs), then click Next: pair phone.
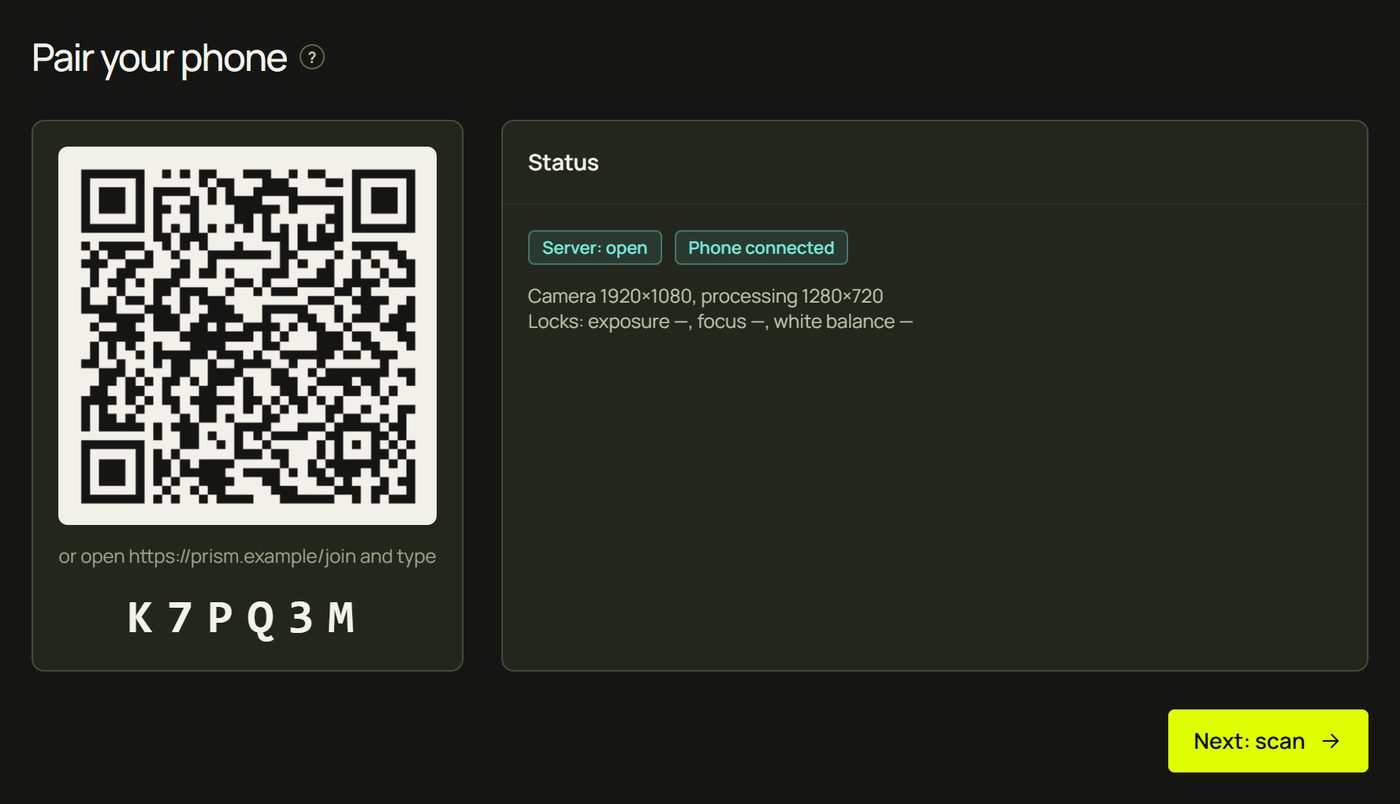
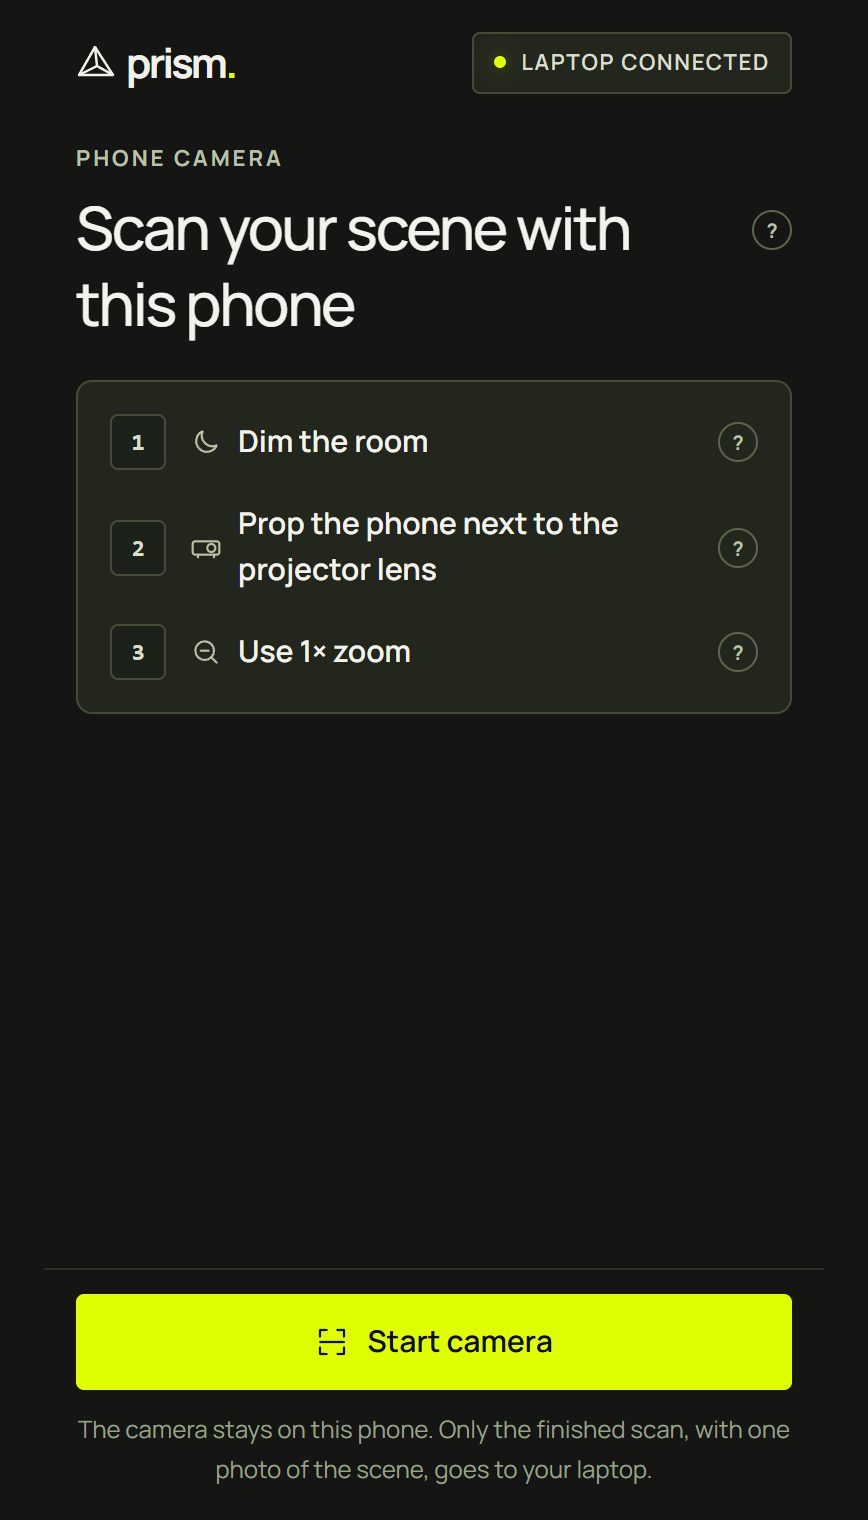
- Point the phone's camera app at the QR code on the laptop and tap the link that appears. It opens prism's camera page.
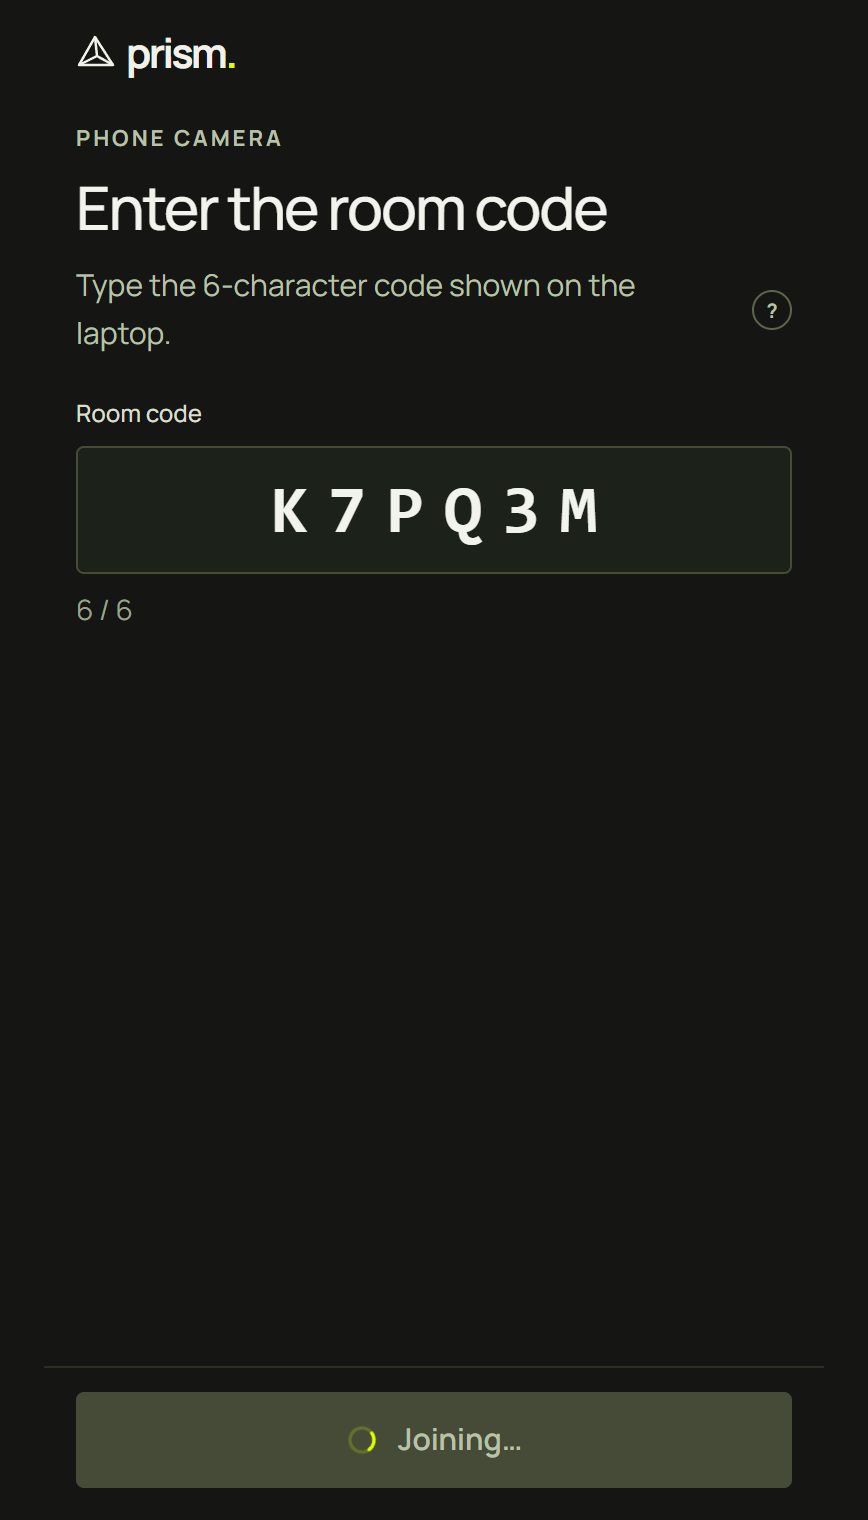
- No QR reader? On the phone, open the address shown under the code (it ends in /join) and type the 6-character room code; it joins by itself when the code is complete.
- On the phone, tap Start camera and allow the camera when the phone asks.
- The laptop's Status says Phone connected, with the camera's size. Click Next: scan.
https:// pages. The QR code uses your studio's secure address. If the laptop opened prism at localhost, the Pair step warns that the phone can't reach it: open prism through the computer's network address or its tunnel address instead.2Where to put the phone
- Right next to the projector's lens, as close as you can, pointing at the scene. From there the phone sees what the projector lights, from almost the same angle, so shadows and hidden corners match.
- On its normal 1× camera. Don't zoom in, and don't switch to the wide (0.5×) lens.
- Propped so it can't move. A small tripod with a phone clamp is ideal; a stack of books works. It must not move until the scan is sent.
- Sideways, usually: a projection is wide, and the phone suggests “Turn the phone sideways” when you hold it upright. Whichever way you choose, keep it: if the screen rotates during the scan, the scan stops.
- The whole projection in view, with a gap to every edge of the camera picture.
3Light
- Dim the room. Lights off or low, so the projector is the brightest thing the camera sees. Daylight washes out the stripes: close the curtains.
- Keep the light steady during the scan: no switching lights on or off, no one walking through the beam.
- Shiny or very dark objects scan better with the lights lower still.
4The checks
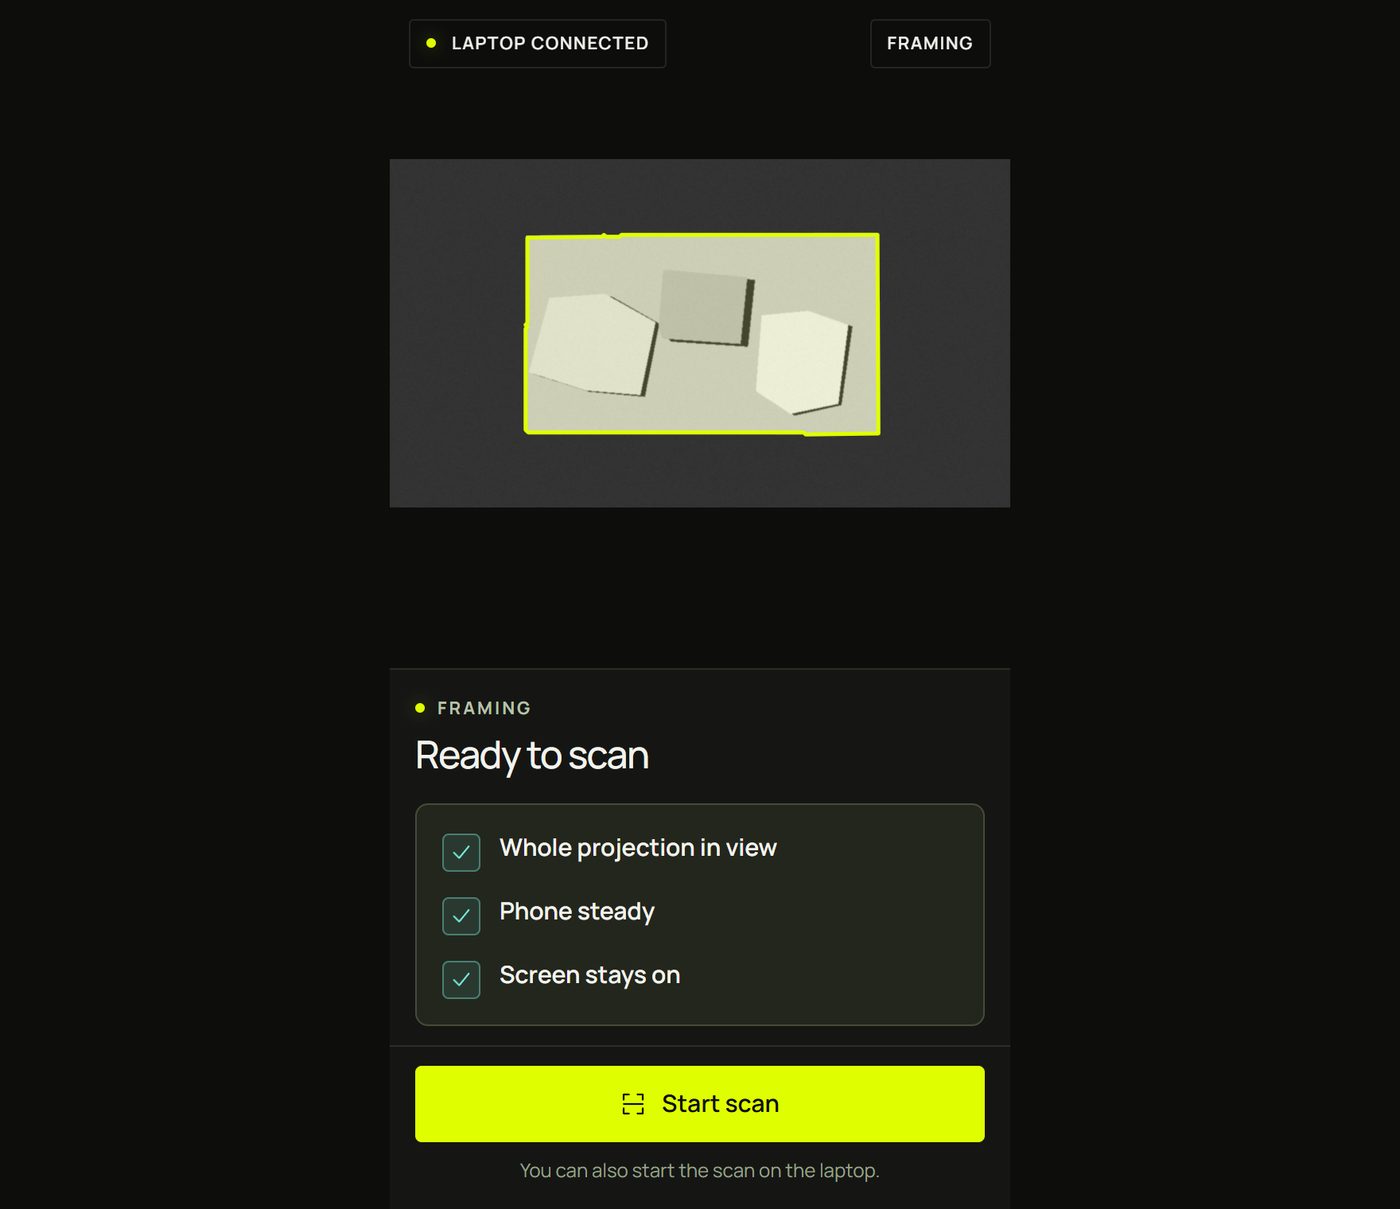
When you reach the Scan step, the projector starts to blink. The phone uses the blink to find the projection, and the laptop shows what the phone sees: the lime live outline is the projection's edge.
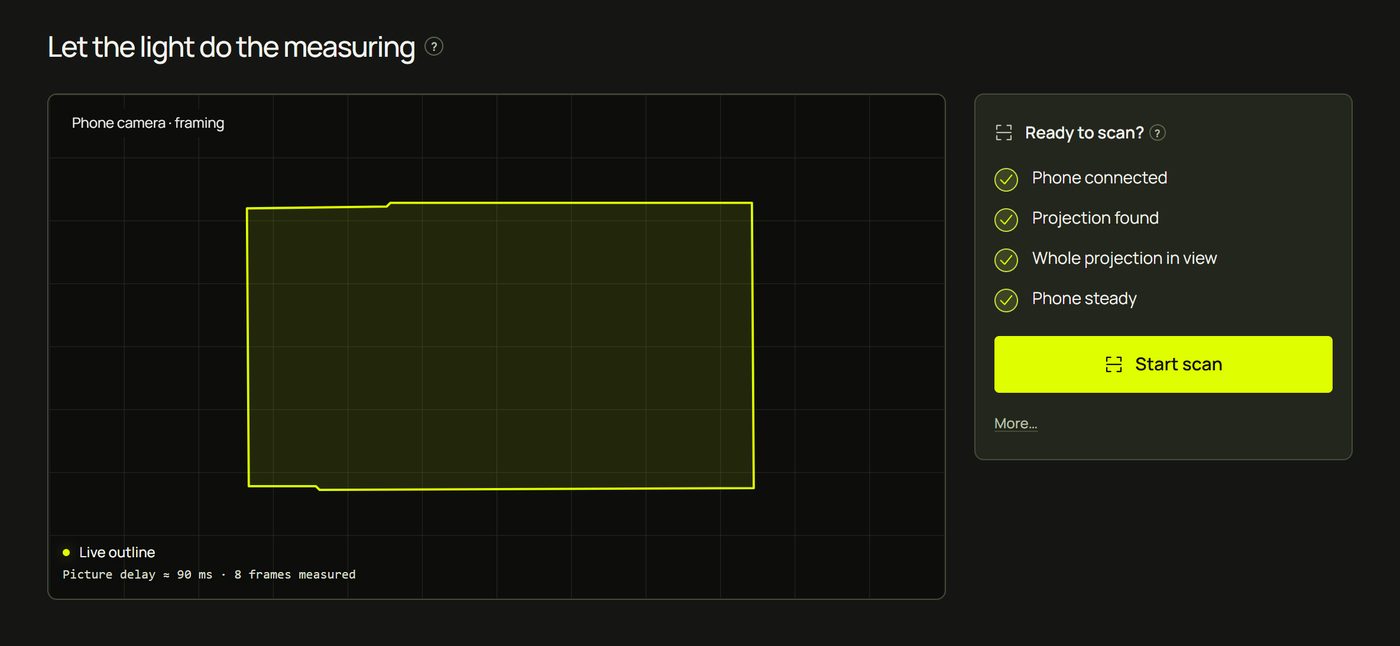
| Check | If it isn't ticked |
|---|---|
| Phone connected | Pair your phone first. |
| Projection found | Point the phone at the projection and dim the room. |
| Whole projection in view | Step back or turn the phone until the outline doesn't touch the edge. |
| Phone steady | Prop the phone next to the projector lens. |
The phone has its own checks: Whole projection in view, Phone steady and Screen stays on.
5Start the scan
- Click Start scan on the laptop. (The phone has a Start scan too, but touching the phone can move it.)
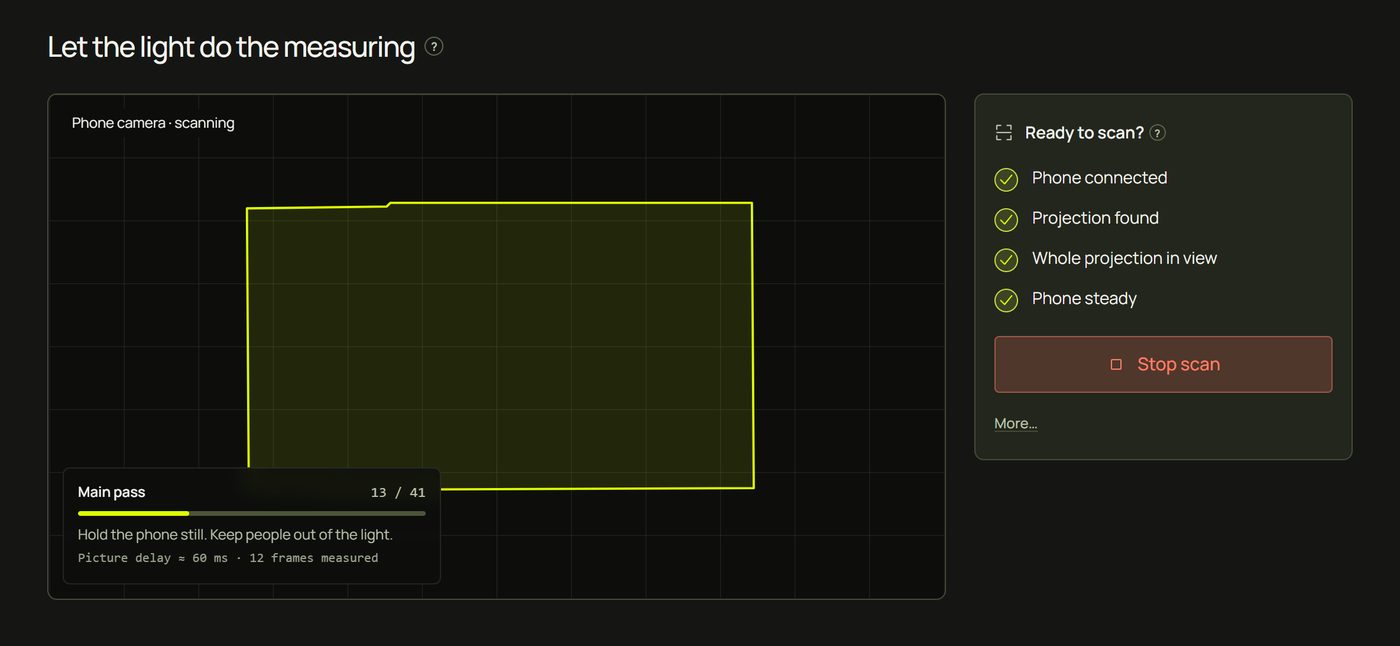
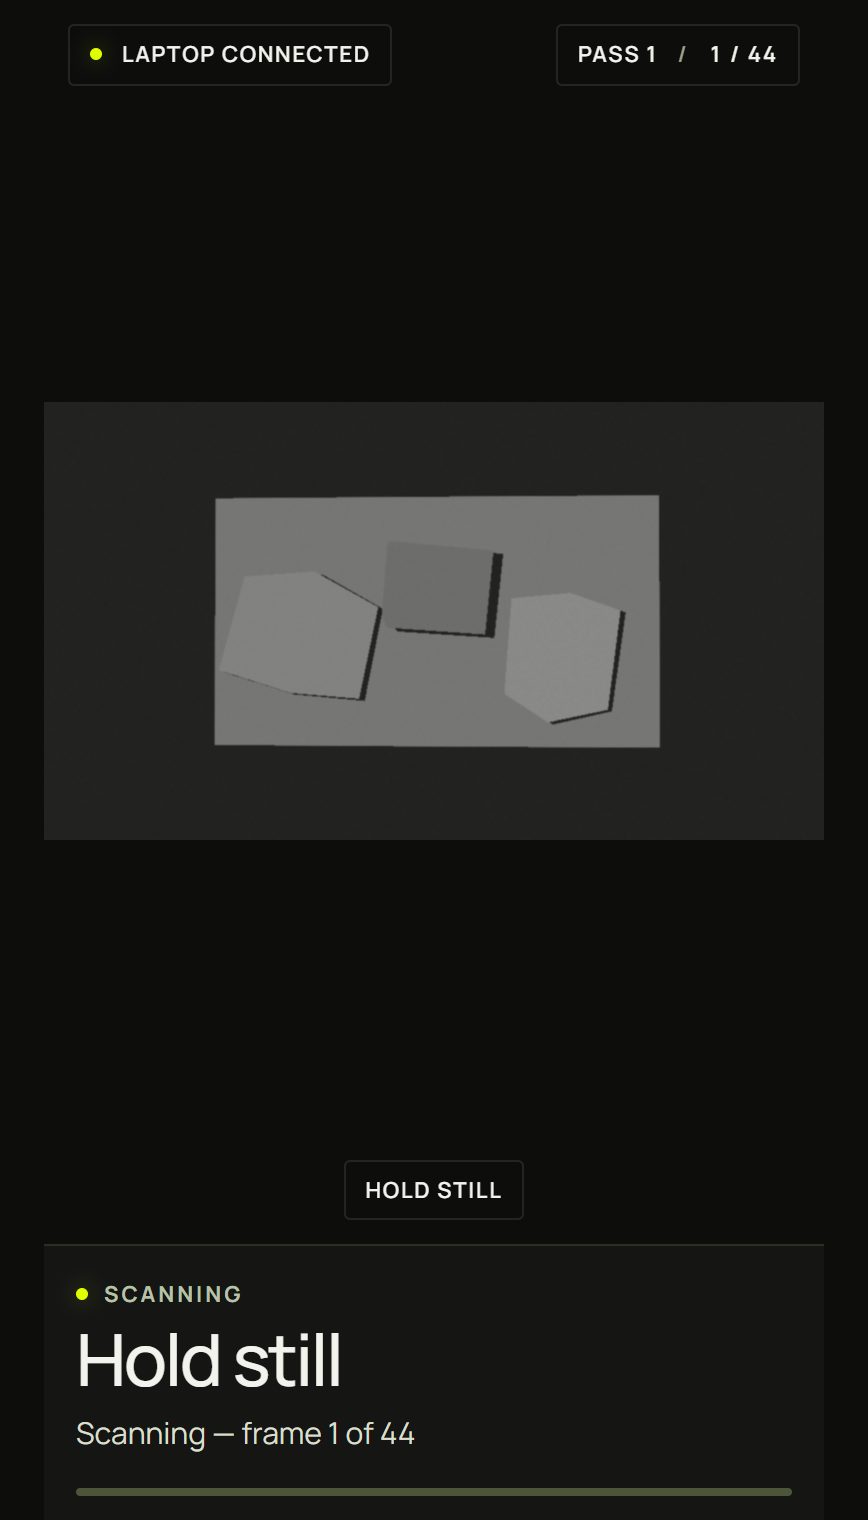
- Hands off. The projector shows black, white, and then stripes, each followed by its opposite. The laptop counts Main pass frames; the phone says Hold still.
- If some areas came out unclear, the phone looks at just those again: Touch-up pass (“Some areas need another look — re-scanning them now.”).
- The phone sends the scan (“Scan sent — you can put the phone down”) and the laptop finds the surfaces.
6What the stripes do
Each stripe pattern splits the projector's picture into light and dark bands: the first into two halves, the next into quarters, then eighths, and so on down to stripes a few pixels wide. First upright stripes, then lying ones.
Now look at one point on your box through the phone. In each pattern that point is either lit or dark. Written down in order, those lit/dark answers spell out a number: the column of the projector pixel that lights that point (from the upright stripes) and its row (from the lying ones). After about forty patterns prism knows, for every point the phone sees, which projector pixel falls on it.

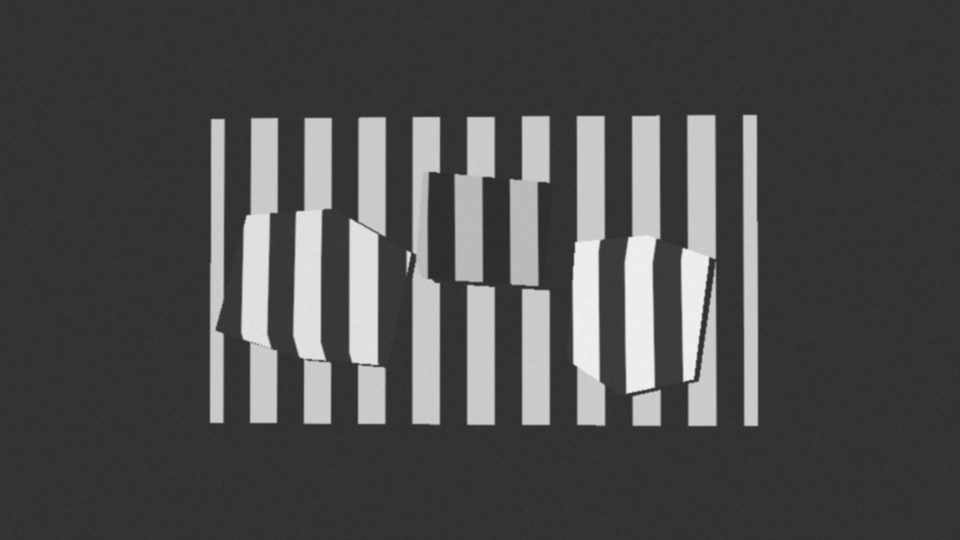
From this map prism finds the flat faces, curved surfaces and edges, and draws each surface as a clean shape, exactly as the projector sees it. Three more tricks keep it reliable:
- Every pattern comes with its opposite (light where it was dark), so the phone can tell lit from unlit even on dark or shiny surfaces.
- White frames every few patterns check that the phone hasn't moved. If it has, prism repeats what it needs, or stops and tells you.
- Each picture is checked before it's used: a picture the projector hasn't finished showing yet is waited for, never guessed.
7How long it takes
| Stage | Time | What you see |
|---|---|---|
| Framing | A few seconds | The projector blinks; the checks tick. |
| The scan | About 30 s over HDMI · about 2 min over Wi-Fi | About forty frames of stripes; “Main pass 12 / 41”. |
| Sending | A few seconds | “Receiving the scan from the phone…” |
| Finding surfaces | A few seconds | “Finding surfaces…” |
| Finding objects | About 15–30 s | “Finding objects… 40%”. The very first time, the object finder downloads once (about 450 MB). |
8After the scan
The camera view becomes a heatmap of how well each part was read: Full precision (green), Partial (yellow), Weak (red) and Unlit (grey). Scan quality ▸ Details gives the numbers, and any warnings appear under it in amber.
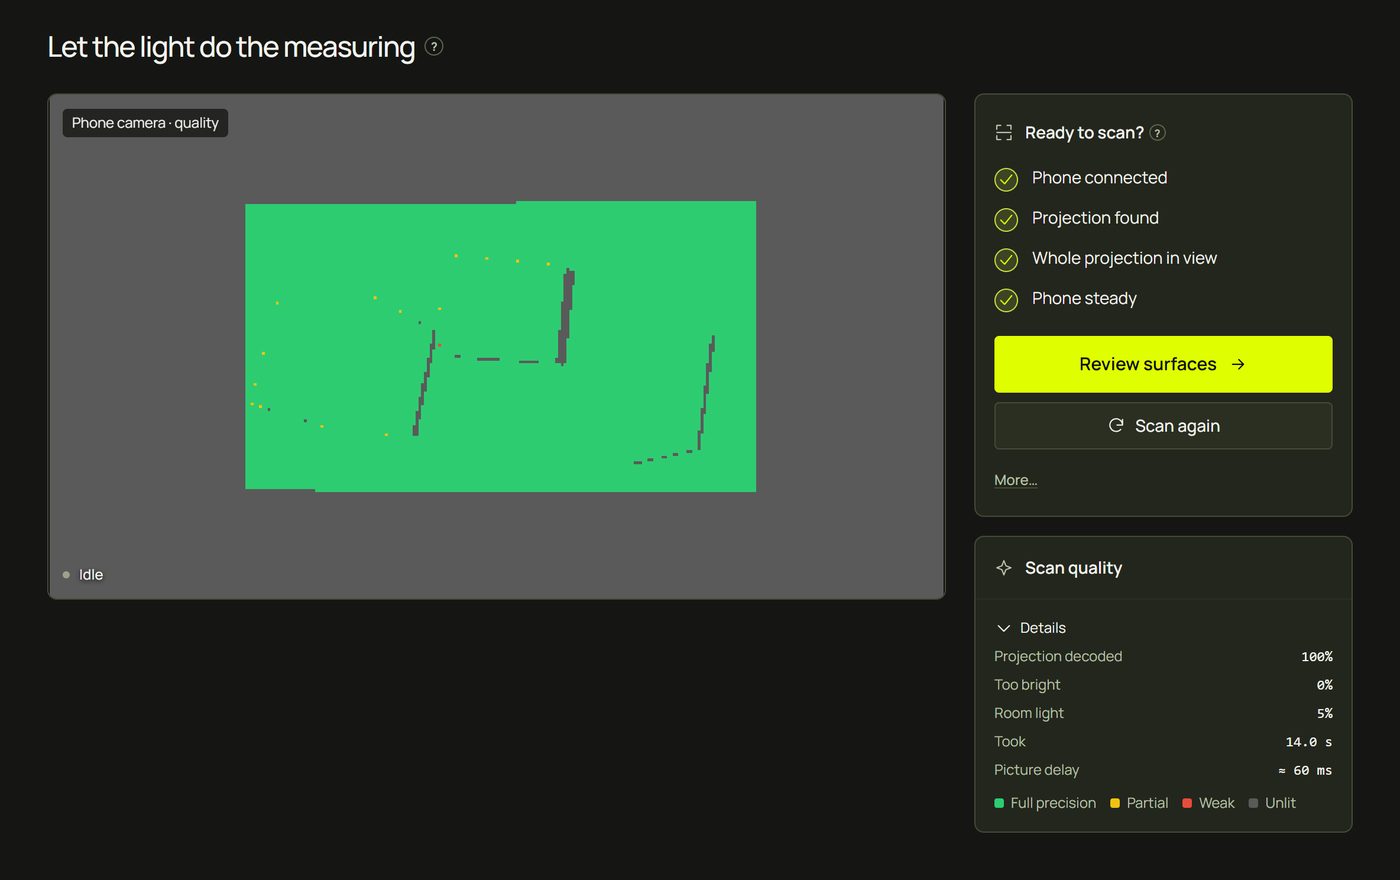
| Detail | Meaning |
|---|---|
| Projection decoded | How much of the projection was read reliably. Close to 100% is a clean scan. |
| Too bright | How much of it the camera saw burnt out white. Lower is better. |
| Room light | How much light there was without the projector. Above about 20% prism warns that the room is too bright. |
| Took | How long the scan took. |
| Picture delay | How late the projector showed each picture (amber for a wireless link). |
Review surfaces takes you to What do you want to map?. Scan again starts over.
Advanced Surface detection
Under the Scan step's More…, Surface detection chooses how surfaces are found. AI + geometry (the default) also uses the scan photo, which is best for separate objects that touch; its model downloads once and runs on your computer. Geometry only is fast and fully offline, best for flat walls and simple boxes. While Geometry only is chosen, Simple shows an Advanced · Geometry only chip there.
9If it fails
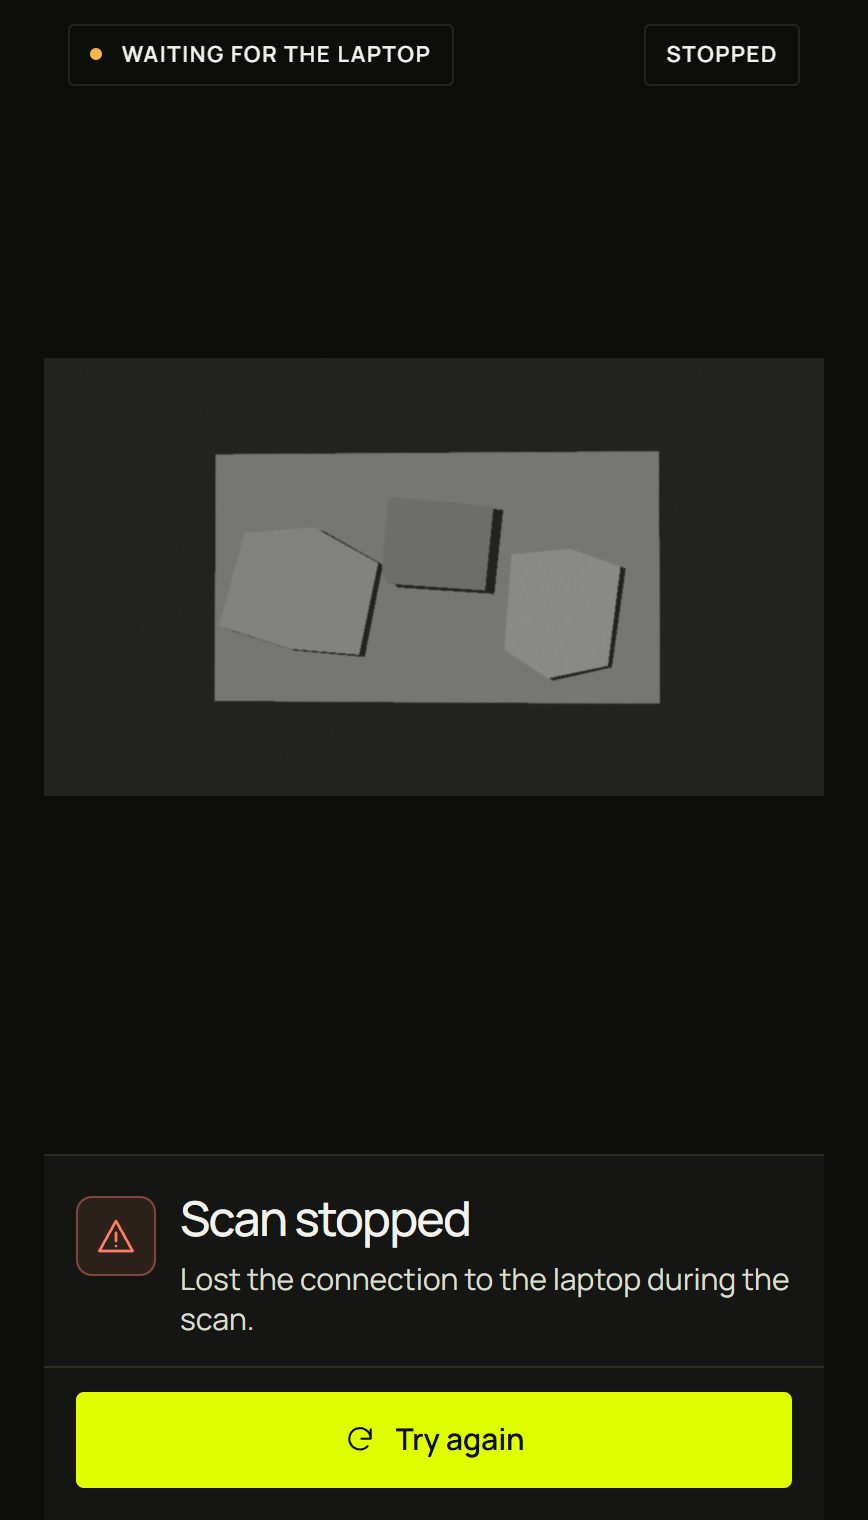
A scan that can't finish stops with a message on the phone and on the laptop, and a Try again button. The message says what went wrong; this table says what to do.
| You see | Why | Fix |
|---|---|---|
| “Phone moved — prop it and hold still” | The phone was touched, slid or wobbled. | Prop it firmly (a tripod is best), start from the laptop, and scan again. |
| “The phone was turned during the scan” | The screen rotated, which changes the camera picture. | Keep the phone in one orientation; lock its rotation if it flips when propped. |
| “The scan stopped because the phone's screen turned off…” | The phone locked itself, or you switched apps. | Tap Keep screen on, or turn Auto-Lock off; keep the camera page in front. |
| “Room too bright — dim the lights for a better scan” | Too much light besides the projector. | Lights off, curtains closed, scan again. |
| “Room lighting changed during the scan” | A light was switched, or daylight changed. | Keep the lights steady until the scan is sent. |
| “The phone can't see the projector changing” | The phone isn't looking at the projection, or the projector window isn't on the projector. | Check Projection found and the projector window (Identify), then try again. |
| “No projector light found” | The phone found no projection to scan. | Get the whole projection in view and dim the room. |
| “The picture won't settle” | The phone keeps moving slightly. | A steadier prop; keep people away from the table. |
| “Lost contact with the phone” · “Lost the connection to the laptop during the scan.” | The phone's or laptop's network dropped, or the page closed. | Check both are online; keep the camera page open; try again. |
| “The laptop didn't start the scan…” | You pressed Start on the phone while the laptop wasn't ready. | Put the laptop on the Scan step with the projector window open, then try again. |
| “The projector's picture kept arriving late or in pieces over Wi-Fi…” | A wireless projector link is too unsteady. | Try again, or scan over HDMI: it is faster and more accurate. |
| “The projector stopped updating over Wi-Fi…” | The wireless link dropped. | Reconnect the projector, or use HDMI. |
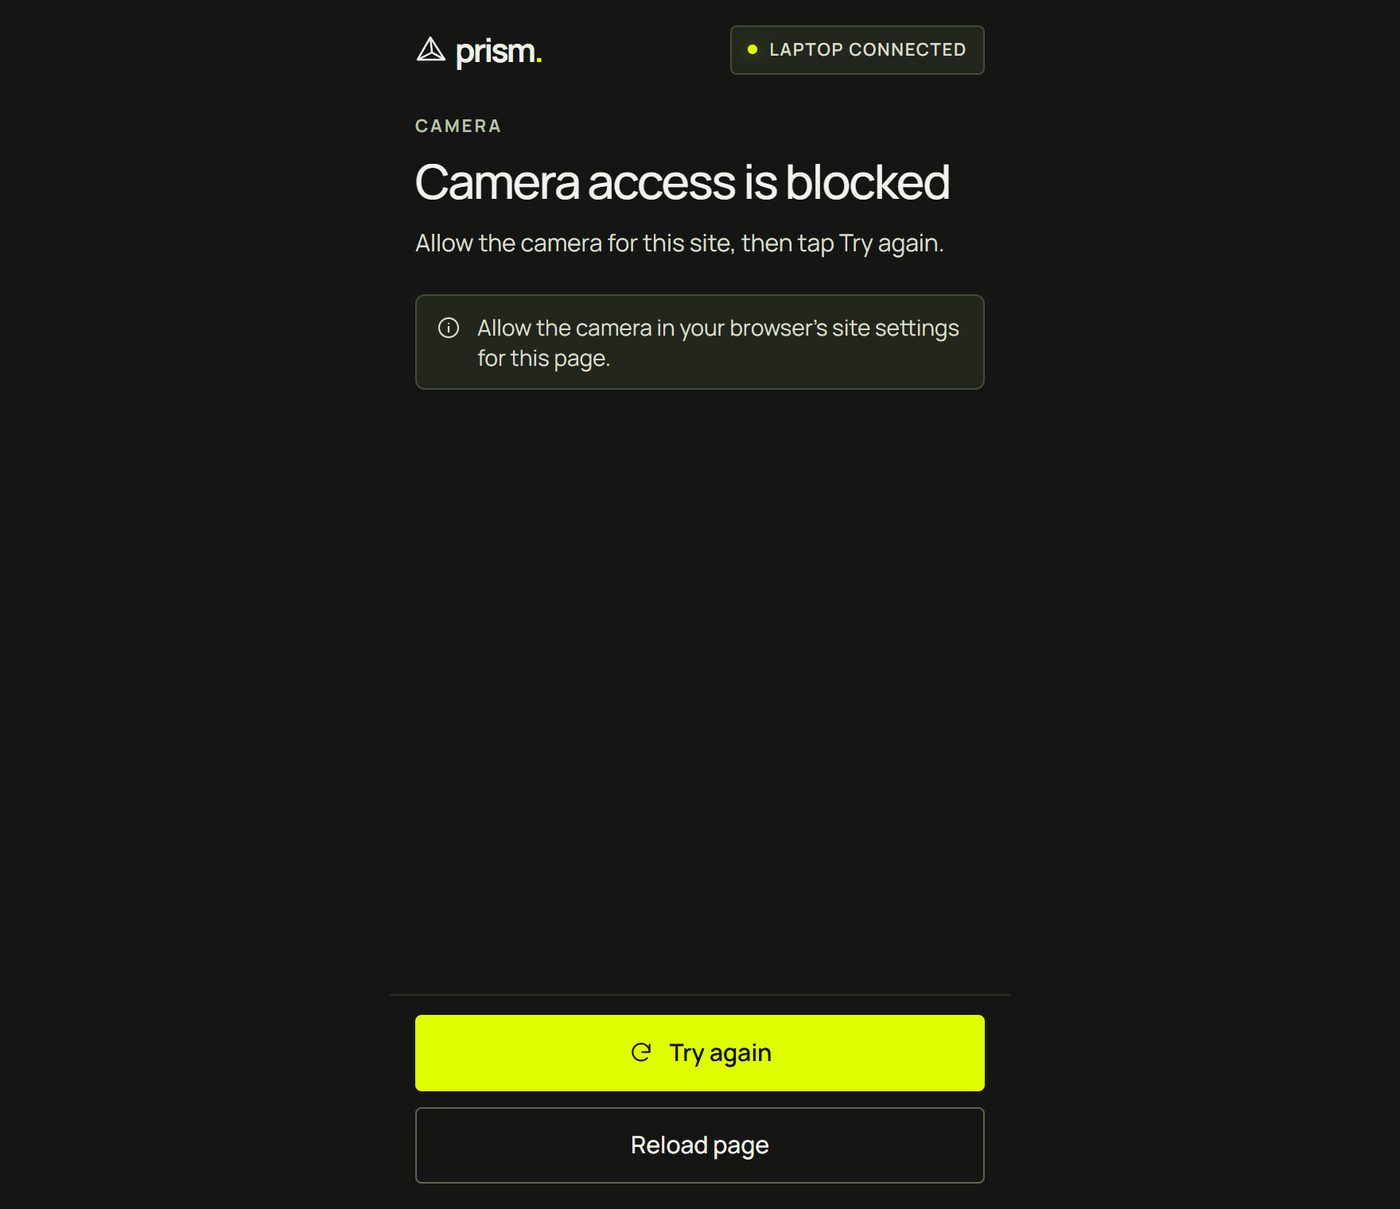
| “Camera access is blocked” | You refused the camera. | iPhone: tap aA in Safari's address bar ▸ Website Settings ▸ Camera ▸ Allow, then reload. Android: the icon left of the address ▸ Permissions ▸ Camera ▸ Allow. |
| “The camera needs a secure page” | The page was opened with http://. | Scan the laptop's QR code again: its link starts with https://. |
| “The camera is busy” | Another app or tab uses the camera. | Close it, then tap Try again. |
| “This room has closed” | An old link or code. | Scan the QR code the laptop shows now. |
| “Nothing was detected. Try dimming the room and scanning again.” | The scan read too little. | Dim the room, check the whole projection is in view, scan again. |
Hints and tips
- A phone tripod pays for itself. Most failed scans are a phone that moved.
- Start from the laptop, so your hands stay off the phone.
- Scan over HDMI when you can, even if you'll show over Wi-Fi later.
- Charge the phone, and keep its camera page open: if the laptop asks for another scan, the page picks it up.
- Matt, pale objects scan best. Very shiny or black things may come out partial; lower the lights, or add them by hand later.
- Rescan after moving anything: the projector, the objects, or the zoom and focus of the lens.
When something looks wrong
| You see | Why | Fix |
|---|---|---|
| “This page is open on localhost, which your phone can't reach” | The laptop opened prism at its own local address. | Open prism on the laptop through its network or tunnel address, then pair again. |
| “Waiting for the phone…” never changes | The phone hasn't opened the camera page, or can't reach the server. | Open the QR link on the phone; check the phone is online. |
| Start scan is greyed out | No phone, no projector window, or the projection isn't found yet. | Follow the checks; use Start anyway if you're sure. |
| “Looking for the projection…” | The phone can't see the blink. | Point it at the projection; dim the room; open the projector window. |
| Lots of red or grey in the heatmap | Too bright, too far, or dark and shiny surfaces. | Dim the room, move the phone closer to the lens, scan again. |
| Amber warning “Couldn't check that the phone stayed still” | The phone's steadiness couldn't be confirmed. | If surfaces look off, prop the phone better and rescan. |
| The scan takes minutes | A wireless projector: each picture is waited for. | Normal over Wi-Fi; HDMI is faster. |