Several projectors Advanced
Two or more projectors can light one scene: side by side along a long wall, or from two sides of an object. prism gives each projector its own window, scans them all from one phone position, and blends the overlaps so the light stays even across the join.
1Add a projector
- Connect the second projector as another extended display.
- Switch to Advanced, go to Setup ▸ Outputs and click Add projector. A second card appears: P2.
- Rename them (click the name on each card): “Left” and “Right” beats P1 and P2.
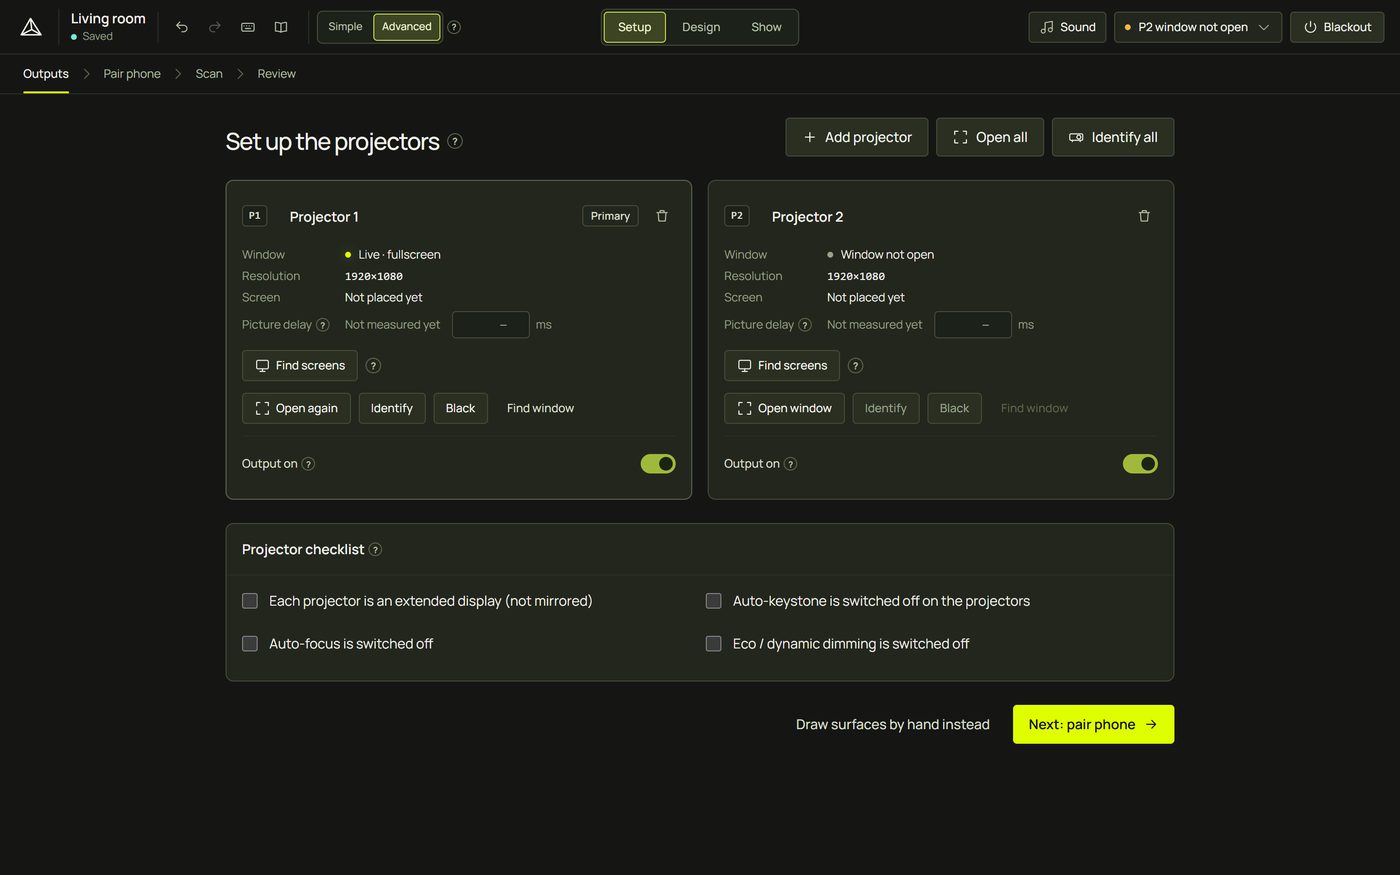
The trash button on a card removes that projector together with its surfaces (it asks first if the projector has any); it is one undo step.
2Windows and Identify all
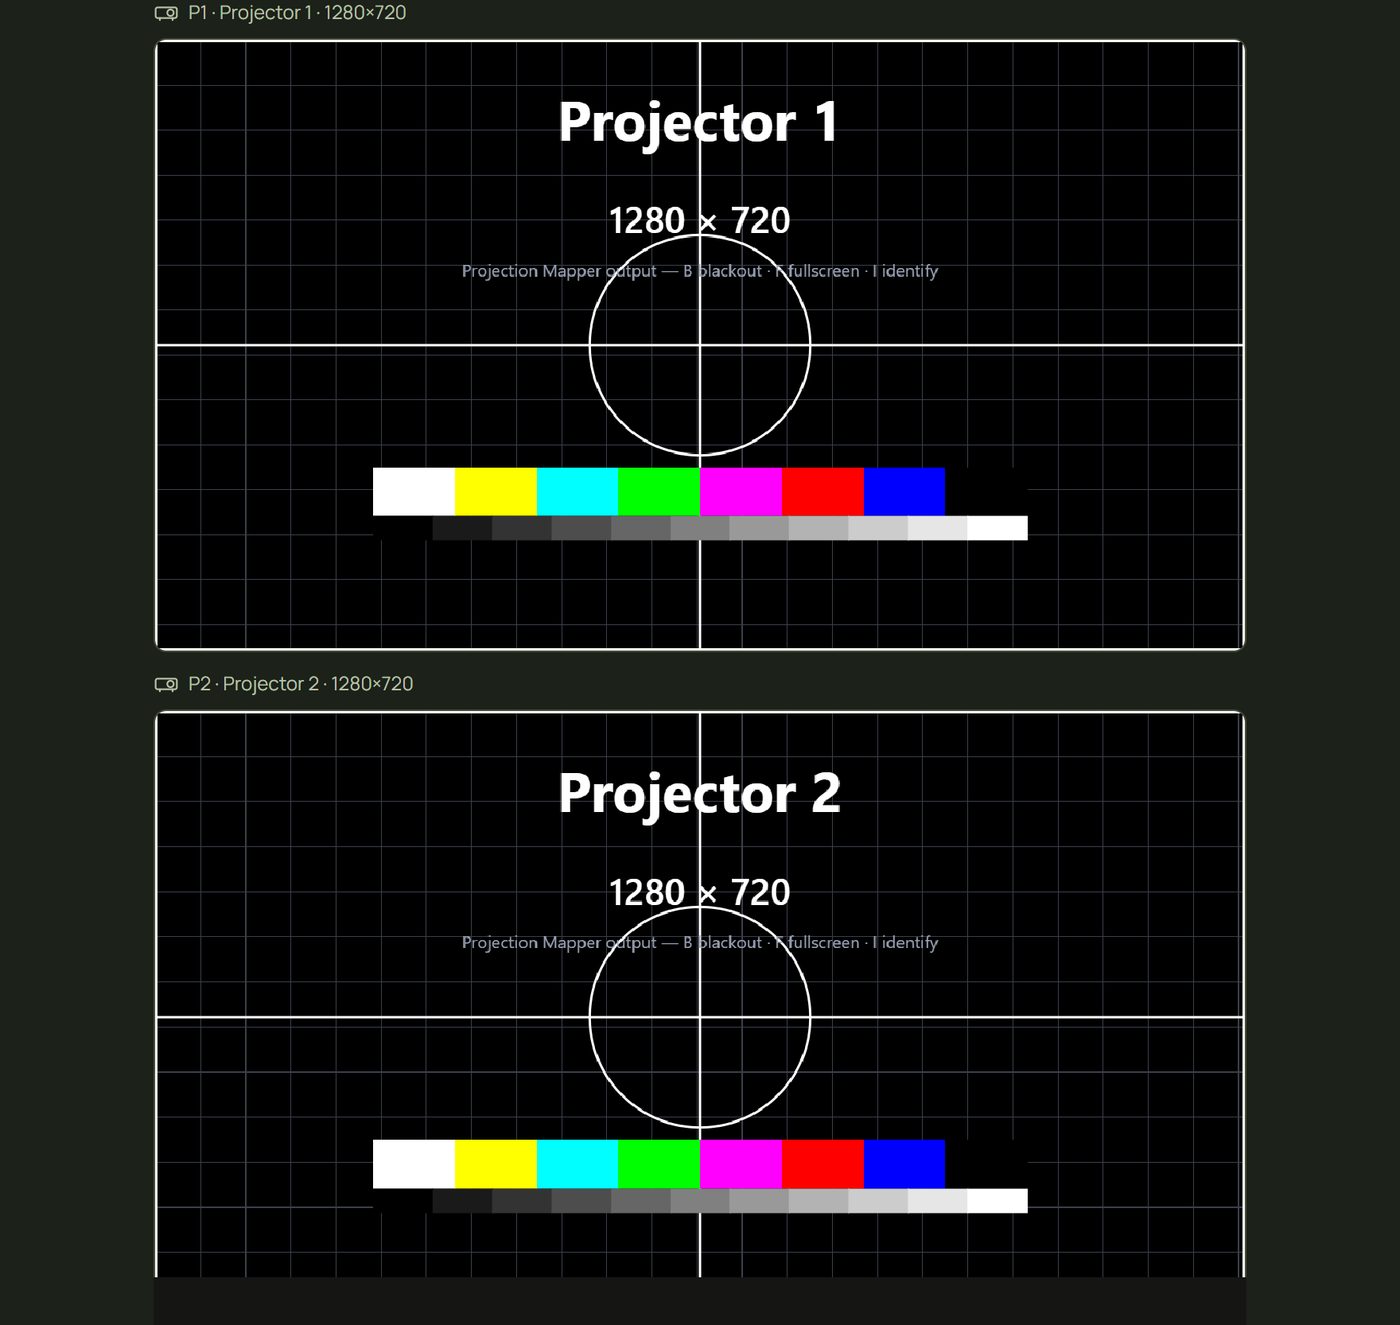
Each projector needs its own window, fullscreen on its own screen, exactly as with one (Projectors and outputs). Open all opens them together: with screen access allowed (Find screens), each lands on its projector. Then Identify all shows each projector's name, so you can check which is which.
3Scan all projectors
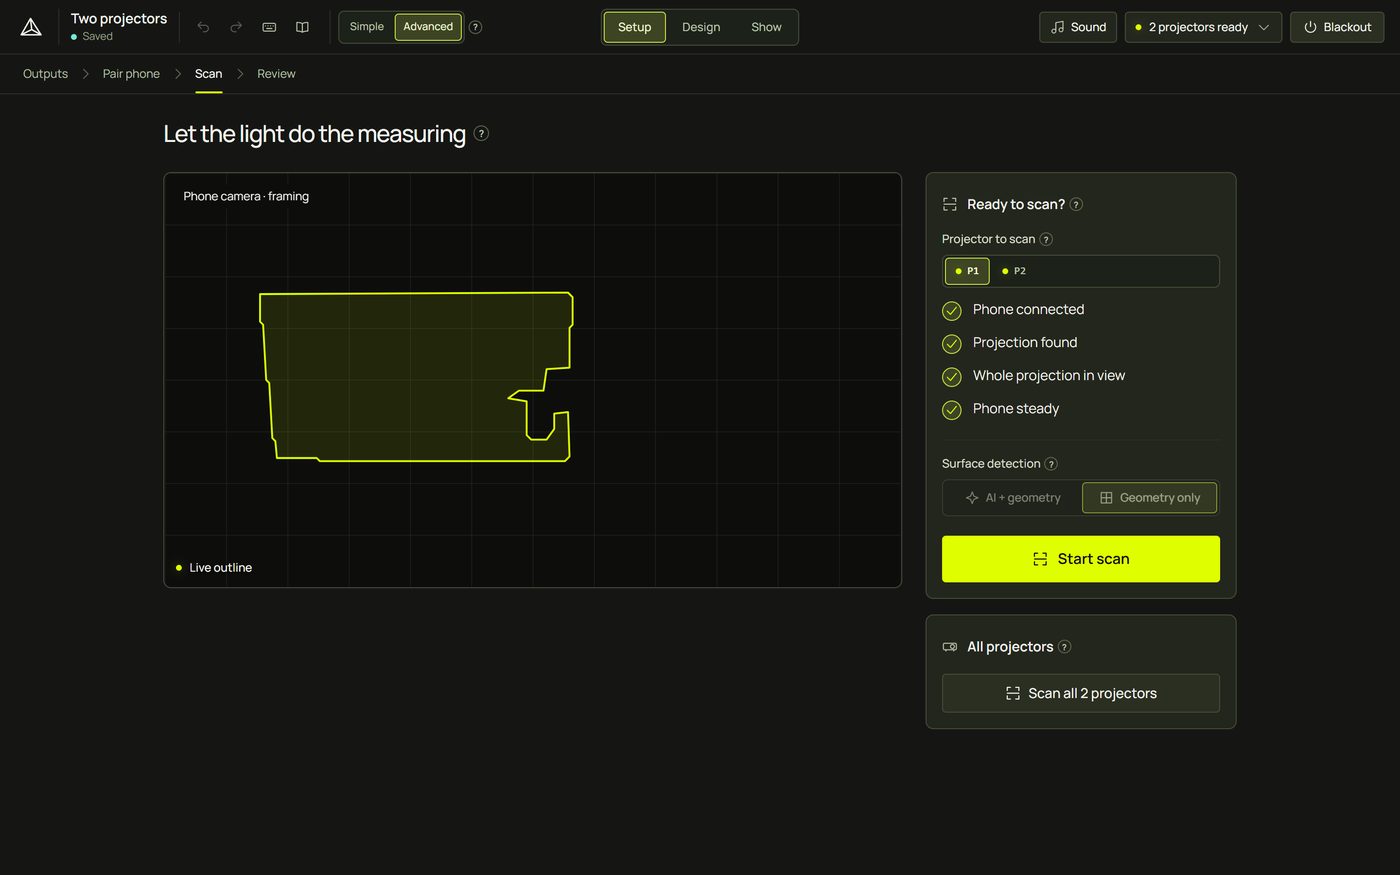
You can scan projectors one at a time (Projector to scan: P1 · P2), but Scan all is better: it scans every projector from one phone position and links the scans, so the camera can measure how they overlap.
- Place the phone where it sees every projection at once, beside one of the lenses, and prop it.
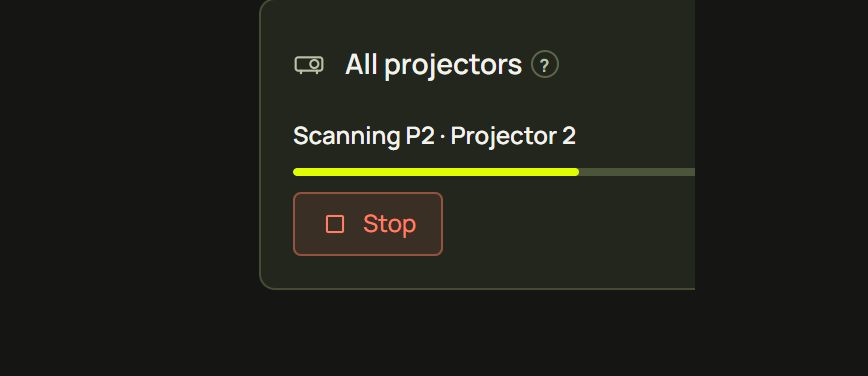
- On the Scan step, in All projectors, click Scan all 2 projectors. Each projector is scanned in turn while the others stay black.
- Keep the phone still until the last one is done. After the first, each scan starts with a check against it: the first projector lights up briefly so the phone can confirm it hasn't moved.
- Read the result for each projector, then let the camera measure the blend.
| Result | Meaning |
|---|---|
| Reference | The first projector scanned; the others are measured against it. |
| Linked | The phone hadn't moved: the scans line up exactly. |
| Phone moved — corrected | The phone moved a little between scans; prism measured the move and corrected for it. |
| Not confirmed | prism couldn't check this scan against the first one; the reason is shown. Click Rescan for that projector, or Scan all again if the phone's page was reloaded. |
4The blend
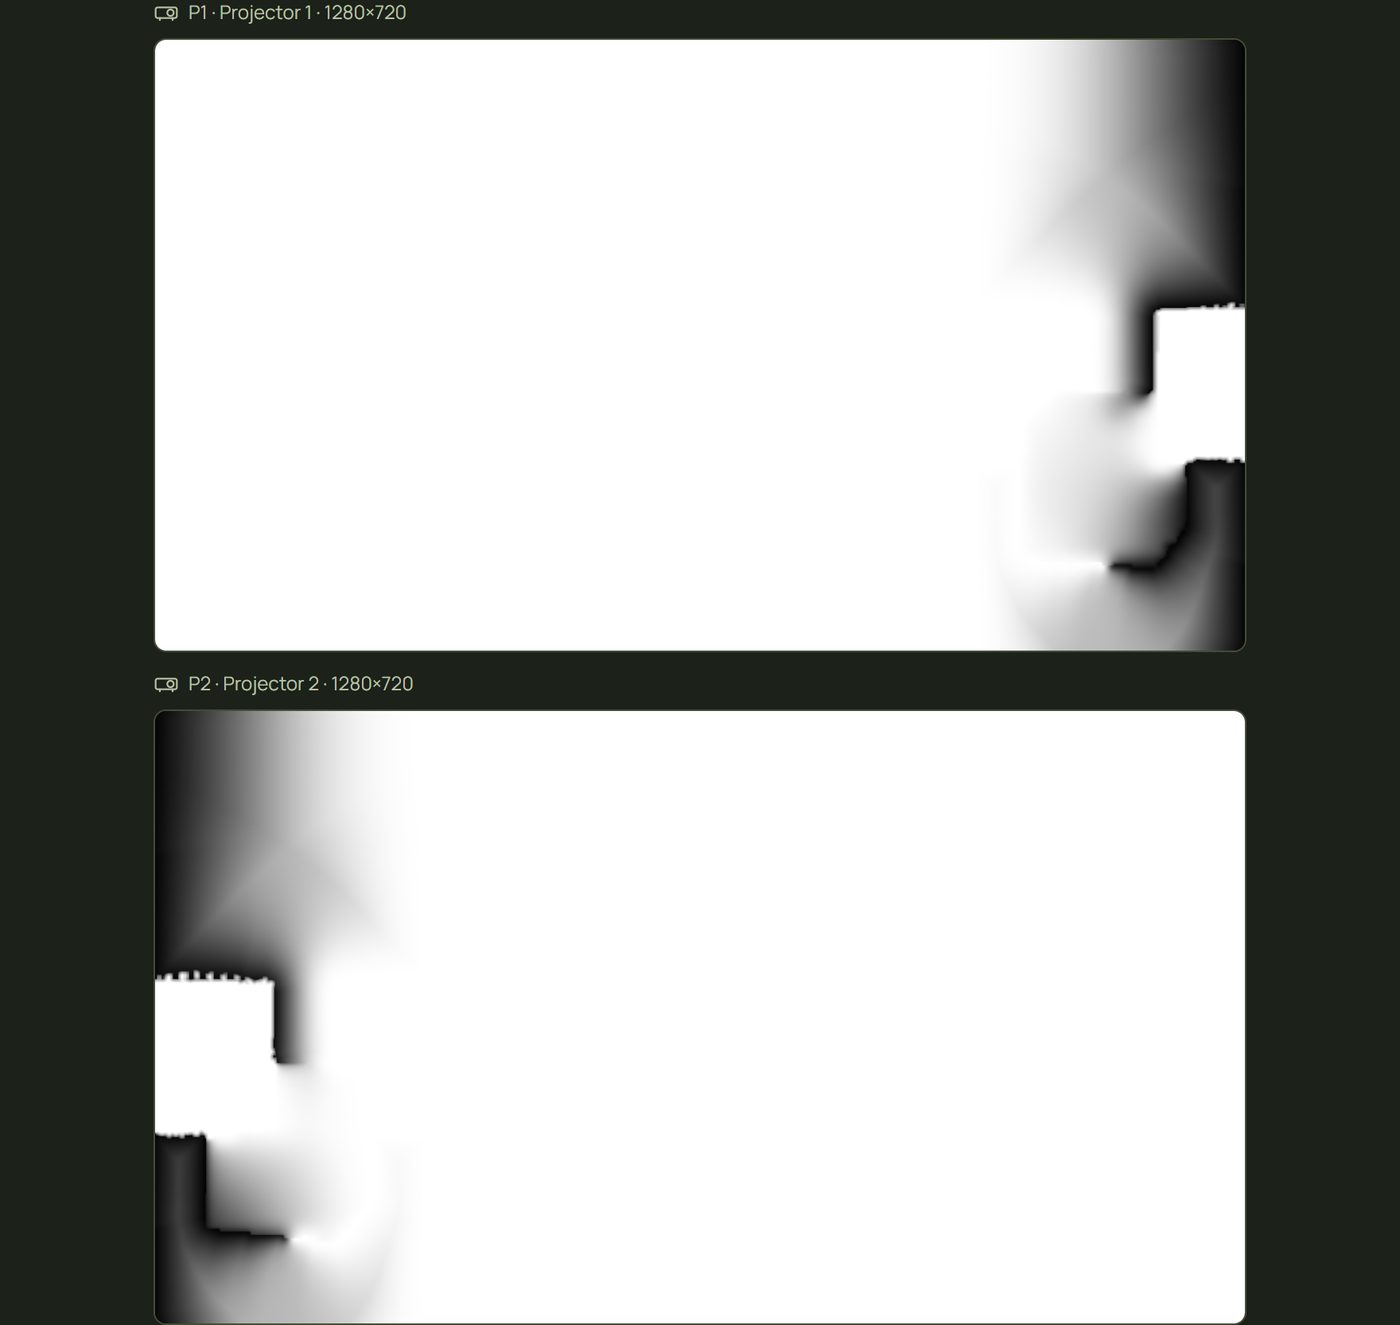
Where two projectors overlap, both light the wall, so the overlap is twice as bright as the rest. A soft edge fades each projector out across the overlap so that together they add up to the same brightness everywhere.
After Scan all, prism sets it up for you: every scanned projector gets Edge blending on, measured by the camera (“The camera measured how the projectors overlap: they blend”). To see it, click P1 in the canvas toolbar.
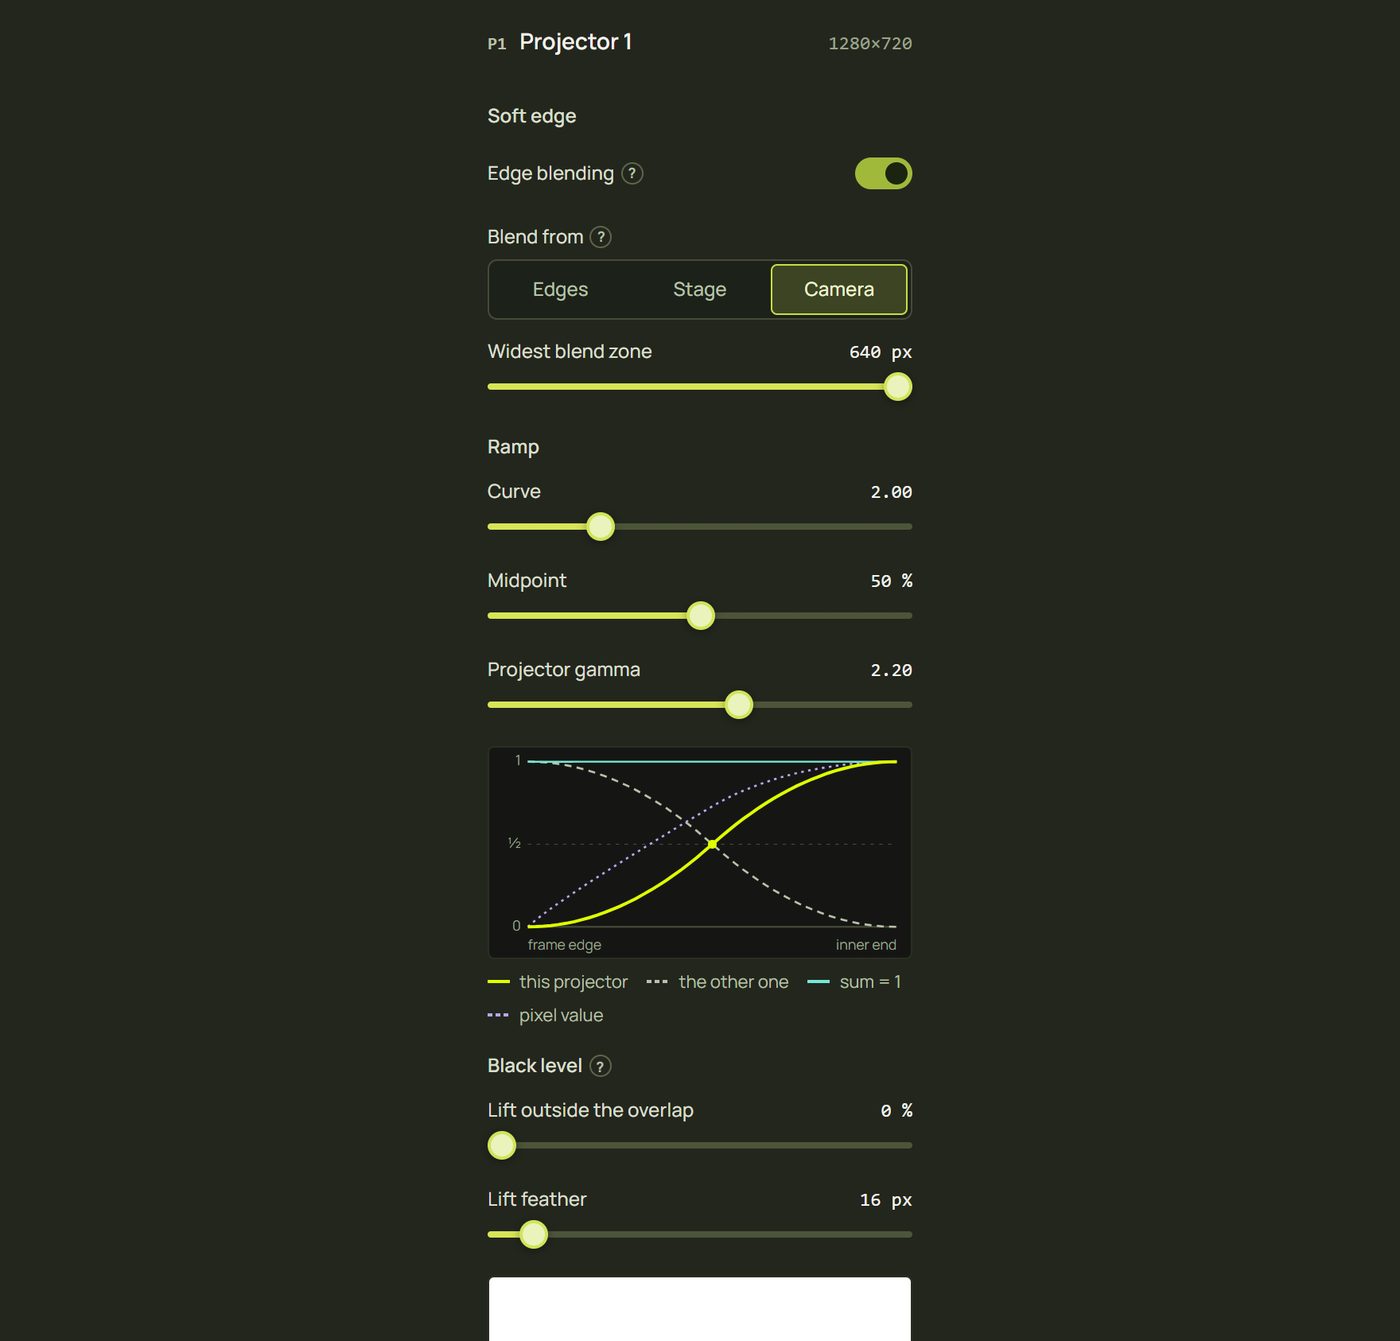
| Blend from | What sets the overlap | Use it when |
|---|---|---|
| Camera | Measured by Scan all: any shape of overlap, shadows included. | You scanned every projector in one go (best). |
| Stage | Where the projectors' frames overlap on the stage. | You lined the frames up by hand. |
| Edges | Four ramps you set by hand: left, right, top, bottom. | A simple side-by-side setup, or fine-tuning. |
The graph shows this projector's light, the other's and their sum: teal when the sum is flat (even), amber when it isn't. The ramp shapes the fade: Curve (how gentle), Midpoint (where the two meet) and Projector gamma (match it to your projectors, usually around 2.2). With Camera and Stage, Widest blend zone caps how wide the fade may get.
5Soft edges by hand
With Blend from Edges, set how many projector pixels each edge fades over: Left, Right, Top, Bottom. Match the stage overlap fills them in from the stage.

6Black level
A projector's “black” is never quite black, and where two overlap their blacks add up: in a dark scene the overlap shows as a grey band. Black level fixes this by raising everything outside the overlap to match. Show black on every projector (a dark scene, or Black on the cards), then raise Lift outside the overlap until the band disappears; Lift feather softens the step.
7Test patterns
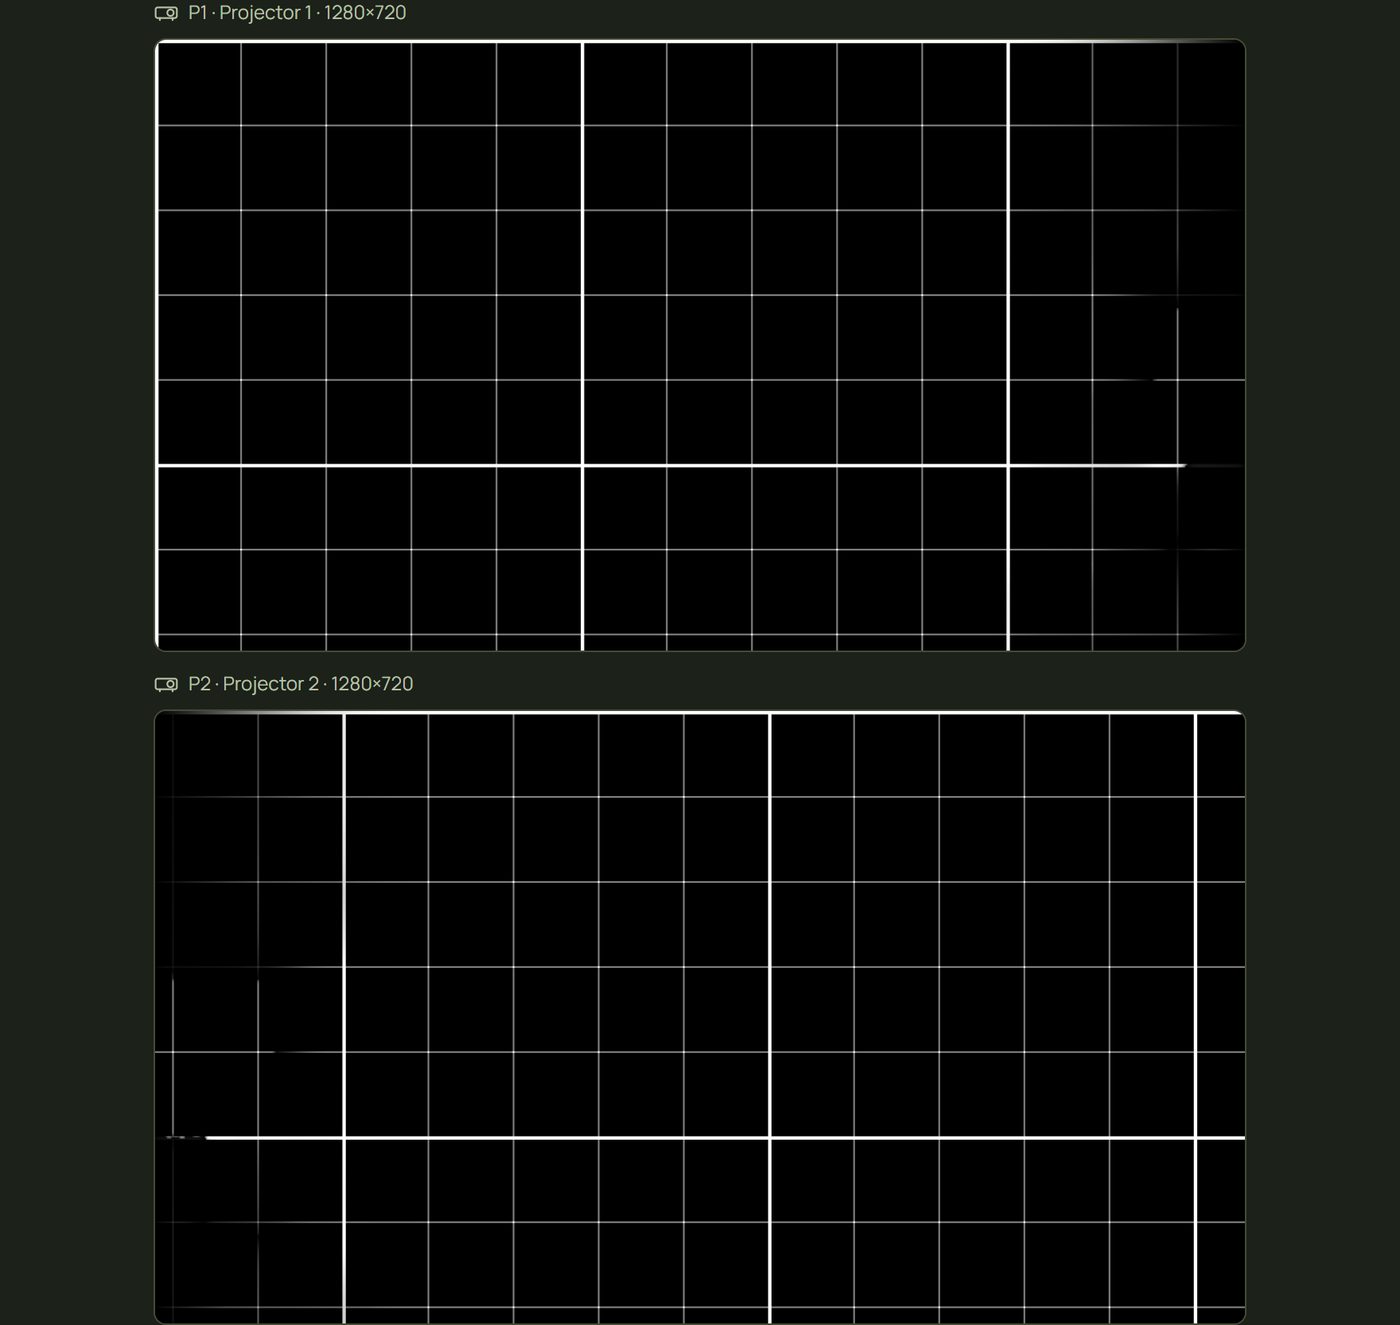
Test pattern in a projector's settings shows a pattern on every projector while it's on: White (check the blend is even), Grey (check mid-tones and colour), Stage grid (a grid across the whole stage, to line projectors up by eye). Set it back to Off when you're done.
8Trim
Two projectors never match exactly, even of the same model. Trim matches this projector's Brightness and its Red, Green and Blue to the others (0–150%). Compare them side by side on White and Grey, and bring the brighter one down rather than the dimmer one up. Reset returns to 100%.

9The stage
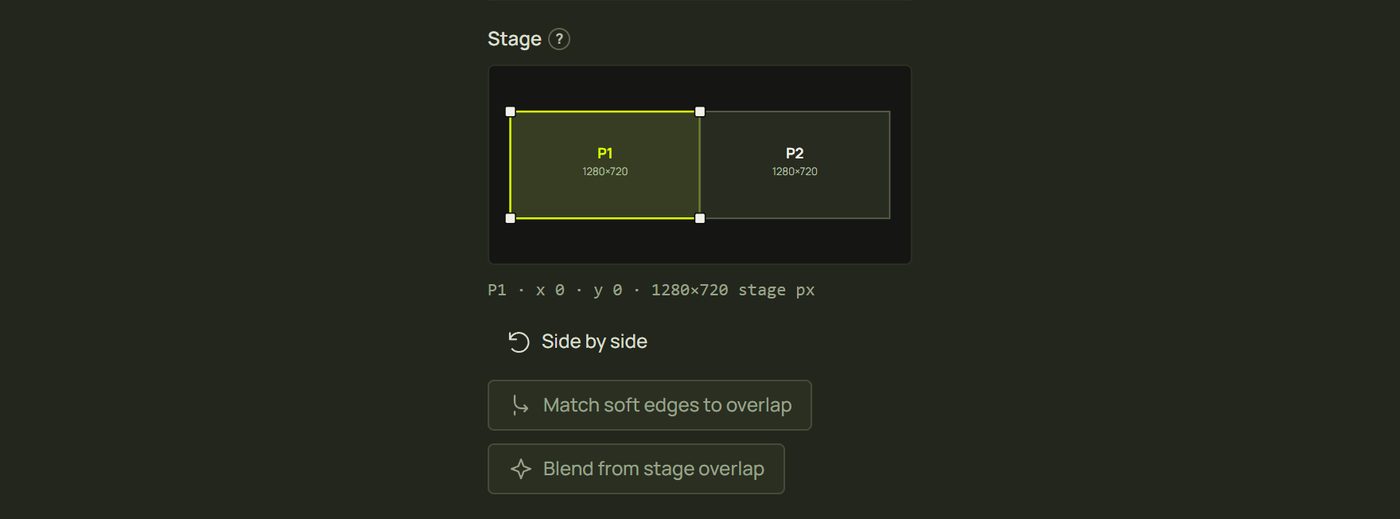
The stage is a map of where each projector's picture lies in the shared scene. Content set to span the whole scene runs across all of them as one picture, and the Stage blend uses it.
- Drag a frame to move it; its edges snap to the others' (hold Alt to move freely). Drag the selected frame's corners to reshape it. Arrow keys nudge by 1, Shift + arrows by 10.
- Overlaps are hatched, with their width.
- Side by side resets the layout; Match soft edges to overlap sets every projector's edge ramps from it; Blend from stage overlap switches them to Stage blending.
10Surfaces per projector
Every surface belongs to one projector. The canvas toolbar's P1 · P2 · + switches which projector you're working on; each projector's window shows only its own surfaces. A 3D object can be lit by several projectors at once (its card's Add here).

Hints and tips
- Overlap by 10–25%. A wider overlap blends more smoothly; too little leaves a visible seam.
- Same model, same settings. Matching projectors (and the same colour mode) make trims small.
- Trim first, blend second. Match brightness and colour, then check the blend on White.
- One phone position for Scan all. Somewhere it sees every projection, as close to the lenses as you can.
- Check dark scenes for a grey band in the overlap: that's what Black level is for.
When something looks wrong
| You see | Why | Fix |
|---|---|---|
| No Add projector | You're in Simple. | Switch to Advanced. |
| Scan all is greyed out | A projector window isn't open, or the phone isn't connected yet. | Open every window (Open all) and pair the phone. |
| “Not confirmed” after Scan all | The phone moved, a projector window was closed or black, or the phone's page was reloaded. | Read the reason; Rescan that projector (or Scan all again). |
| “The projectors blend from the stage: line their frames up in Design ▸ Output ▸ Stage.” | The phone couldn't link the scans (an older camera page). | Line the frames up on the stage, or reload the phone's page and Scan all again. |
| The overlap is brighter or darker than the rest | No blend, the wrong widths, or the wrong gamma. | Edge blending on; check on White; adjust Curve and Projector gamma until the graph's sum is flat. |
| A grey band in dark scenes | The blacks add up in the overlap. | Raise Lift outside the overlap. |
| The two sides differ in colour | The projectors don't match. | Trim the brighter or bluer one. |
| Camera can't be chosen | It needs every projector scanned in one go. | Scan ▸ Scan all projectors. |
| Match soft edges to overlap is greyed out | The frames don't overlap on the stage. | Overlap the frames first. |