Position, fit and input mapping
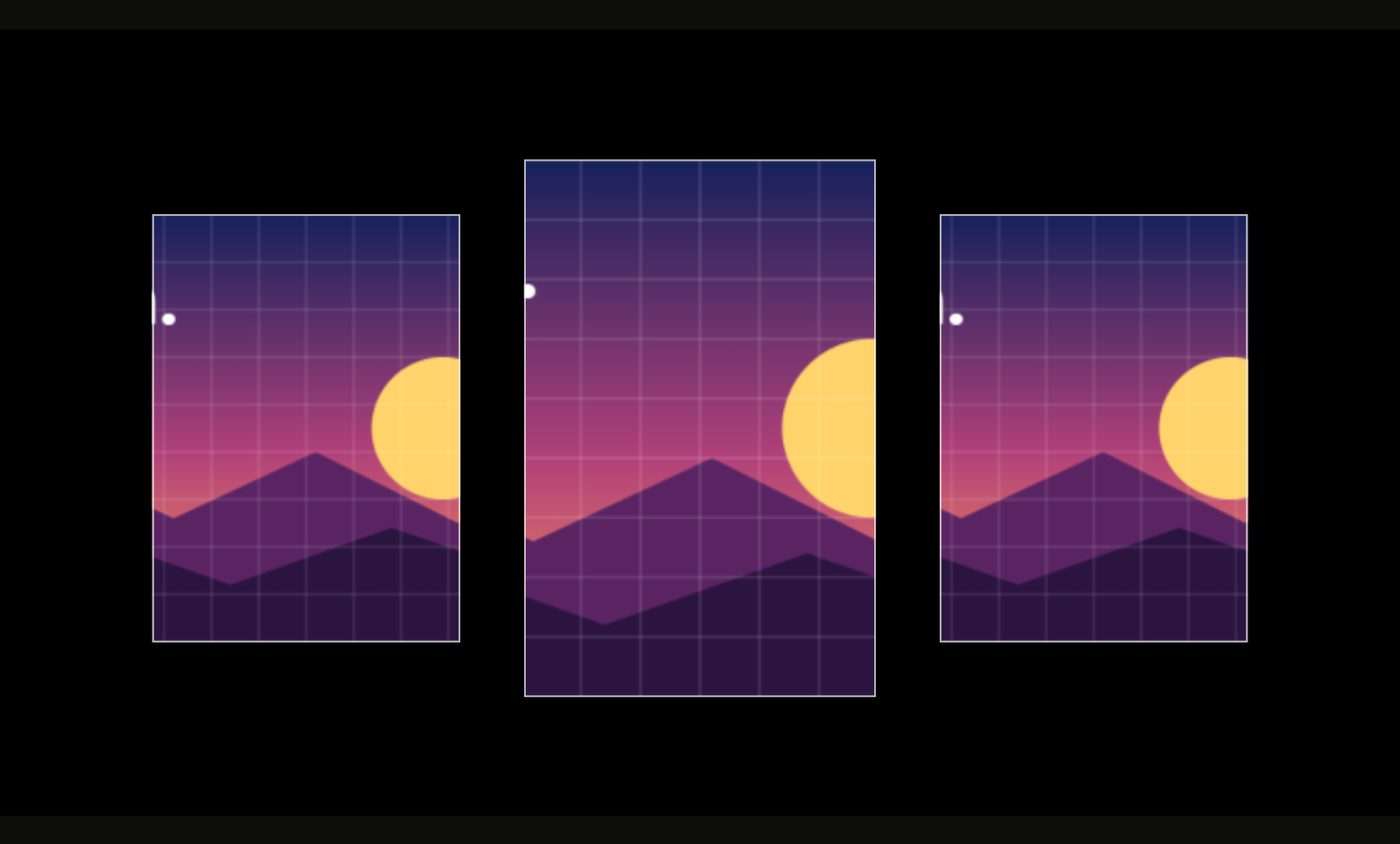
A look, picture or video is placed on its surface by its fit: it fills the surface, fits inside it, or stretches to it. When you need one exact part of a picture on a surface, such as the sun on a round window or one picture spread across three panels, you use input mapping.
Advanced the rest, the Input view
1How a picture lands on a surface
Whatever a layer shows is its content: a look, a picture or a video. By default every surface shows its whole content, placed by its fit.
2Position & fit
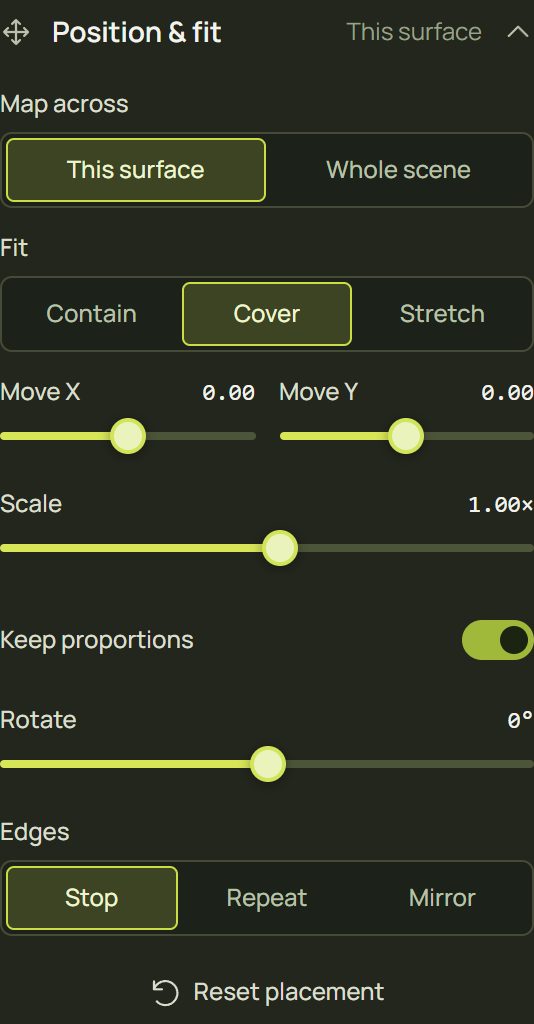
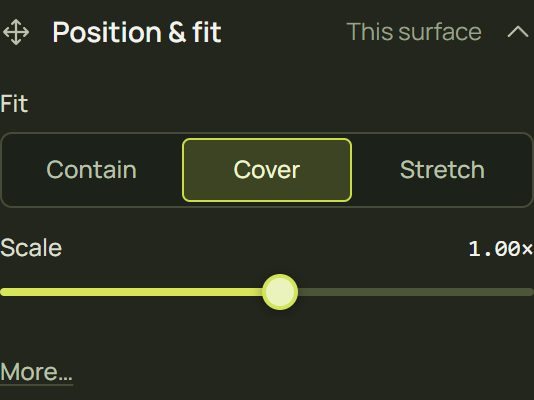
Select a surface and open Position & fit in the inspector (click its heading). It places the selected layer's content on this surface.
| Setting | What it does |
|---|---|
| Map across Advanced | This surface: the content fits this surface. Whole scene: one picture continues across every surface, as the audience sees it (section 6). |
| Fit | Contain shows the whole picture; Cover fills the surface and crops the edges; Stretch stretches it to the surface's box. Pictures and videos start on Cover, looks on Stretch. |
| Move X, Move Y Advanced | Slide the content, from −1 to 1 (a share of its width or height). |
| Scale | From 0.10× to 8×. Turn off Keep proportions for separate Scale X and Scale Y. |
| Rotate Advanced | From −180° to 180°. |
| Edges Advanced | What shows past the picture's edge: Stop (nothing), Repeat (tiles), Mirror (tiles, every other one flipped). |
| Reset placement | Puts Move, Scale and Rotate back. |
3Custom input: choose the part Advanced
Custom input picks which part of the content a surface shows, including a tilted or perspective part.
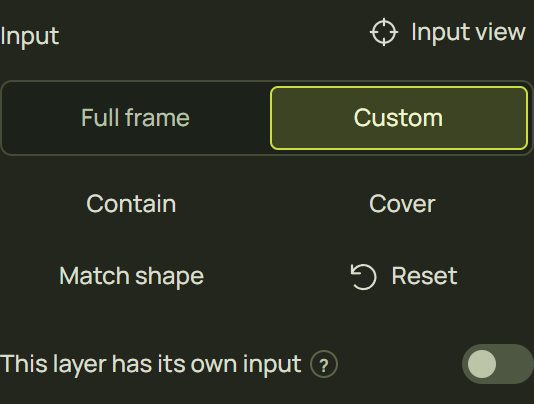
- Select the surface. In Input, press Custom. It starts from exactly what shows now, so nothing moves.
- Use a preset if one fits: Contain, Cover, Match shape (keeps the input's width and centre and gives it the surface's proportions), or Reset (back to what the fit shows).
- Press Input view to choose the part by hand (next section).
4The Input view Advanced
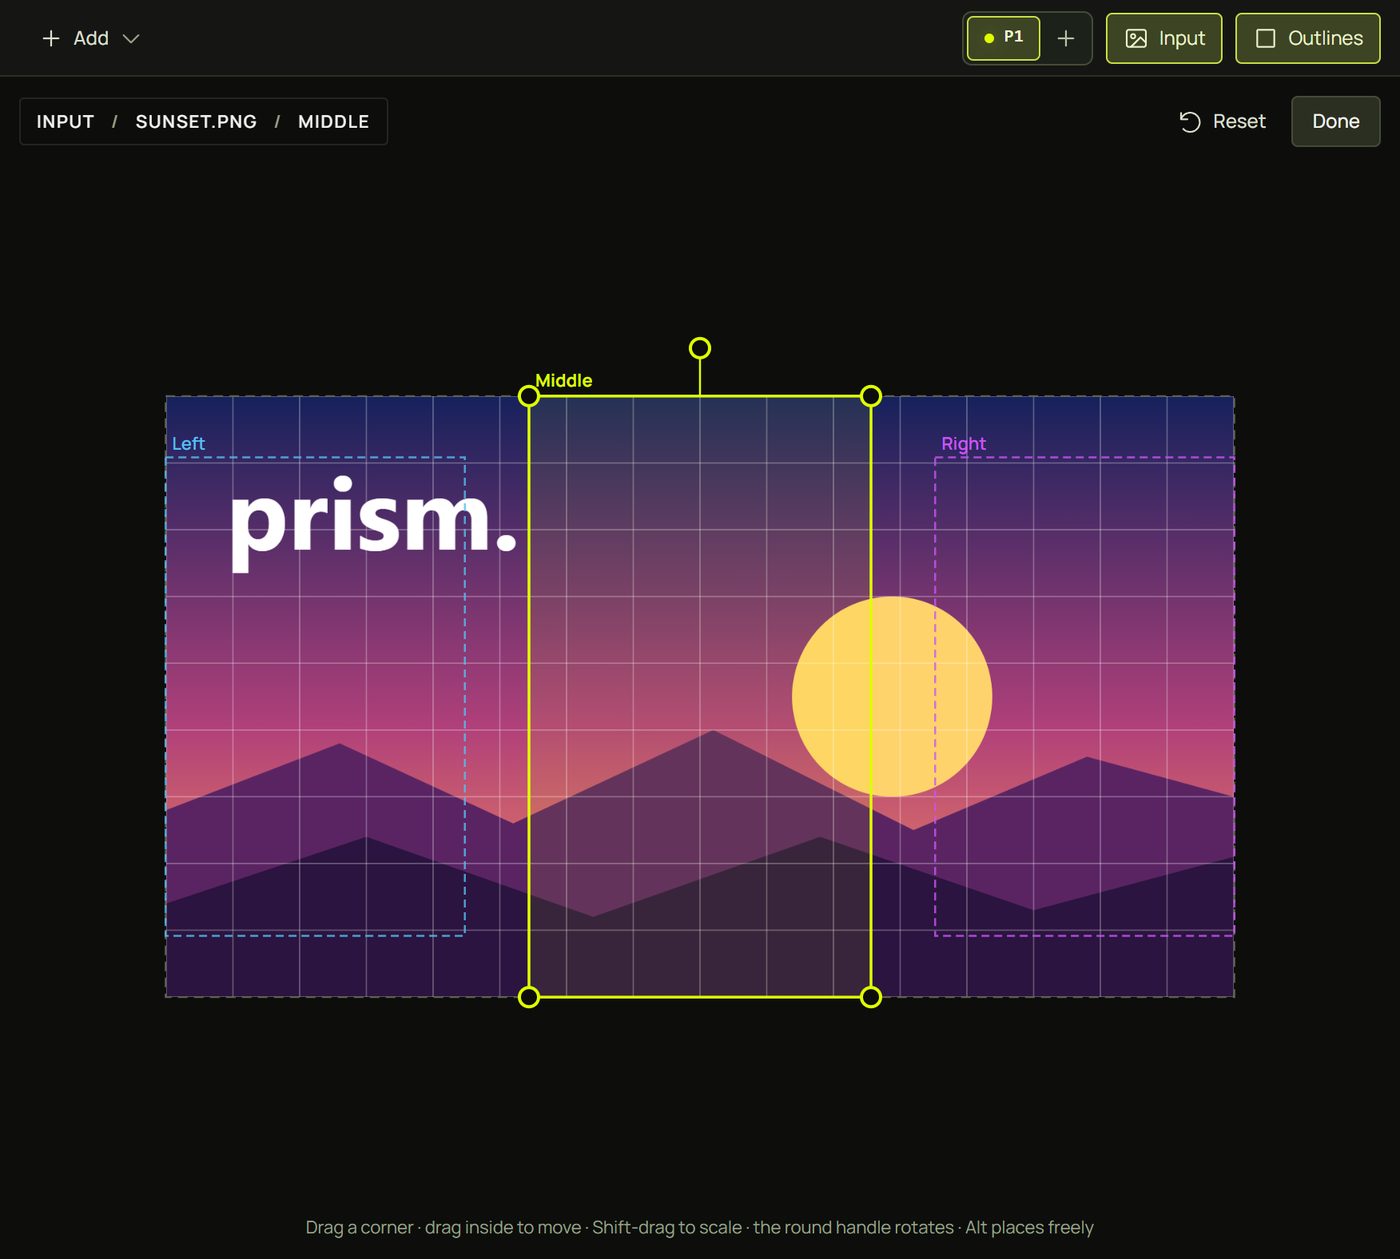
The Input view takes the canvas's place and shows the content itself, with a frame for every surface that shows it. You move the frame; the surface shows what is inside it.
- Open it with Input view in the Input section, the Input button in the canvas tool bar, or I.
- The selected surface's frame is lime. Drag a corner to reshape it in perspective, drag inside to move it, Shift-drag to scale it, and drag the round handle to turn it. Corners snap to the picture's edges, centre lines and corners; hold Alt to place them freely.
- Other surfaces' frames are dashed, with their names. Click one to edit it instead.
- Press Done (or I again) to go back to the canvas.
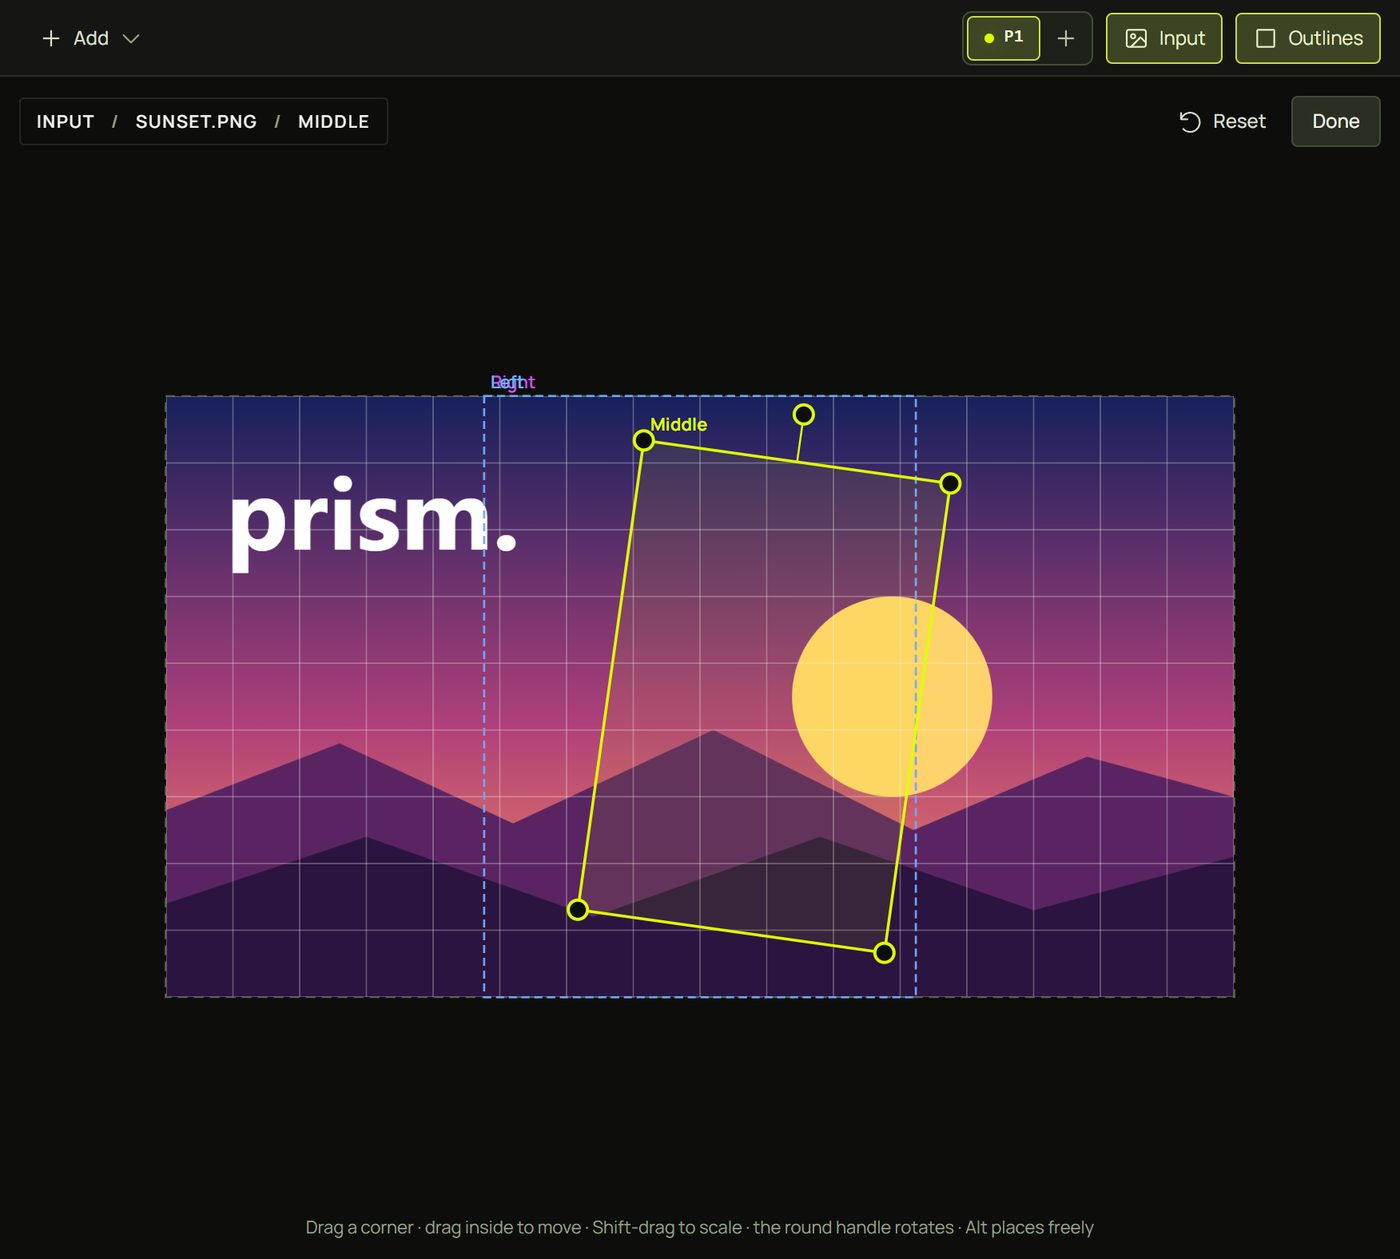
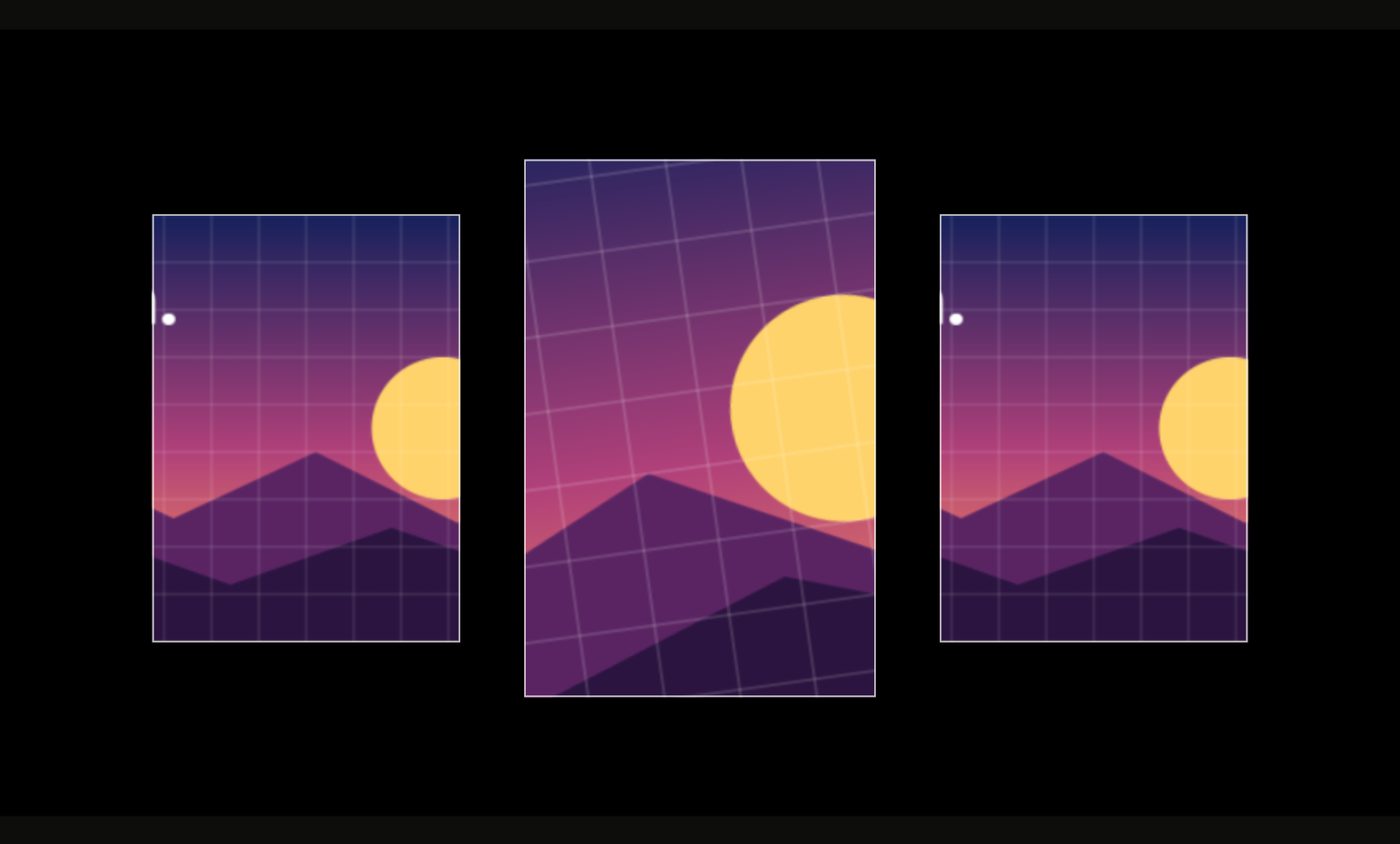
- Keys (the lime frame focused): arrows move it by 1 % of the picture (5 % with Shift), [ and ] turn it by 2°, + and - scale it by 2 %.
- Play animates a look or video while you work; Reset returns to what the fit shows.
- Each drag is one undo step, such as “Move the input of Middle”.
5One picture across several surfaces Advanced
Put one picture across several surfaces, as if they were windows onto the same image.
- Give the surfaces the same picture, video or shared look.
- Select them all (Ctrl-click in the list, or Shift-click on the canvas).
- In the Input section, press Span across 3 surfaces.
- Each surface now shows its own part of one picture, placed as the surfaces sit in the projection. Fine-tune in the Input view.
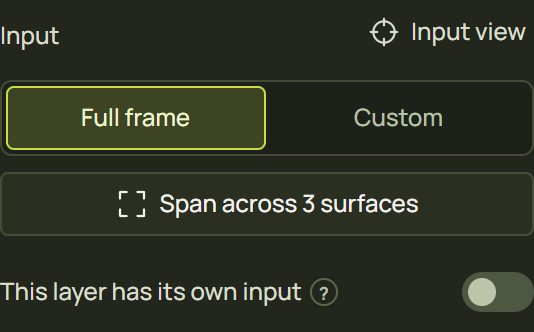
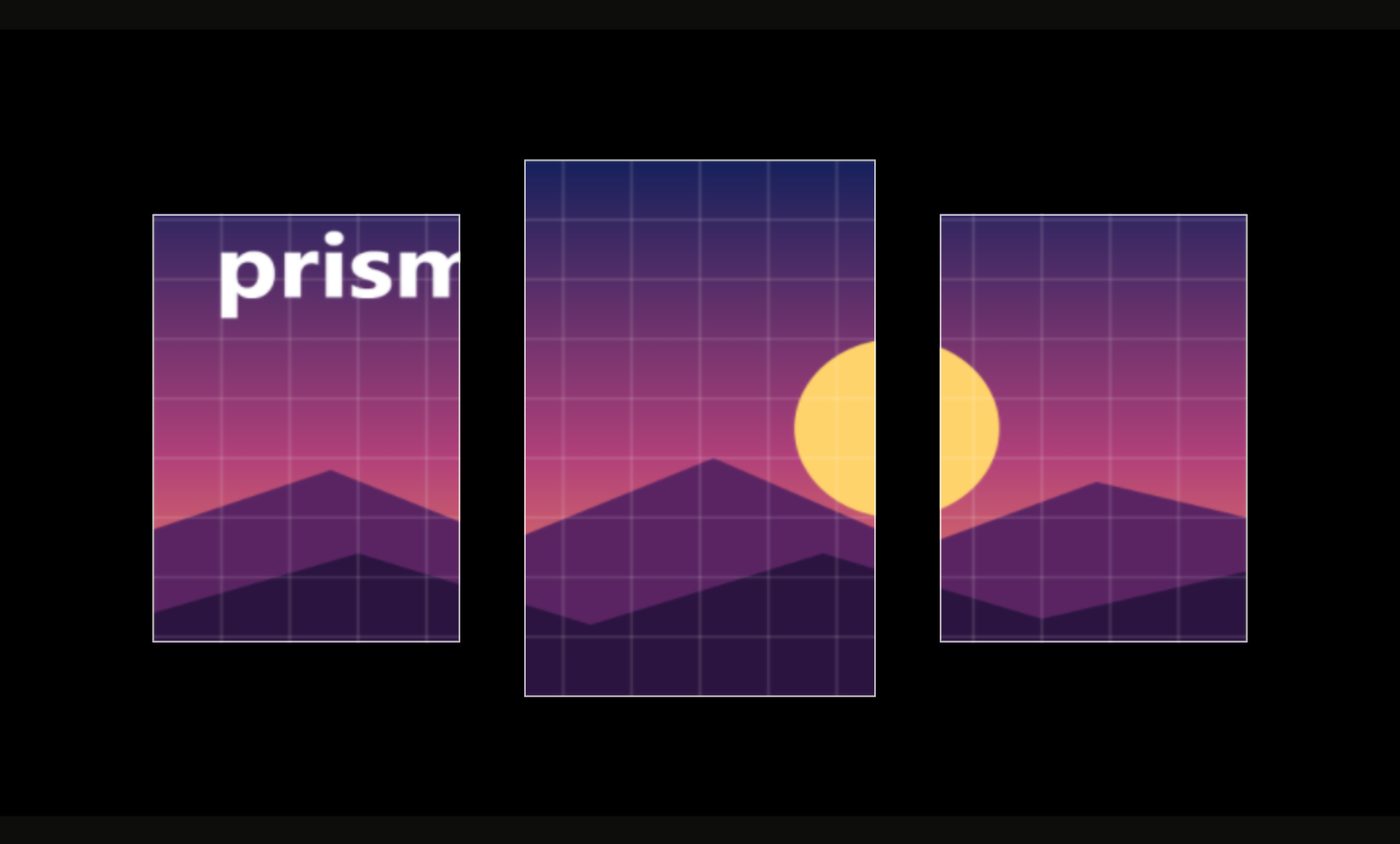
- Masks, locked surfaces and older pixel scans are left out; the section says how many (“Leaves out 1: masks, locked surfaces and pixel regions from scans.”).
- A group can do the same for its members: Span content across group in its settings (A group's settings).
6Whole scene
Whole scene is the quickest way to put one picture across everything, on every projector.
- Click Whole scene at the top of the Surfaces list. The library opens, titled Whole scene: “One layer spanning every surface”.
- Pick a look, picture or video. Every surface gets a new layer showing its part of it, as the audience sees the room.
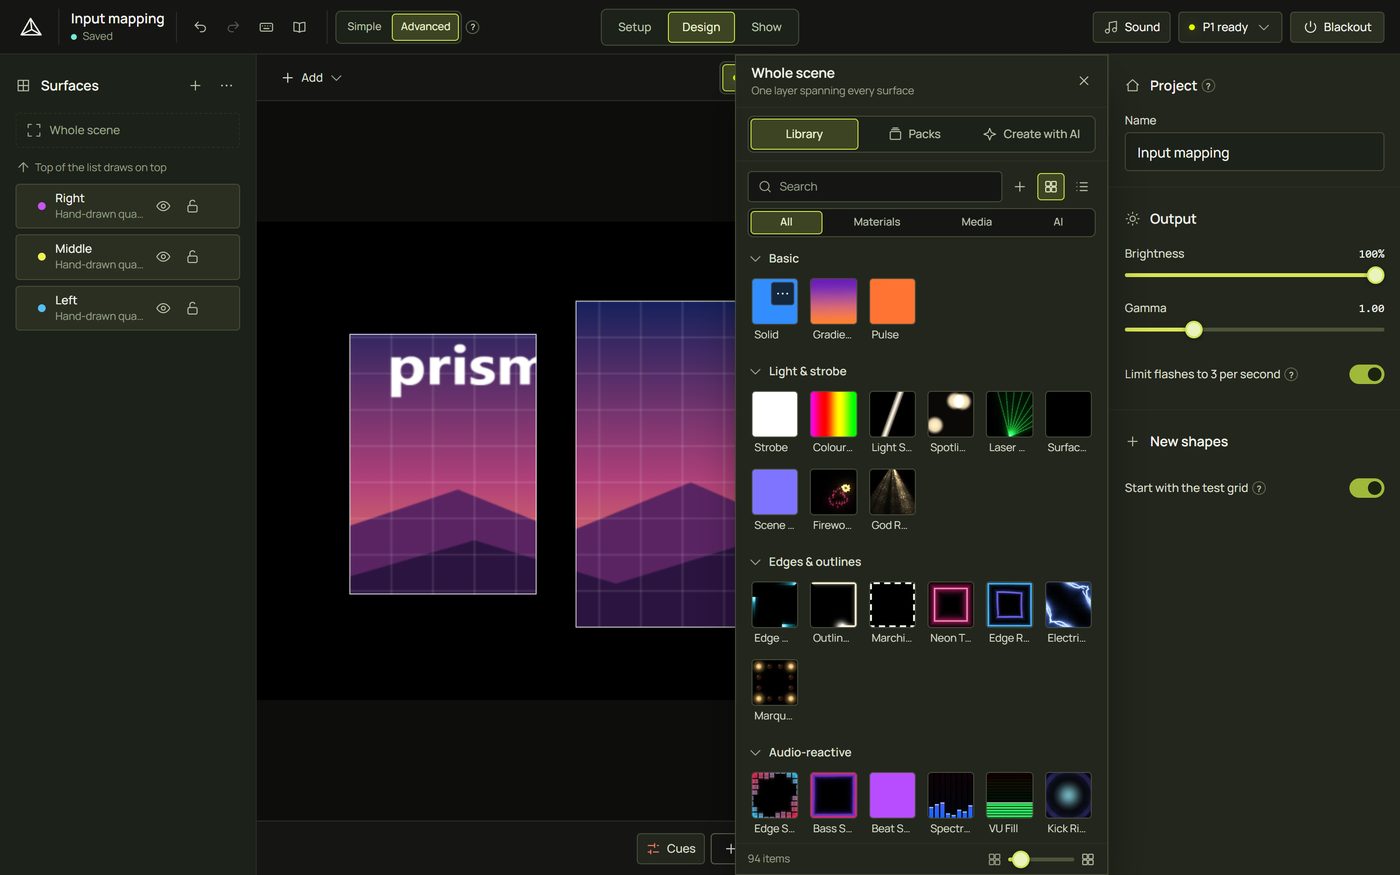
- Such a layer's Position & fit reads Whole scene, and its Input section says “Input: mapped across the whole scene.” Fit, Move, Scale and Rotate still work, across the whole scene.
- To map one layer on its own surface again, set Map across to This surface.
- Span or Whole scene? Span changes how the selected surfaces show their own layer. Whole scene adds a new layer to every surface.
7A layer's own input Advanced
A surface's input applies to all its layers. To map one layer differently, select it and turn on This layer has its own input in the Input section. It starts from what shows now; from then on Custom, the presets and the Input view change that layer only. Turn it off to use the surface's input again. See Layers.
8Hints and tips
- Cover for pictures on odd shapes (no black bars), Contain to see everything, Stretch for generated looks.
- After Custom, press Match shape so the picture isn't squashed on the surface.
- Span when the surfaces are in place. A span uses where the surfaces sit at that moment; if you move one later, span again or adjust it in the Input view.
- One video, many surfaces: Whole scene for everything, Span for a chosen few.
9When something looks wrong
| You see | Why | Fix |
|---|---|---|
| Input view is greyed out | The layer has no content yet (an empty image or video slot), or the surface is locked. | Pick a picture or video first, or unlock the surface. |
| The picture looks squashed | It is on Stretch, or a custom input has other proportions. | Use Cover or Contain, or Match shape. |
| Span across… is greyed out | Fewer than two of the selected surfaces can take part. | Select two or more unlocked surfaces that aren't masks. |
| After a move, a surface shows the wrong part | The span was worked out before the move. | Span again, or adjust the frame in the Input view. |
| “Input: mapped across the whole scene.” | That layer is a Whole scene layer. | Set Map across to This surface to map it on its own. |
| A custom input moved another layer too | The surface's input applies to all its layers. | Turn on This layer has its own input for the one that should differ. |
10Mouse and keyboard
| Action | How |
|---|---|
| Open or close the Input view | I · Input in the tool bar · Done |
| Reshape · move · scale · turn | Drag a corner · drag inside · Shift-drag · drag the round handle |
| Place without snapping | Hold Alt |
| Nudge · turn · scale (keys) | Arrows (1 %, Shift 5 %) · [ ] (2°) · + - (2 %) |