Surfaces list and groups
The list on the left of Design holds every surface, group and mask of the projector you are working on. Its order is the drawing order: the top of the list draws on top. Hide, lock, rename and group from here, and a big show stays tidy.
Advanced Span content across group
1The list at a glance
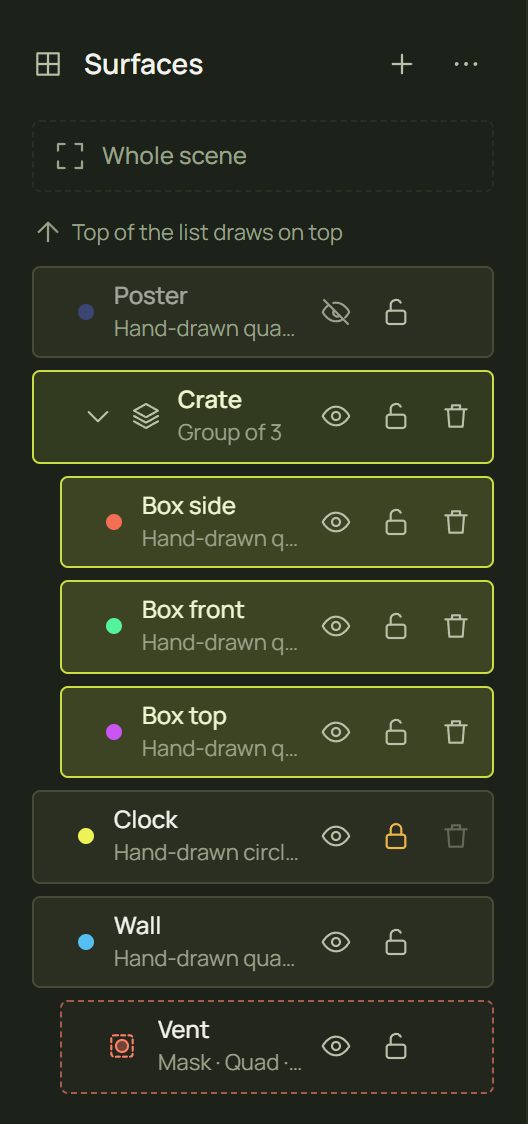
- Each row has a colour dot, the name, and a second line saying what it is: “Hand-drawn quad · 1 layer”, “Group of 3”, “Mask · Quad · cuts Wall”.
- The buttons on a row: the eye hides it, the padlock locks it, the bin deletes it. The bin shows on the selected row and when you hover a row.
- A mask sits right under the surface it cuts, indented.
- + at the top opens the Add menu; … opens the list's menu (section 10).
- Hover a row to light up that surface on the canvas.
2Select rows
- Click a row to select it. A group's row selects the group and everything in it, and the inspector shows the group.
- Ctrl-click (⌘-click on a Mac) adds a row or takes it out. Shift-click selects a range; ranges stay inside one group.
- Alt-click a member to select its group.
- With a row focused, ↑ and ↓ move the selection, Shift + ↑/↓ extend it, and ←/→ close and open a group.
- With several selected, Esc keeps just one.
3Change the drawing order
Where surfaces overlap, the one higher in the list covers the one below (unless you change its blend mode).
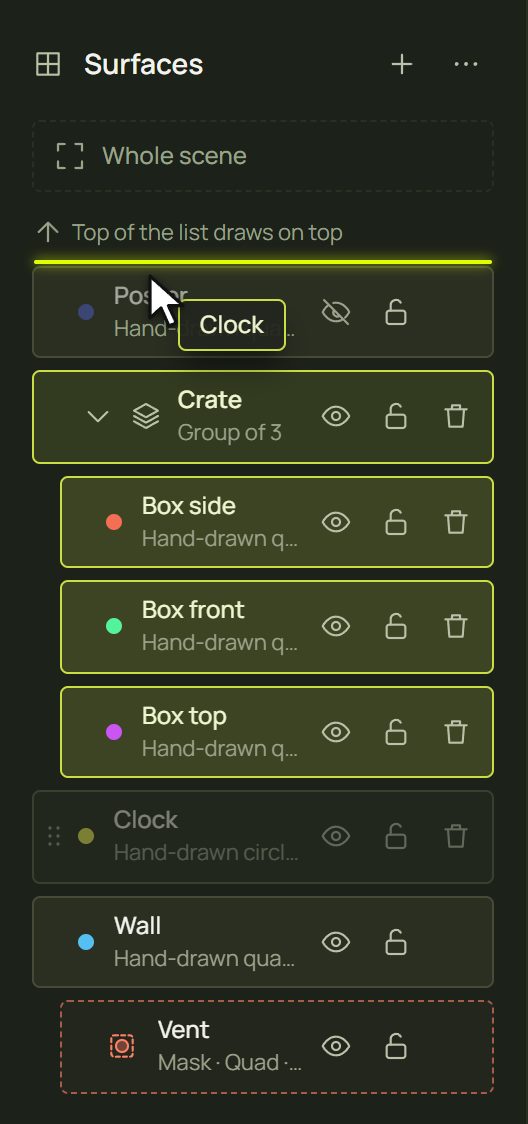
- Drag a row up or down. A lime line shows where it will land.
- To put it into a group, drop it on the middle of the group's row. To take it out, drag it outside the group.
- Esc during the drag cancels it.
- From the keyboard: Alt + ↑/↓ moves the focused row up or down. Ctrl + ] and Ctrl + [ bring the selection forward or send it backward; add Shift to go all the way to the front or back. These work on the canvas too.
- A surface in a group moves among the members of its group. A group moves as one block, with everything in it.
- A mask moves with the surface it cuts.
4Hide, lock, rename, delete
| Button or key | What it does |
|---|---|
| Eye · Ctrl + Shift + H | Hides it: the projector shows nothing of it. On the canvas it stays faint and dashed, so you can still find it. |
| Padlock · Ctrl + Shift + L | Locks it: it can't be moved, reshaped or given another look, and clicks on the canvas go through it. You can still hide, rename and reorder it. |
| Double-click the name · F2 | Renames it. Enter keeps the new name, Esc cancels. |
| Bin · Delete | Deletes it. A note with Undo appears. On a group, the bin deletes the group with everything in it. |
| Right-click ▸ Solo | Shows only this surface. Choose Solo again, or click its Solo badge, to show the others. |
5Groups
A group lets you move, hide, lock, fade or blend several surfaces as one: the faces of a box, a row of windows, everything on one wall.
- Select the surfaces: Ctrl-click their rows, or Shift-click them on the canvas.
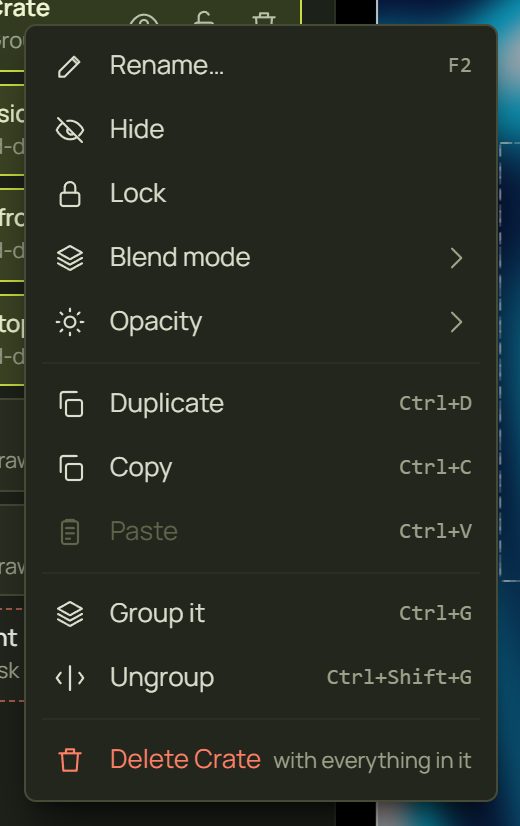
- Press Ctrl + G. (Also: Add ▸ Group from selection, right-click ▸ Group, or Group them in the bar for several.)
- The new group, “Group 1”, is selected. Rename it with F2.
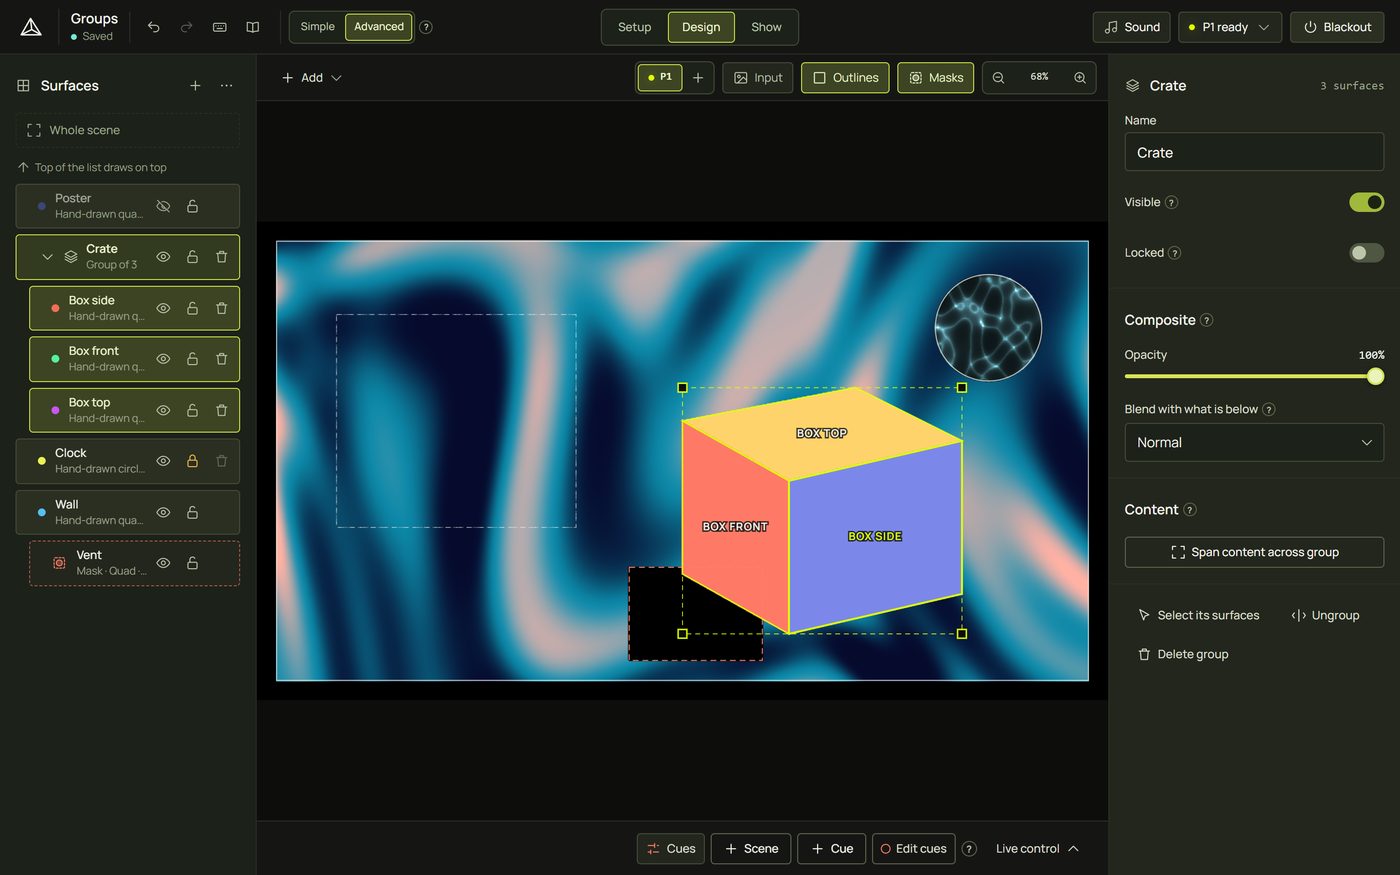
- Open or close a group with the arrow on its row.
- Groups in groups: up to four levels deep.
- Ungroup with Ctrl + Shift + G. The surfaces stay where they are. Masks that cut the group are hidden until you give them something else to cut (Masks).
- In and out: Alt + ← takes the focused row out of its group; Alt + → puts it into the group right above it.
6A group's settings
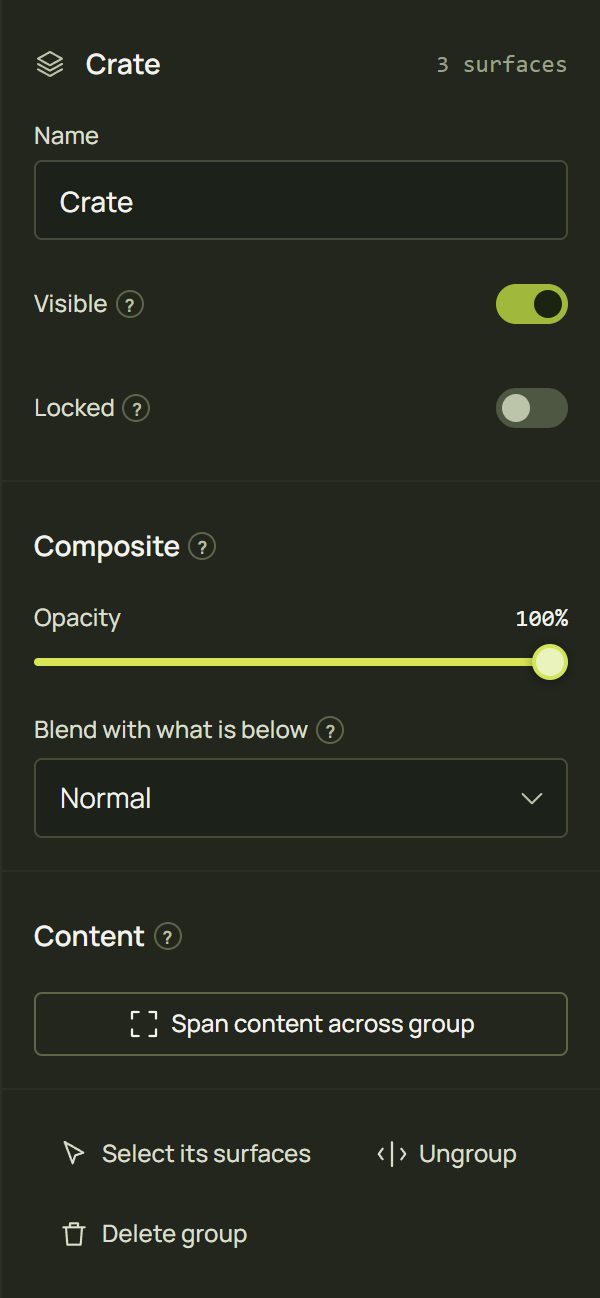
- Name, Visible, Locked.
- Composite (Simple mode: “Opacity and blend”): Opacity and Blend with what is below. The members are drawn together first, then laid on what is below, so at 50 % you see half of the group's picture, not see-through surfaces stacked on each other.
- Content Advanced: Span content across group spreads one picture across the members as they sit in the projection. Put the same picture or video on two or more of them first. See input mapping.
- Select its surfaces, Ungroup, Delete group.
7Move several at once
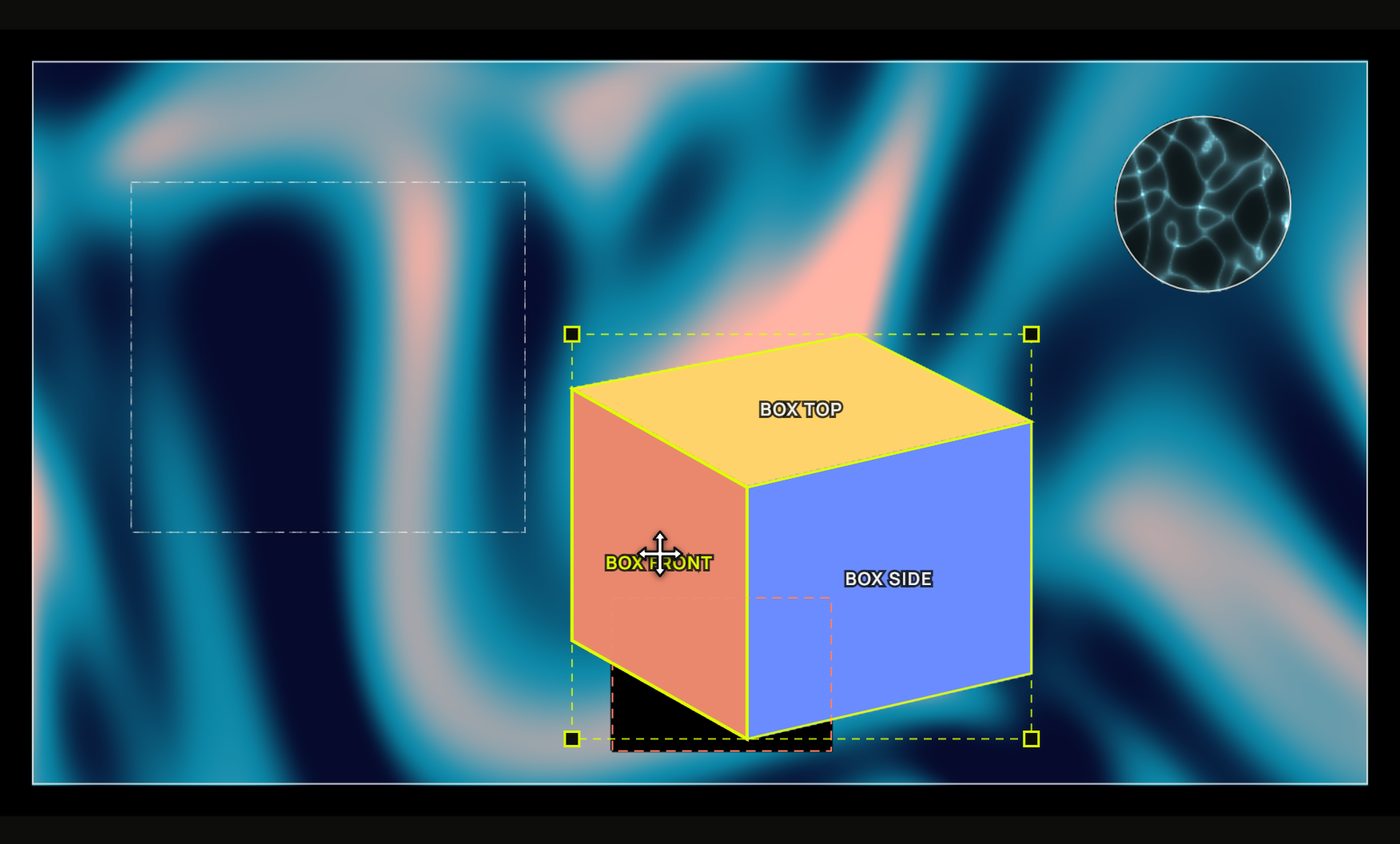
- Drag any member of a selected group, or any of several selected surfaces: they all move, as one undo step.
- Alt-drag a surface on the canvas to grab its whole group without selecting it first.
- Scale them with the corner squares of the dashed box: they scale about the opposite corner, and Shift keeps their proportions.
- Nudge them with the arrow keys: 1 px, or 10 px with Shift.
8The bar for several
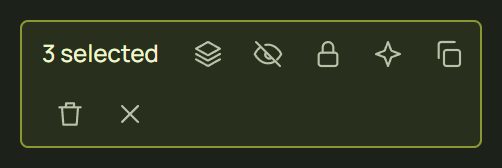
Select two or more rows and a bar appears above the list, with buttons for all of them at once.
9Whole scene
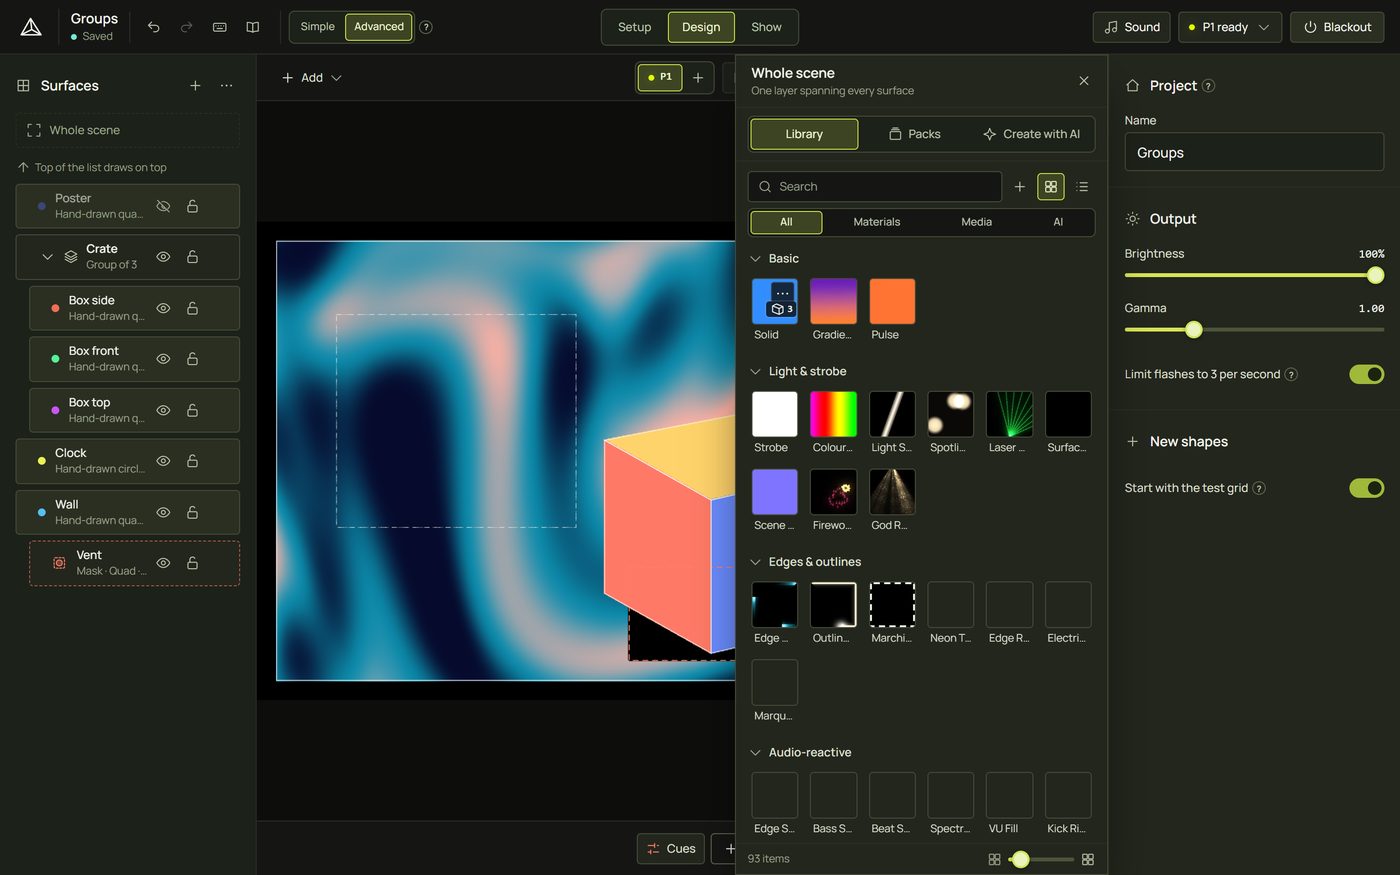
The dashed Whole scene row at the top of the list puts one picture across every surface, as the audience sees them: a video that flows from the wall onto the boxes and back.
- Click Whole scene. The library opens, titled Whole scene.
- Pick a look, a picture or a video (or drag one from the library onto the row).
- Every surface gets a layer showing its part of that one picture. Masks, locked surfaces and surfaces that already have four layers are left out. It is one undo step.
More on this in Position, fit and input mapping.
10The list's menus
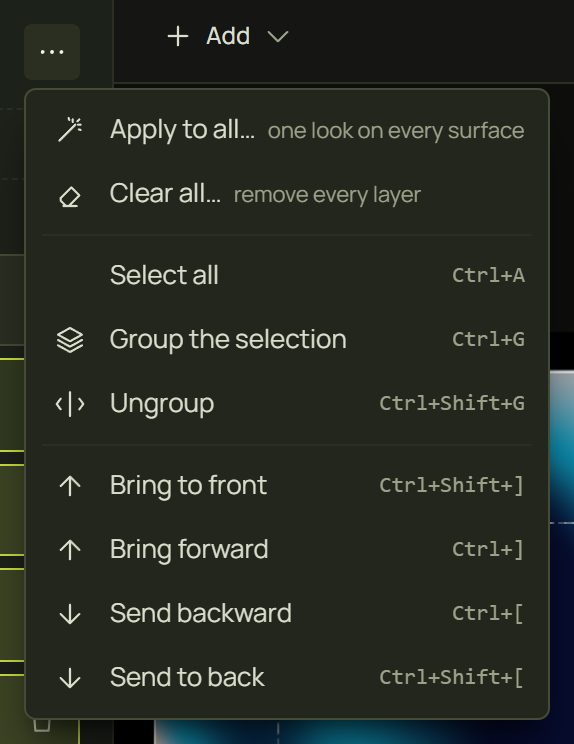
- Apply to all… puts one look on every surface; Clear all… removes every layer. Both ask first.
- Select all (Ctrl + A), Group the selection, Ungroup.
- Bring to front, Bring forward, Send backward, Send to back. Greyed items say why, for example “Already at the front”.
- Right-click a surface's row for the same menu as on the canvas.
11Hints and tips
- One group per real object. “Crate”, “Door”, “Speaker left”: easy to find, hide and fade later.
- Background at the bottom, then lock it. The wall goes last in the list and gets the padlock; clicks then reach the surfaces on it.
- Solo to check one surface on the real object, then Solo again to bring the rest back.
- Fade an object as a whole with its group's opacity; the faces don't show through each other.
- Close the groups you are not working on to keep the list short.
- Name as you go with F2.
12When something looks wrong
| You see | Why | Fix |
|---|---|---|
| A surface is hidden behind another | It is lower in the list. | Drag its row up, or Ctrl + Shift + ]. |
| A surface can't be dragged or clicked | It, or its group, is locked. | Unlock it with the padlock (or the group's). |
| The bin is greyed out | The surface, or its group, is locked. | Unlock it (or the group) first. |
| A row won't go into a group | Groups nest at most four deep, and surfaces can't move to another projector's list. | Drop it into a group higher up, or ungroup one level. |
| Masks vanished after ungrouping | They cut the group, which is gone. | Select each mask and choose what it cuts, or Keep it unattached. |
| A hidden surface still shows on the canvas | The canvas keeps hidden surfaces faint and dashed so you can find them. | Nothing to fix: the projector shows nothing of it. |
13Mouse and keyboard
| Action | How |
|---|---|
| Select | Click · Ctrl-click add · Shift-click range · Alt-click the group |
| Move in the list | Drag · Alt + ↑/↓ |
| Front · back | Ctrl + ] / [ · with Shift: all the way |
| Group · ungroup | Ctrl + G · Ctrl + Shift + G |
| Into · out of a group | Alt + → · Alt + ← |
| Hide · lock | Ctrl + Shift + H · Ctrl + Shift + L |
| Rename · duplicate · delete | F2 · Ctrl + D · Delete |
| Select all | Ctrl + A |