Blend modes
A blend mode decides how a surface mixes with the surfaces below it. Normal covers them. Multiply darkens them like a coloured gel. Screen and Add brighten them, like light added to light. prism has 14 modes for surfaces, groups and layers, and they are there in Simple mode too.
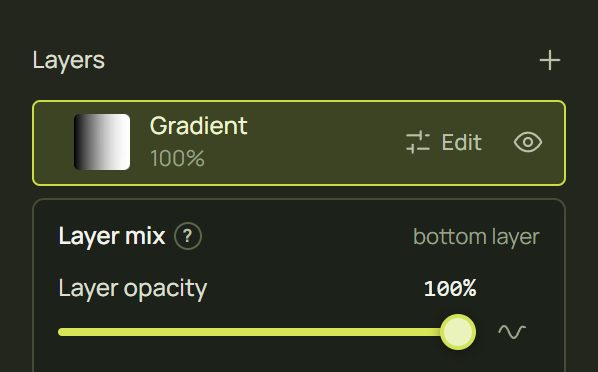
Advanced Layer mix
1Set a surface's blend
- Make sure the surface sits above the one it should mix with: higher in the Surfaces list, and overlapping it.
- Select it. In the inspector, under Blend with surfaces below, choose a Blend mode. Or right-click it ▸ Blend mode.
- Set its Opacity if you want less of the effect.
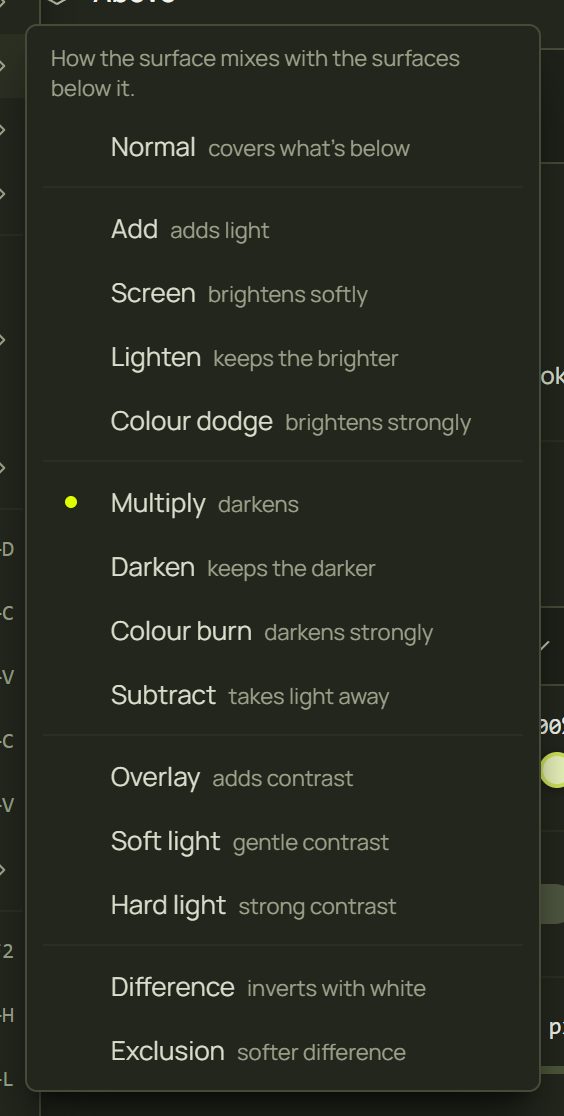
- Several at once: select several surfaces and the section sets them all (it says “2 surfaces”; the picker reads Mixed when they differ). Locked surfaces are left as they are.
- Each change is one undo step, such as “Set the blend of Poster to multiply”.
2All 14 at a glance
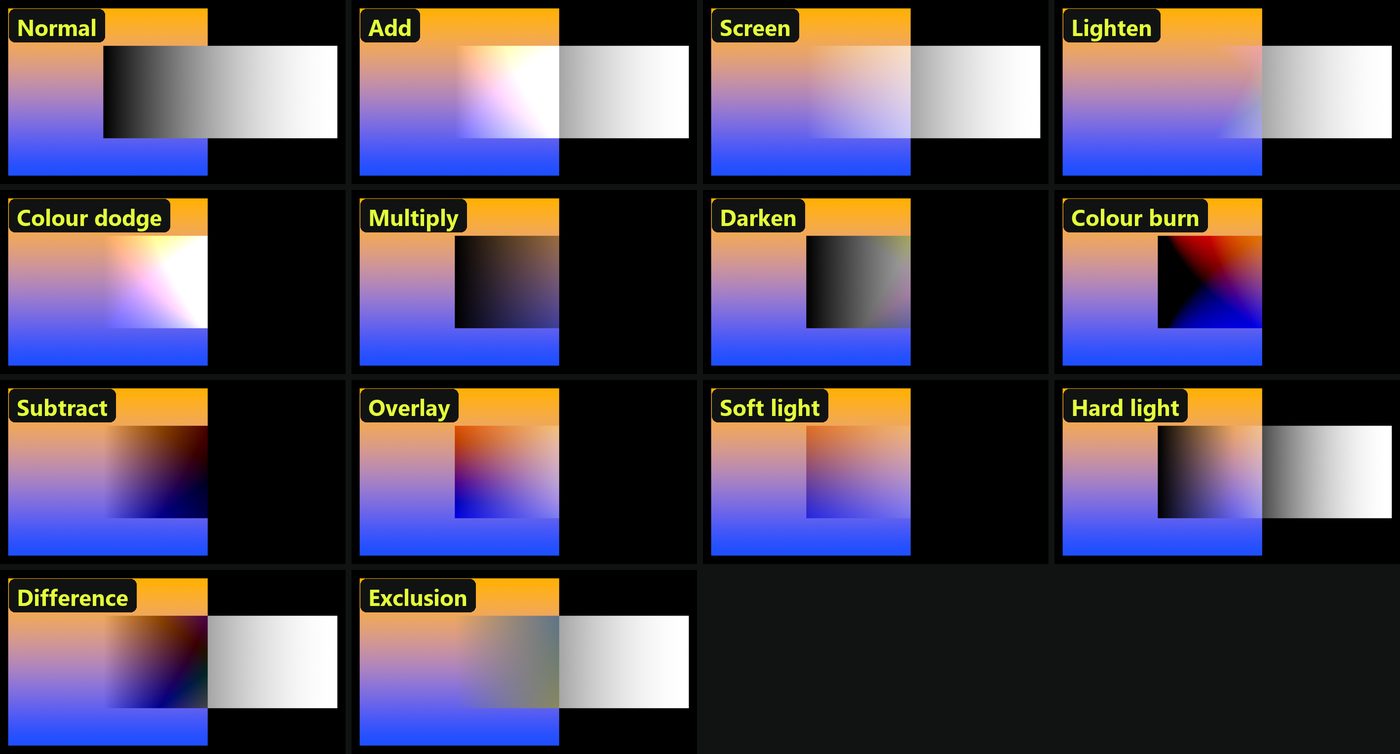
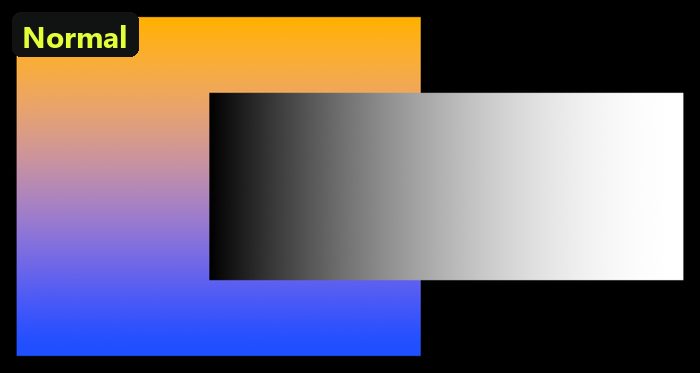
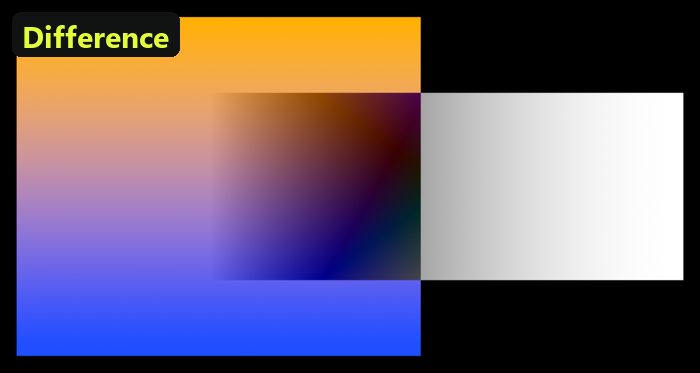
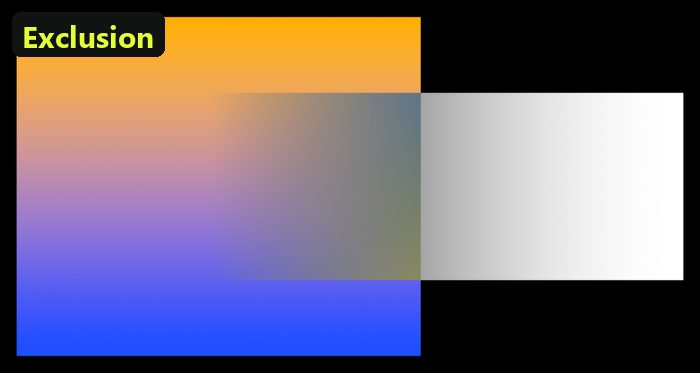
The same two surfaces in every mode, straight from prism's renderer: a blue-to-orange gradient below, and a black-to-white gradient on top. The top one overlaps the left one on its dark end; on its right it hangs over the black background, where you see how each mode treats black.
3Each mode
Normal
Modes that lighten
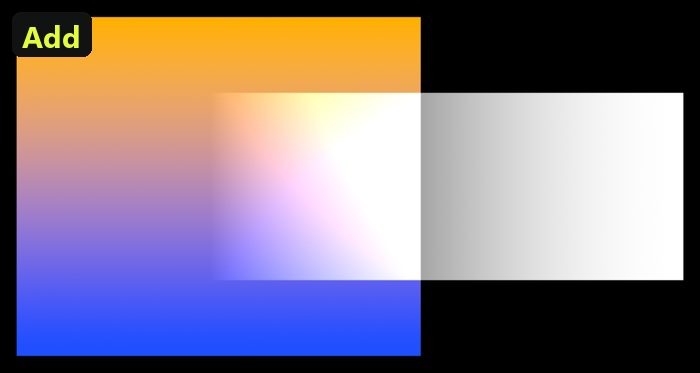
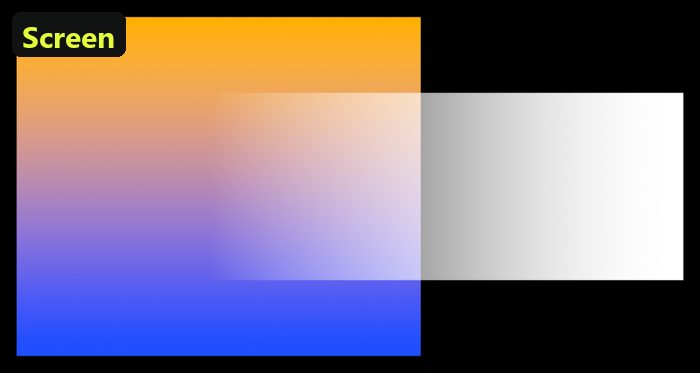
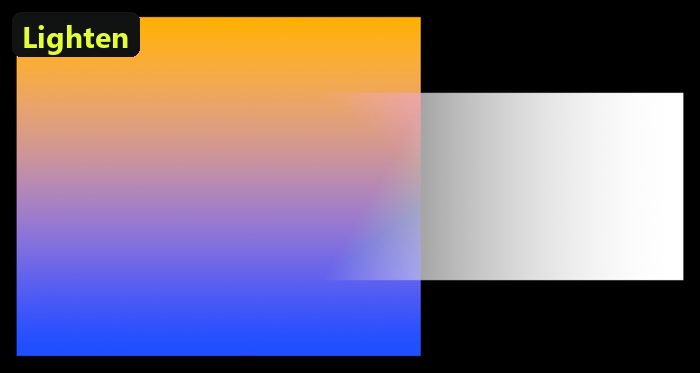
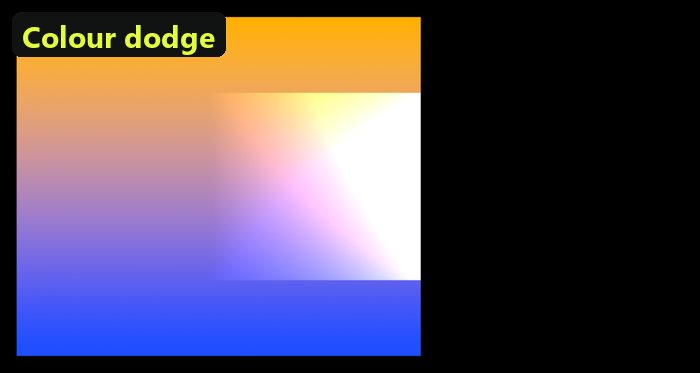
Modes that darken
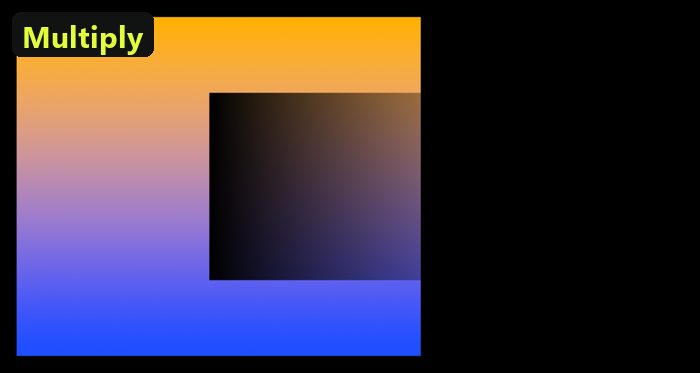
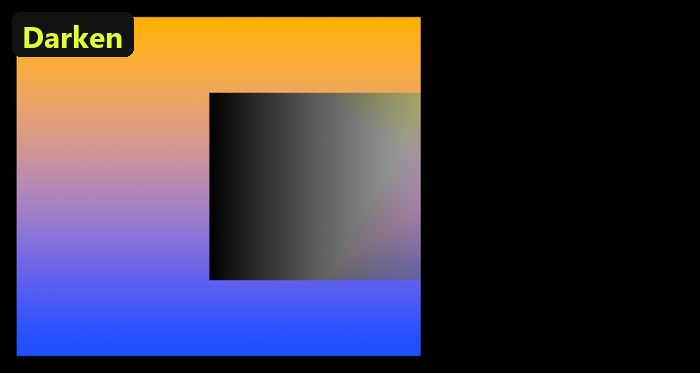
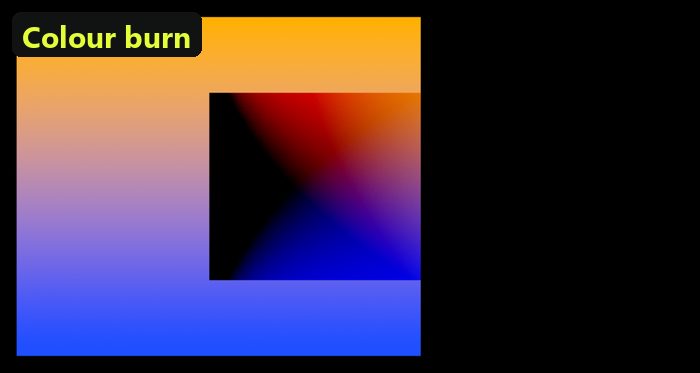
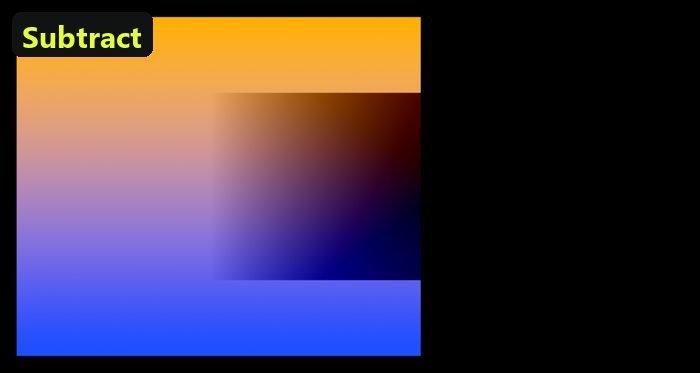
Modes that add contrast
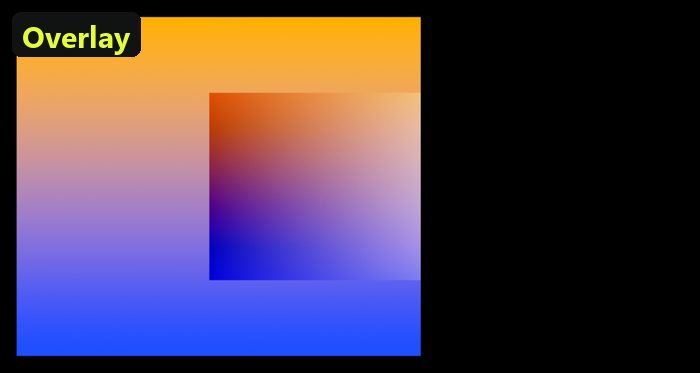
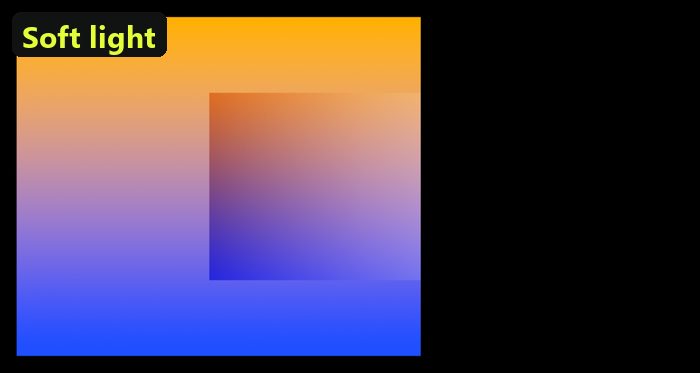
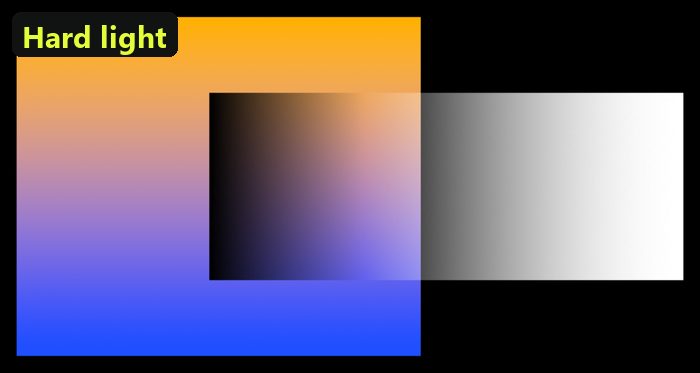
Differences
4Opacity
Opacity mixes the surface's result with what is below. With Normal it fades the surface; with another mode it weakens the effect: Multiply at 50 % darkens half as much.
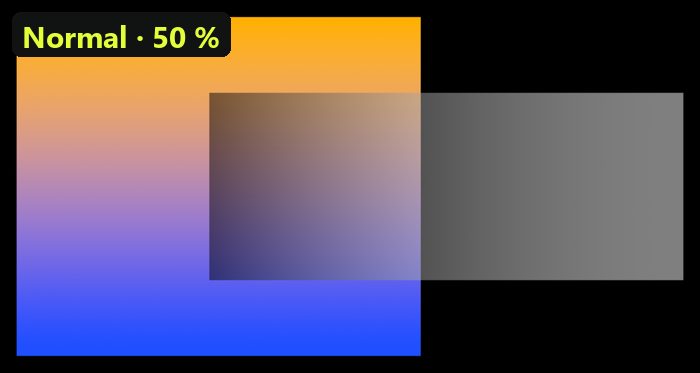
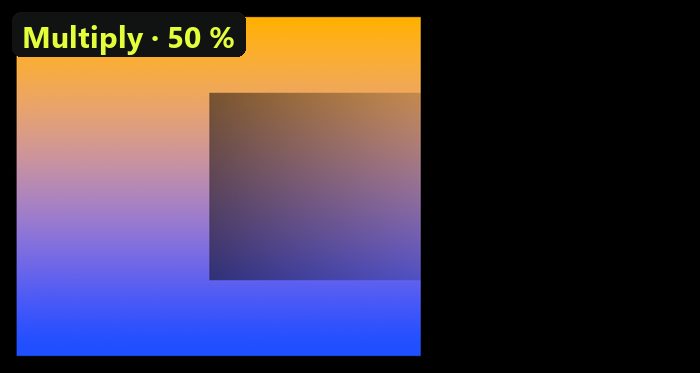
Right-click ▸ Opacity offers 100, 75, 50, 25 and 0 %.
5Groups
A group has its own Opacity and Blend with what is below (the group's settings, or right-click its row ▸ Blend mode / Opacity). Its members are drawn together first; then the group's picture is blended with what is below it. So a box of three faces on Multiply darkens the wall behind it once, not three times. See A group's settings.
6Surface blend and Layer mix
There are two kinds of mixing, and they are easy to confuse.
| Setting | Mixes with | Where |
|---|---|---|
| Blend with surfaces below | the other surfaces under this one | The surface's inspector, right under its look |
| Layer mix Advanced | the layers below it on the same surface | Under the layer stack, for the selected layer (Layers) |
7Hints and tips
- Blends need something below. Put the blended surface higher in the list, overlapping another surface.
- Glows on top of looks: a surface with Edge Glow or Sparkle on Add or Screen lets its black background vanish.
- Tint a whole wall: a Solid colour on Multiply over it, at an opacity that suits.
- Judge on the real object. Modes look different on a lit wall than on a screen; keep the projector window open while you choose.
- Copy a blend with the rest of the style: Ctrl + Alt + C copies a surface's layers, blend and opacity; Ctrl + Alt + V pastes them onto the selection.
- A few blends are free; dozens of surfaces on the rarer modes cost a little more drawing time on a slow computer.
8When something looks wrong
| You see | Why | Fix |
|---|---|---|
| The blend does nothing | Nothing is below it: it is the lowest surface there, or doesn't overlap another. | Move it above the surface it should mix with. |
| Multiply turned the surface black | Below it is only the black background: no light to darken. | Put a surface under it. On a 3D object, turn on Show the hidden sides. |
| Multiply on a layer turned it black | That is the layer's mix inside the surface. | Set the layer back to Normal and use Blend with surfaces below. |
| Some selected surfaces didn't change | They are locked (or in a locked group), or they are masks. | Unlock them and set the blend again. |
| The effect is weaker than expected | The surface's opacity is below 100 %, or its group's is. | Check Opacity on the surface and the group. |
9Mouse and keyboard
| Action | How |
|---|---|
| Blend mode | Inspector picker · right-click ▸ Blend mode |
| Opacity | Inspector slider · right-click ▸ Opacity |
| Copy · paste style | Ctrl + Alt + C · Ctrl + Alt + V |
| Undo a change | Ctrl + Z |