Shapes
Every surface you project onto is a shape: a quad, a triangle, a circle, a polygon or a line. Add one and it appears at once, ready to drag onto the real object. Then pull its corners onto the object's corners, and soften its edges if you like.
Advanced lines, Erode, curves
1Pick the right kind
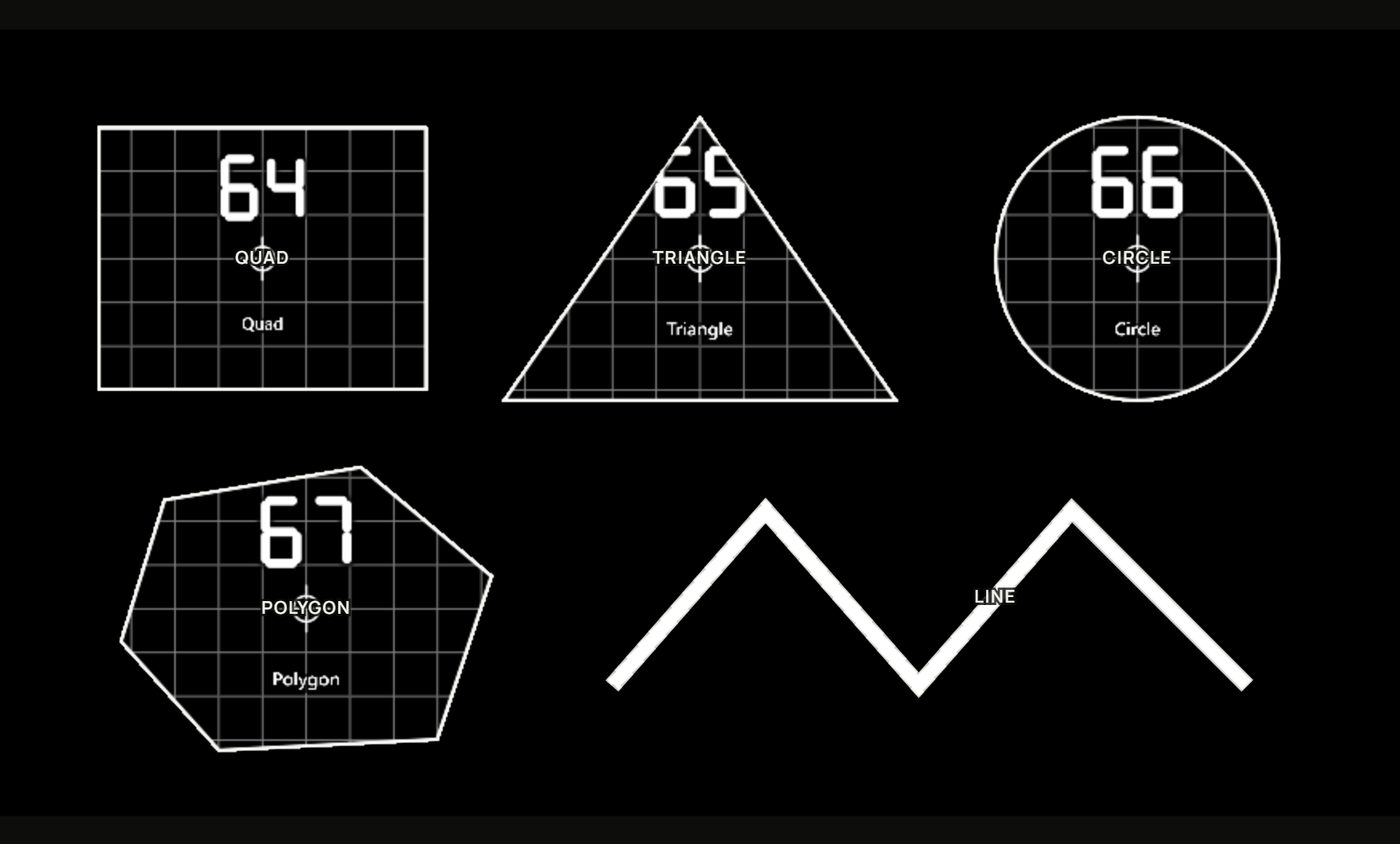
| Kind | Good for | Points |
|---|---|---|
| Quad Q | Anything with four corners: walls, doors, screens, posters, the faces of a box. Its picture stays in perspective between the corners, so a grid on a tilted door still looks like a grid on the door. | 4 corners |
| Triangle T | Gables, pennants, the sides of a pyramid. | 3 corners |
| Circle O | Round things (clocks, drums, portholes), ovals, rings and arcs. | 4 corners of its frame |
| Polygon P | Any other flat outline: an L-shaped wall, a hexagon, the side of a staircase. Its picture is laid flat across its box. | 3 to 32 |
| Line L Advanced | Strips of light: outlines, neon tubes, the edge of a shelf. | 2 to 64, with a width |
2Add a shape
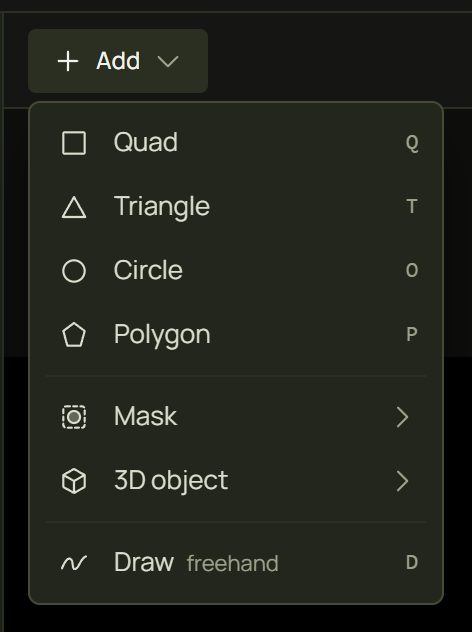
- In Design, press Add in the canvas tool bar (or + at the top of the Surfaces list) and choose a kind. Quicker: press its key, Q, T, O, P or L.
- The shape appears in the middle of the projector's picture, already selected, with the Test Grid on it so you can see it on the real object. If a shape is already there, the new one lands a little down and to the right.
- Drag it onto the real object, then pull its corners onto the object's corners (next section).
- Give it a look in the inspector on the right. See Choosing looks.
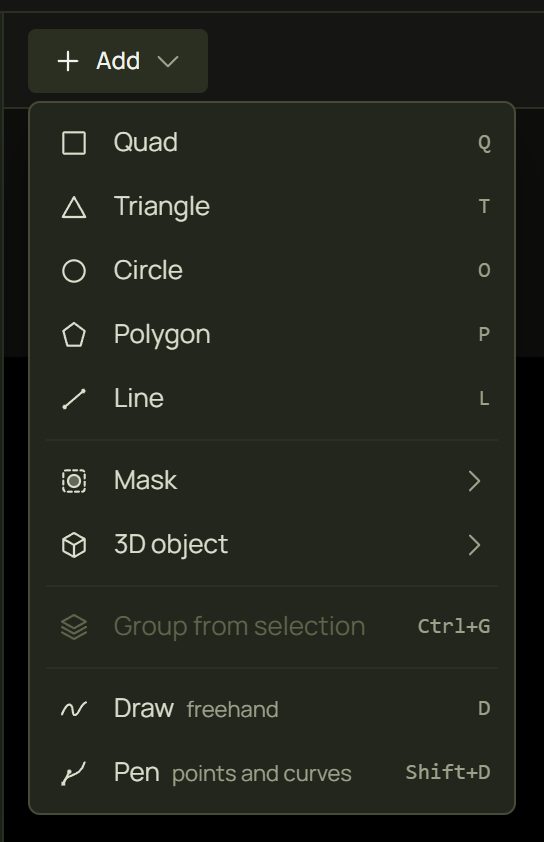
- Right-click ▸ Add shape puts the new shape where you right-clicked.
- A new shape joins the group of the selected surface and sits right above it in the list.
- No test grid? With nothing selected, the inspector's Start with the test grid switch decides whether new shapes start with the Test Grid or dark. It is a setting of this computer, not of the project.
3Corners and points
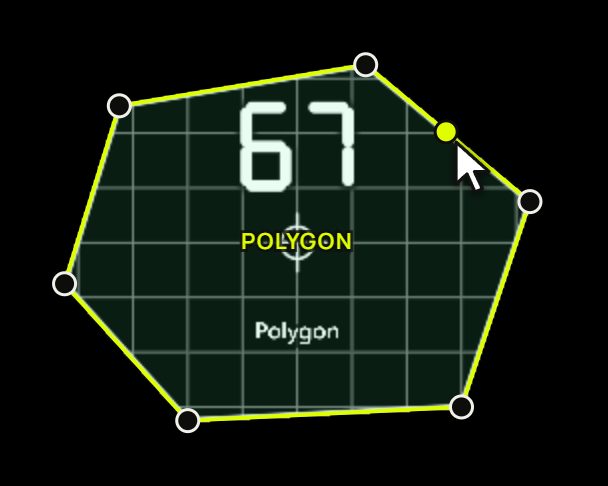
A selected shape shows a round handle on each corner or point. Drag a handle to reshape; drag inside the shape to move it.
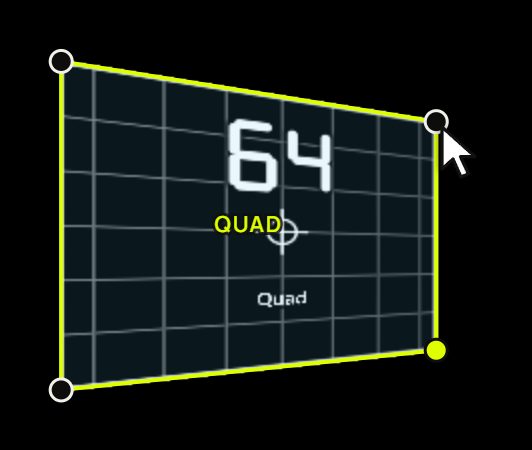
| To… | Do this |
|---|---|
| Move a corner or point | Drag its handle. Shift keeps the move straight. |
| Nudge it | Press its handle, then the arrow keys: 1 px, or 10 px with Shift. |
| Add a point | Polygons and lines: double-click an edge, or right-click the edge ▸ Add point here. |
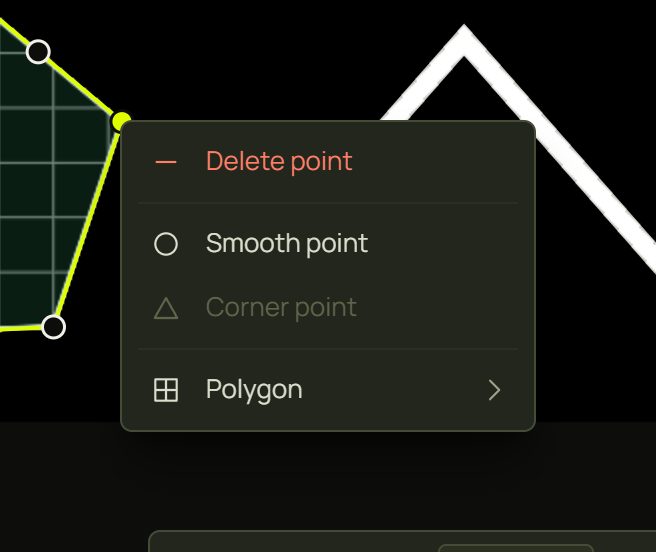
| Delete a point | Press its handle, then Delete; or right-click it ▸ Delete point. |
| Move the whole shape | Drag inside it, or use the arrow keys when no point has the focus. |
4Circles, rings and arcs
A circle sits inside a square frame with a handle on each corner. Drag a corner to stretch it into an oval; hold Shift to keep it round. The inspector calls it Circle while it is round and Ellipse when stretched.
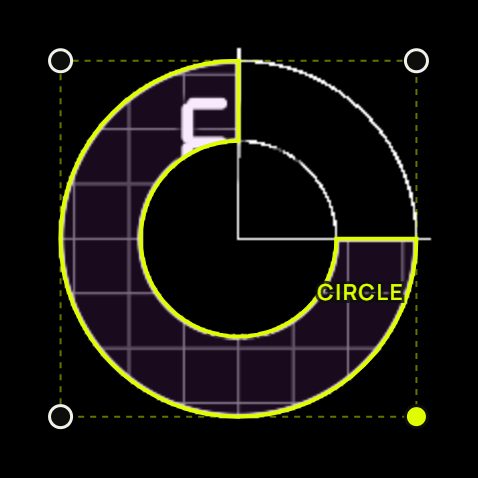
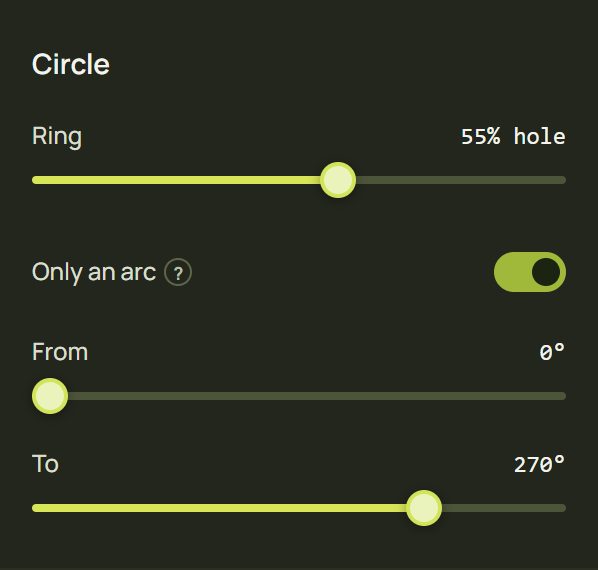
- Ring cuts a hole in the middle, from full up to a 95 % hole.
- Only an arc keeps a slice. From and To are angles that go clockwise from the right-hand side (0° points right, 90° down).
5Lines Advanced
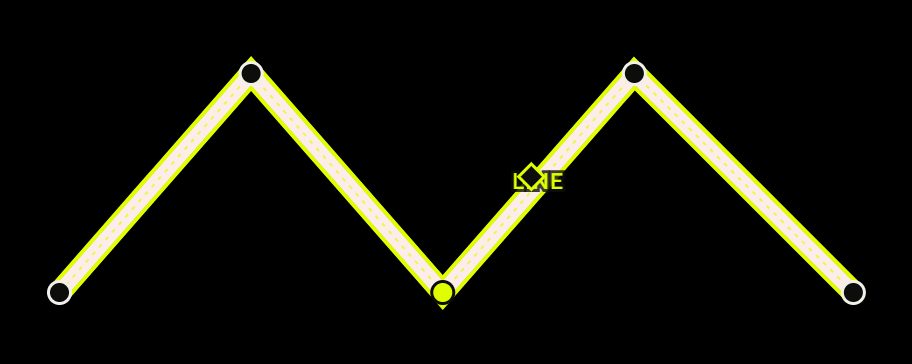
A line is a stroke of light that runs through its points. Add points by double-clicking it; drag the small diamond beside its middle to make it thicker or thinner.
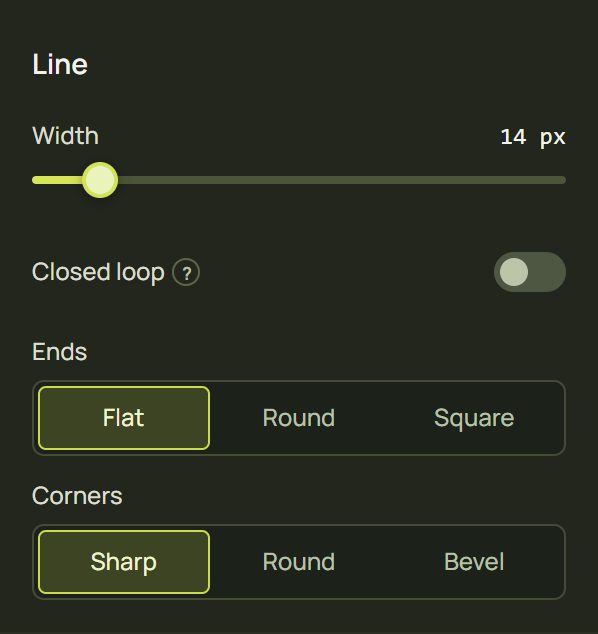
- Closed loop joins the last point back to the first.
- Ends: Flat, Round or Square. Corners: Sharp, Round or Bevel.
- With the diamond focused, the arrow keys change the width by 1 px (10 with Shift).
6Soft edges: Feather and Erode
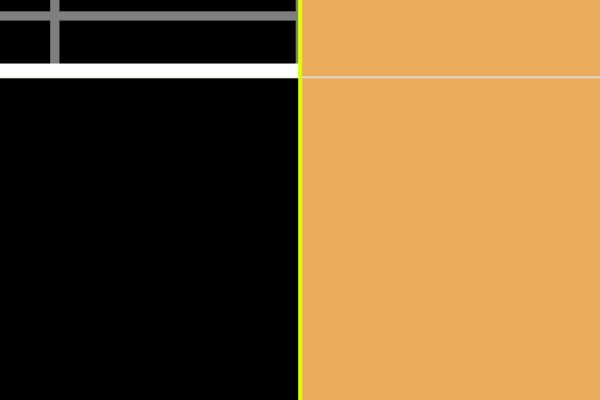
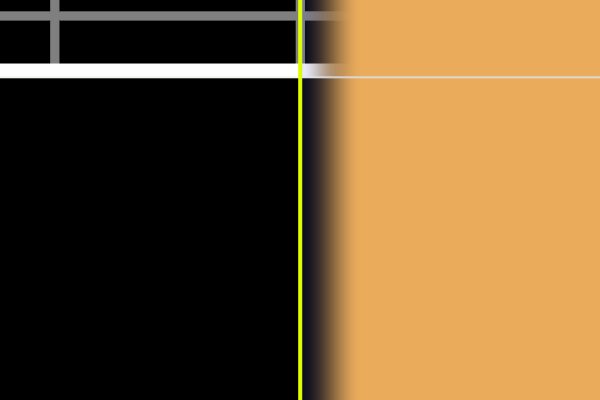
Real edges are rarely perfect. Softening a surface's edge hides a pixel or two of misalignment and makes the light blend into the room.
- Select the surface.
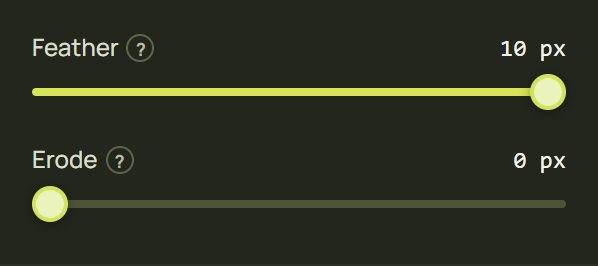
- In the inspector, drag Feather. The edge fades out over that many projector pixels, inwards (up to 10).
- Advanced Drag Erode to shrink the surface inwards (up to 5 px), when light spills past the object's edge.
7More shape settings
Lower down, the inspector has the shape's own section, headed with its kind (Quad, Circle…).
- Make it a mask turns the shape into a mask that cuts what is below it. See Masks.
- Curves Advanced: Smooth all corners and Straighten all edges. See Draw and Pen.
- Mesh warp Advanced, for quads and circles: bend the picture over a curved object. See Mesh warping.
In Simple mode, Curves, Mesh warp and a line's settings are behind the More… at the bottom of the inspector. When a surface uses something Simple hides, such as a mesh warp, a small Advanced chip under its name says so; click it to show that section.
8Hints and tips
- Use a quad for anything with four corners, even if it looks like a trapezoid from the projector. Its picture stays in perspective; a polygon's doesn't.
- Zoom in for corners. Select the shape, press Shift + 2, and place corners with the projector window open. Finish with the arrow keys.
- Shapes can share an edge. Two surfaces that meet along an edge leave no dark gap between them, so a wall can be several shapes.
- Copy a finished shape with Ctrl + D: the copy lands slightly offset, right above the original.
- Name as you go (F2 in the list): “Door” is easier to find than “Quad 7”.
- A few pixels of feather hide a wobbly real edge better than endless corner nudging.
9When something looks wrong
| You see | Why | Fix |
|---|---|---|
| “A quad keeps its four corners.” | Quads, triangles and circles have a fixed number of corners. | To delete the shape: Esc, then Delete. For more points, use a polygon. |
| Double-clicking an edge adds nothing | Only polygons and lines take extra points, up to 32 and 64. | Use a polygon, or remove a point first. |
| The picture looks warped on a four-sided polygon | A polygon lays its picture flat across its box. | Use a quad: its picture follows the corners in perspective. |
| The new shape isn't where I'm looking | New shapes go to the middle of the projector's picture, even when you have zoomed in elsewhere. | It's selected: press Shift + 2 to zoom to it, or right-click ▸ Add shape where you want it. |
| The new shape is dark | Start with the test grid is off on this computer. | Pick a look for it, or turn the switch back on (nothing selected). |
| Light spills past the object's edge | The shape is a little too big, or the projector's pixels are soft. | Pull the corner in with the arrow keys, or set Erode to 1–3 px. |
| No Line or Pen in the Add menu | Simple mode keeps the menu short. | Press L (the key still works), or switch to Advanced in the top bar. |
10Mouse and keyboard
| Action | How |
|---|---|
| Add a shape | Q quad · T triangle · O circle · P polygon · L line |
| Reshape | Drag a handle · Shift keeps it straight (a circle round) |
| Add · delete a point | Double-click an edge · press the point, then Delete |
| Nudge | Arrows 1 px · Shift + arrows 10 px |
| Duplicate | Ctrl + D |
| Delete the shape | Delete (with no point focused; Esc first if one is) |
| Menus | Right-click a point, an edge or the shape |