Mesh warping Advanced
A mesh warp lays a grid of points over a quad. Drag the points and the picture bends with them, to fit a curved column, a bulging speaker cloth or a wall that isn't quite flat. Turning it on moves nothing: the grid starts exactly on the quad's perspective.
1Turn it on
- Select a quad or a circle.
- Press M, or turn on Warp with a grid in the inspector's Mesh warp section. (Or right-click ▸ Mesh warp ▸ Turn the mesh on.)
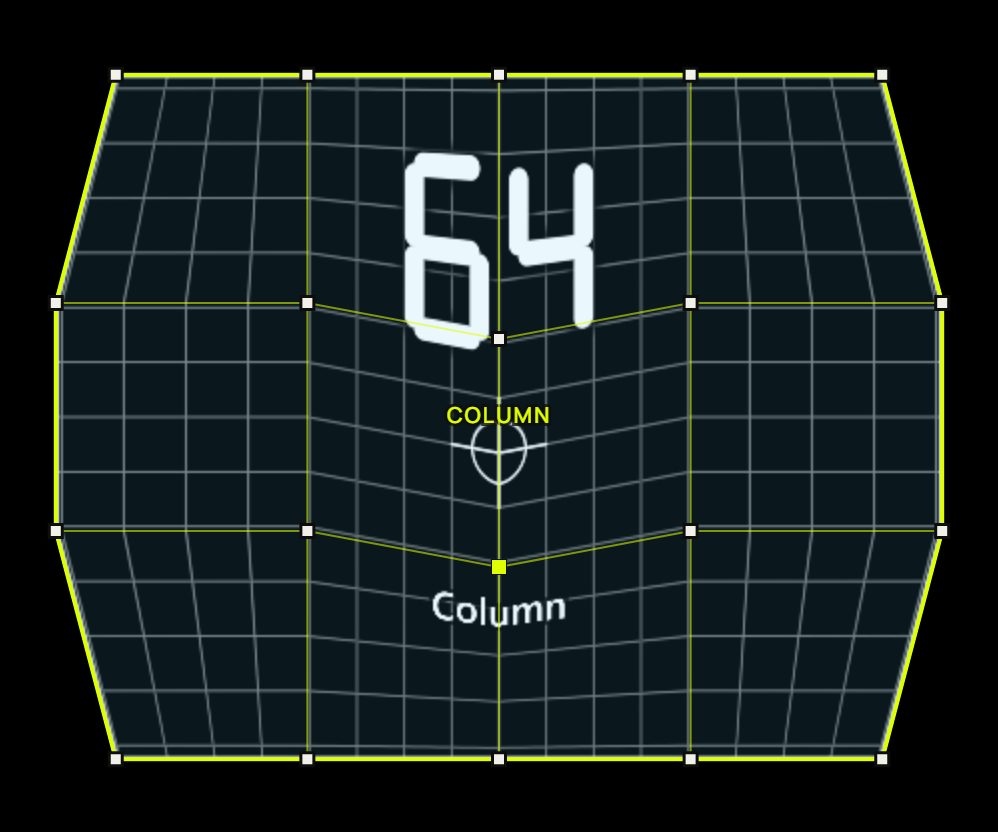
- A grid of 4 × 4 points appears on the quad (on a circle, over the square round it). Nothing has moved yet: drag the points to bend the picture.
- The corners are still the quad's. Drag a corner and the whole mesh follows the new perspective; the bends stay.
- Turn it off (M again, or the switch) and the shape goes back to its four corners. The bends are gone, but Ctrl + Z brings them back.
- While points are selected, the projector window shows the grid and its points too, so you can match them to the real object.
2Move points
| To… | Do this |
|---|---|
| Move a point | Drag it. Shift keeps the move straight. |
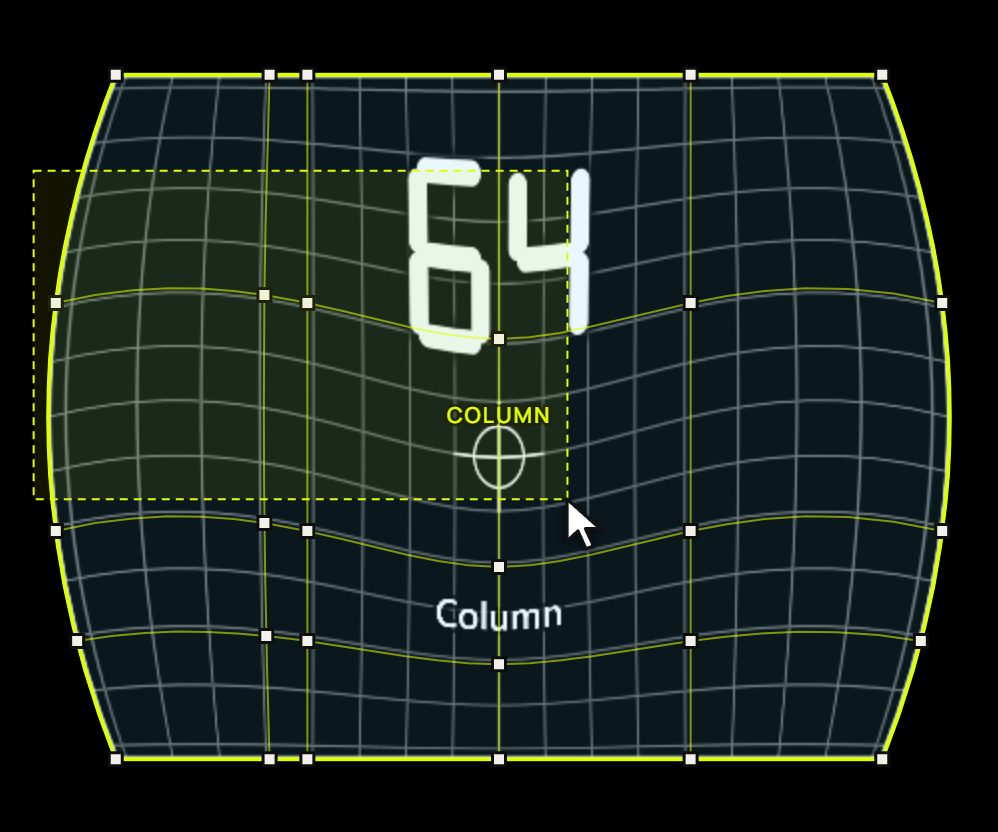
| Select several | Shift- or Ctrl-click points to add them (or take them out), or drag a box round them, starting outside the shape. |
| Move the selected points | Drag one of them, or nudge with the arrow keys: 1 px, or 10 px with Shift. |
| Drop the selection | Esc. |
3Rows and columns
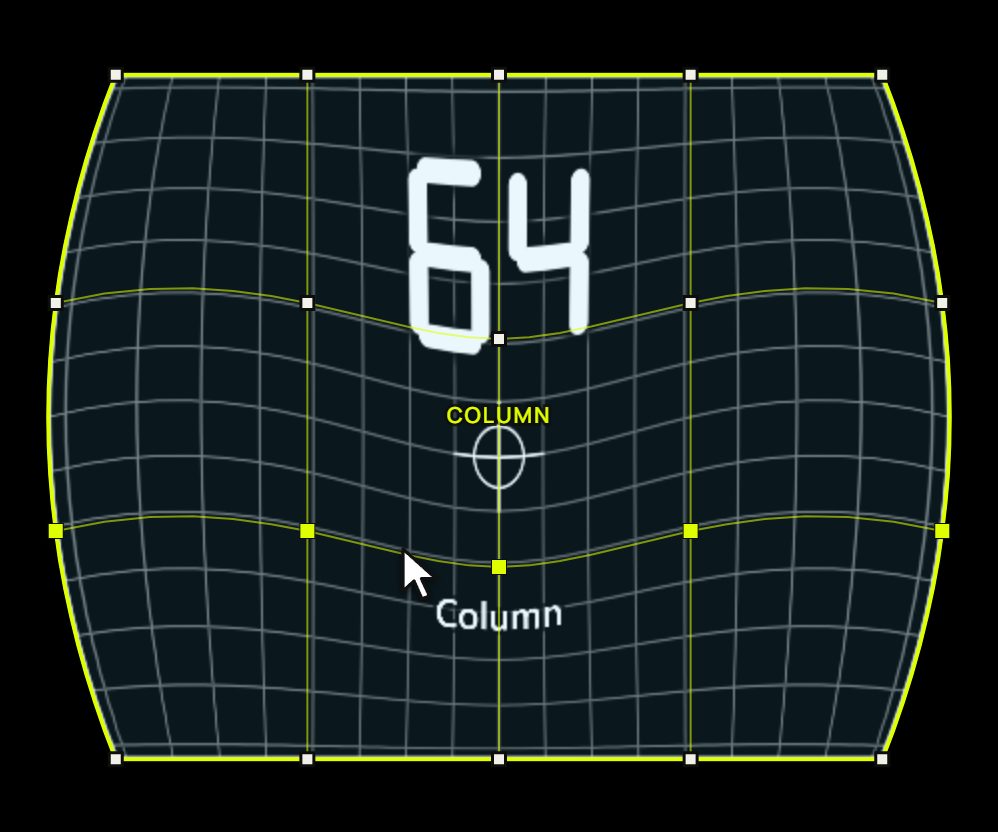
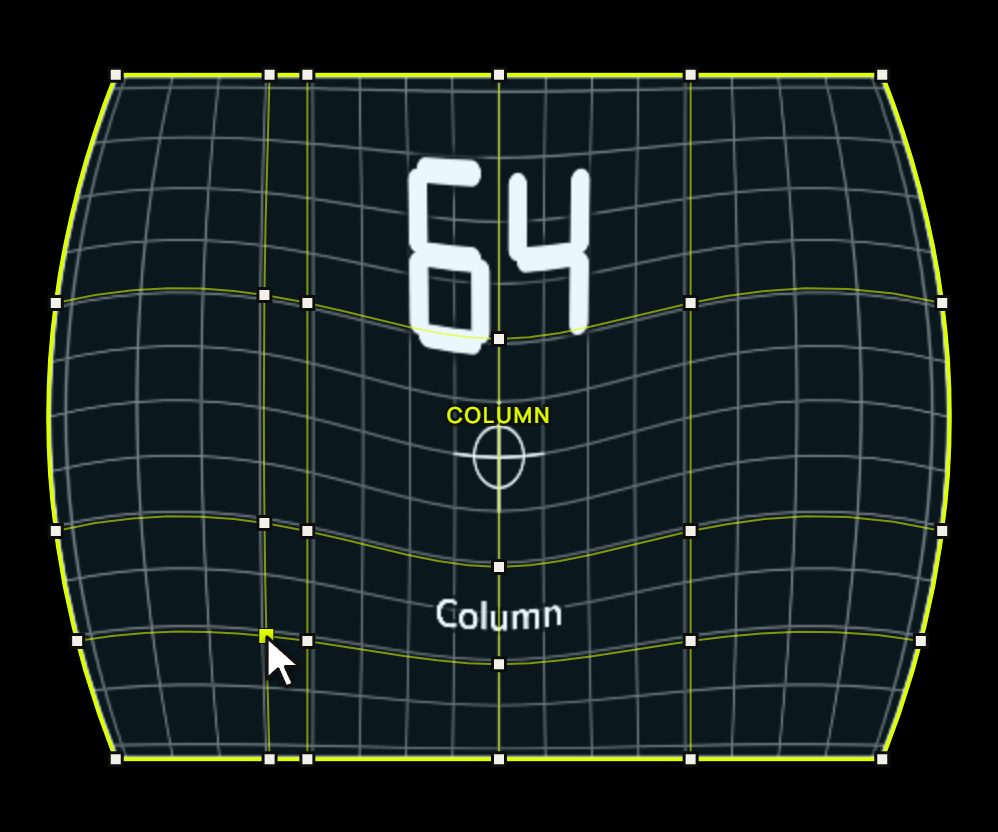
- Remove a row and a column: select one inner point and press Delete. With a whole inner row or column selected, Delete removes just that line. The outer edge of the mesh stays.
- Right-click a point for Select row, Select column, Remove row and Remove column (with their numbers), and Reset point.
- Right-click a line for Select row or Select column, Add a column here or Add a row here, and Remove row or Remove column.
4Grid size and Subdivide
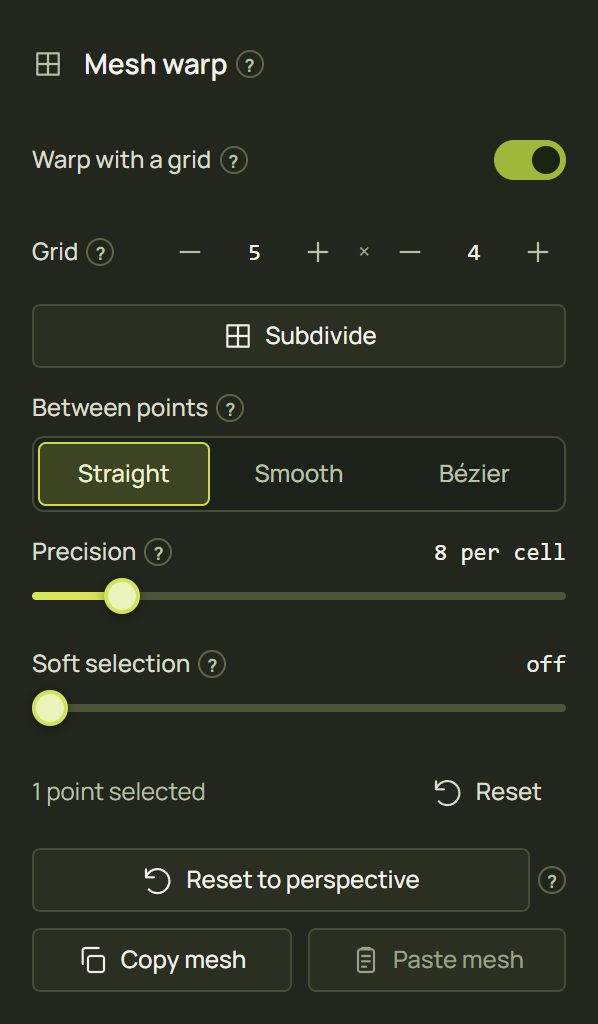
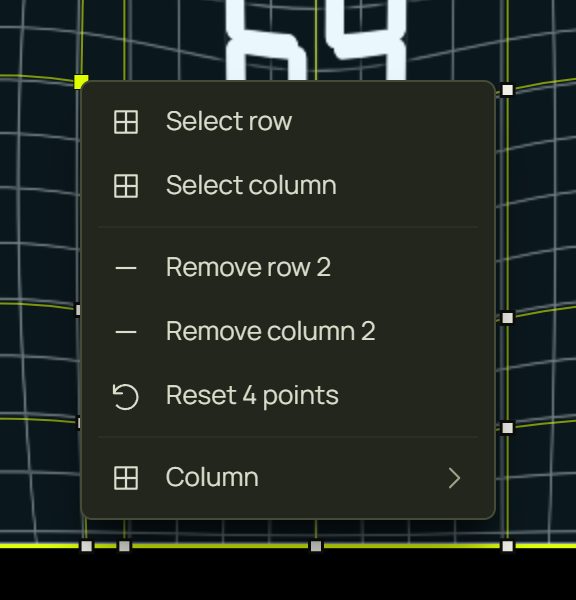
- Grid: columns × rows, each from 2 to 32, with − and +. A new size spreads the points evenly over the shape as it is bent now.
- Subdivide adds a line halfway between every two lines: more points, the same shape.
5Straight, Smooth and Bézier
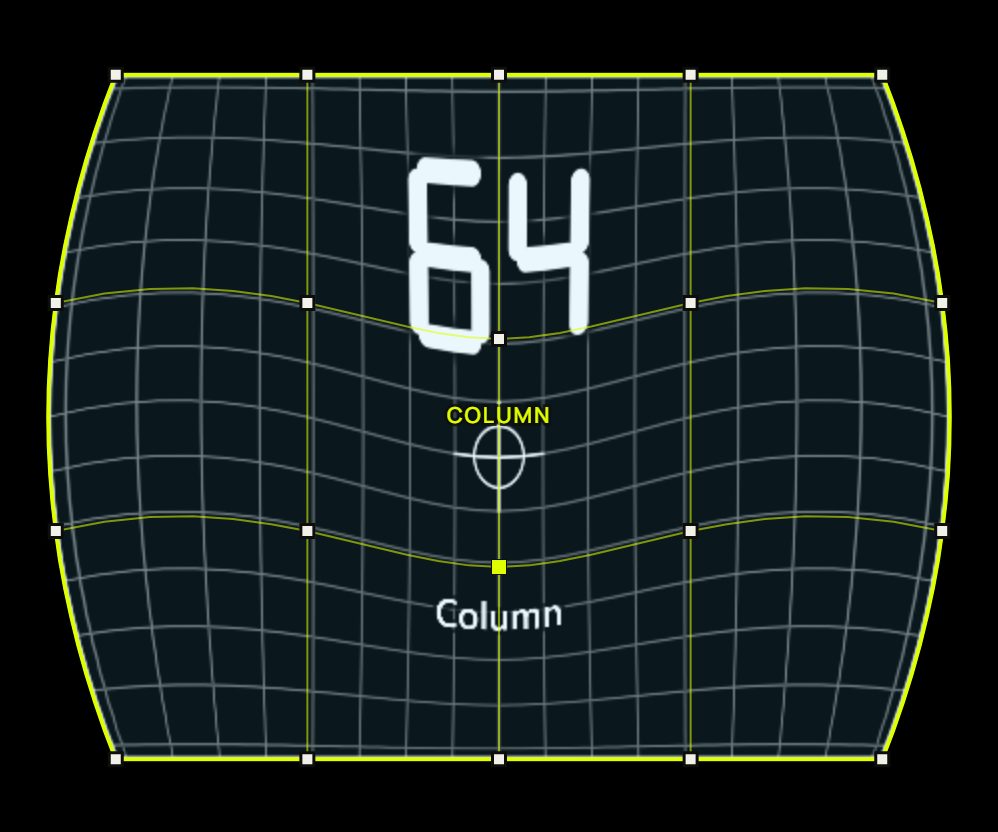
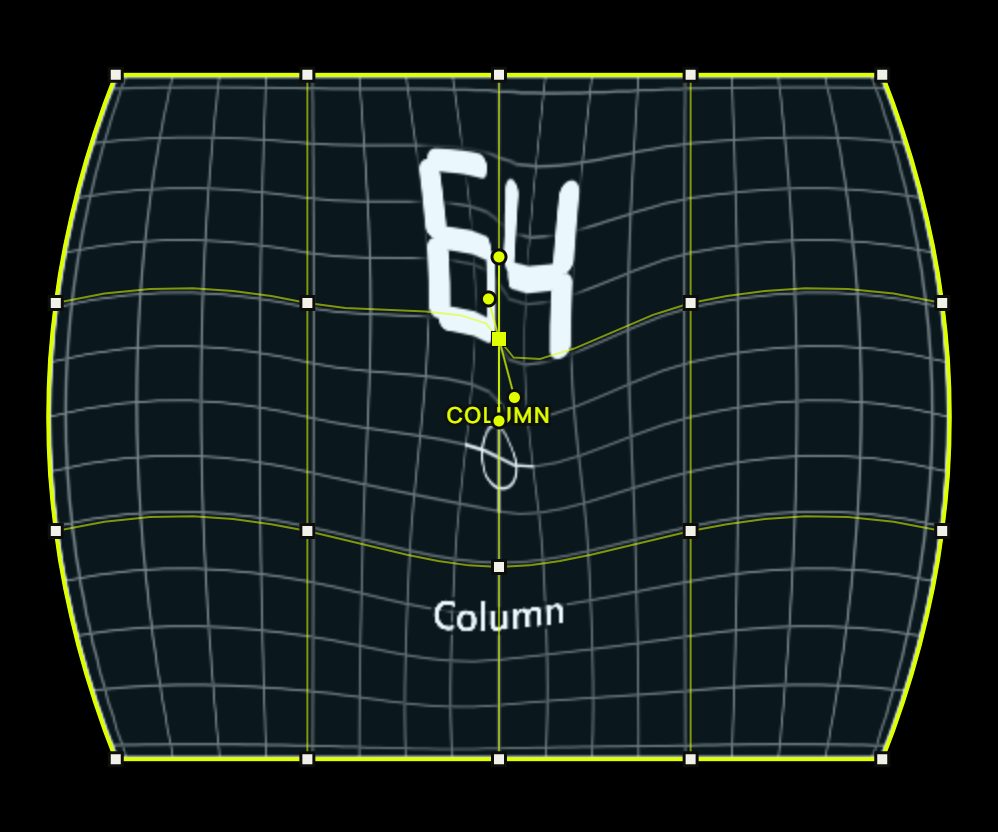
Between points sets how the picture runs from one point to the next.
6Soft selection and precision
- Soft selection (off, or up to 400 px): dragging or nudging points also moves the points round them, less and less out to that distance. Good for gentle bulges. It is remembered in this browser, not in the project.
- Precision (4 to 32 per cell, 8 to start): how finely each cell is drawn. More makes curves smoother and costs a little more to draw; the largest grids are capped at 16.
7Reset, copy and paste
- Reset to perspective puts every point back where the quad's corners put it. The grid size and the mode stay.
- With points selected, the section shows how many, with a Reset for just those.
- Copy mesh and Paste mesh carry a warp to other quads; each keeps its own corners. Right-click ▸ Mesh warp ▸ Paste mesh pastes onto several selected surfaces at once.
8A mesh on a 3D object
A real box is rarely perfect. Select any face of a 3D object and press M (or Warp with a grid): a grid covers every face at once. A point on an edge belongs to both faces, so the faces stay joined however you bend it.
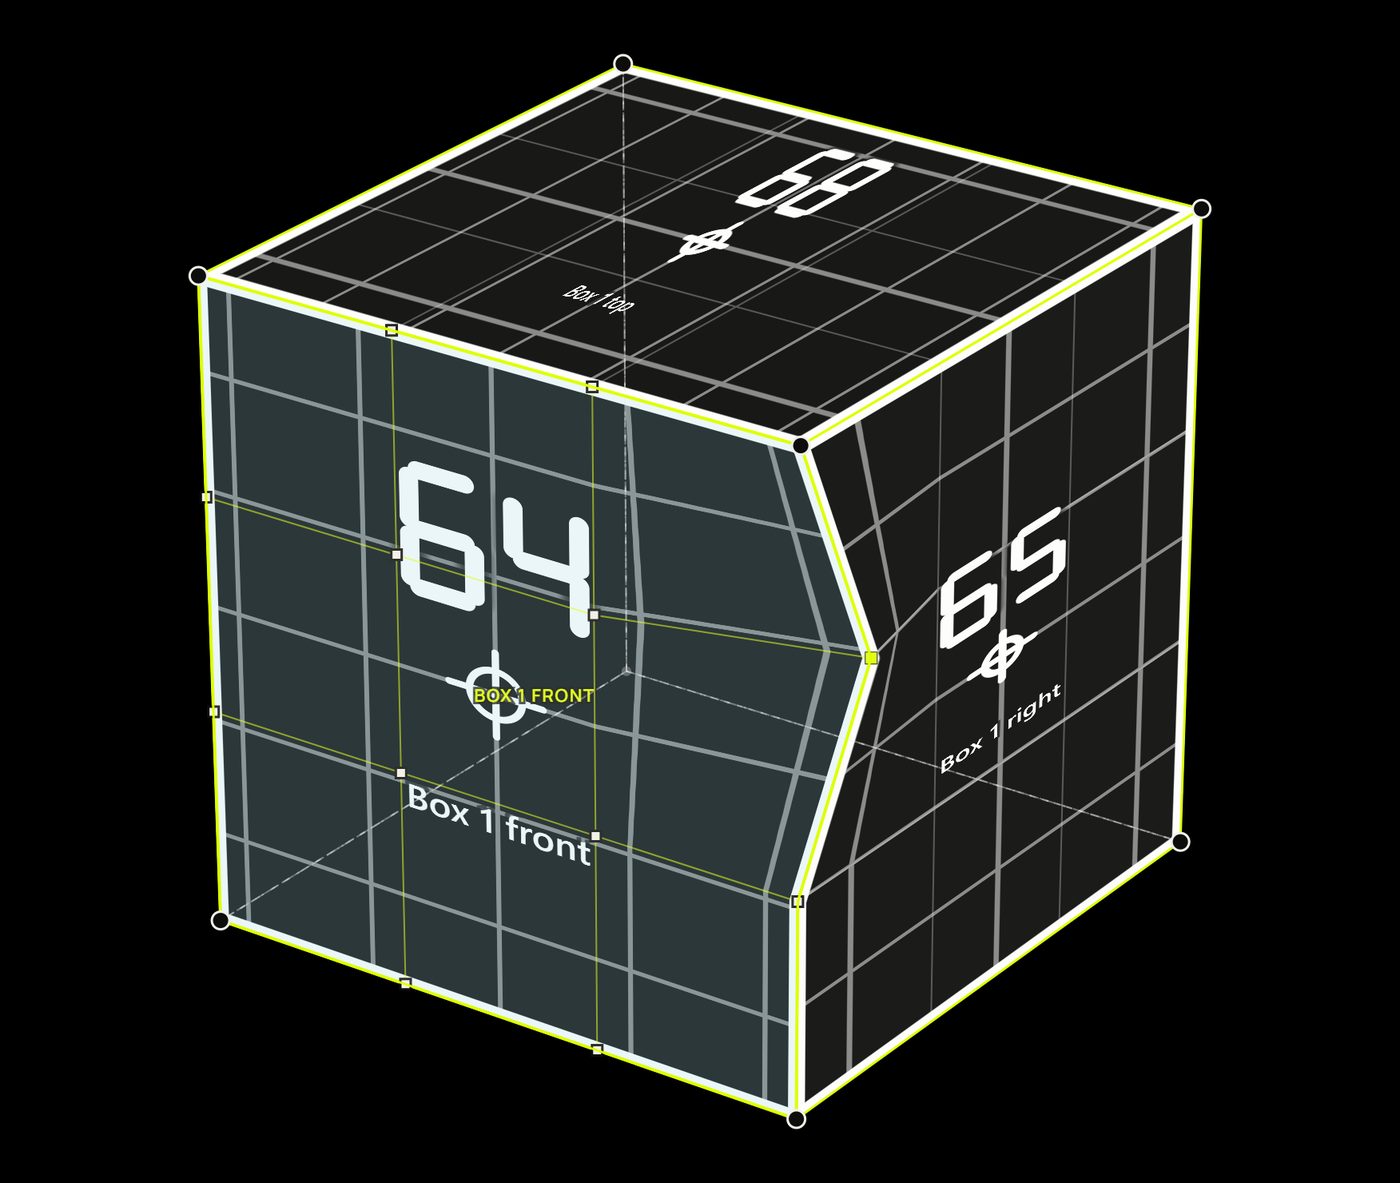
- Faces bend Straight or Smooth (no Bézier).
- Reset this face takes one face (and its edges) back onto the object.
- The warp rides on the object's fit: pins, fine-tuning and a new size keep it.
9Masks bend with the mesh
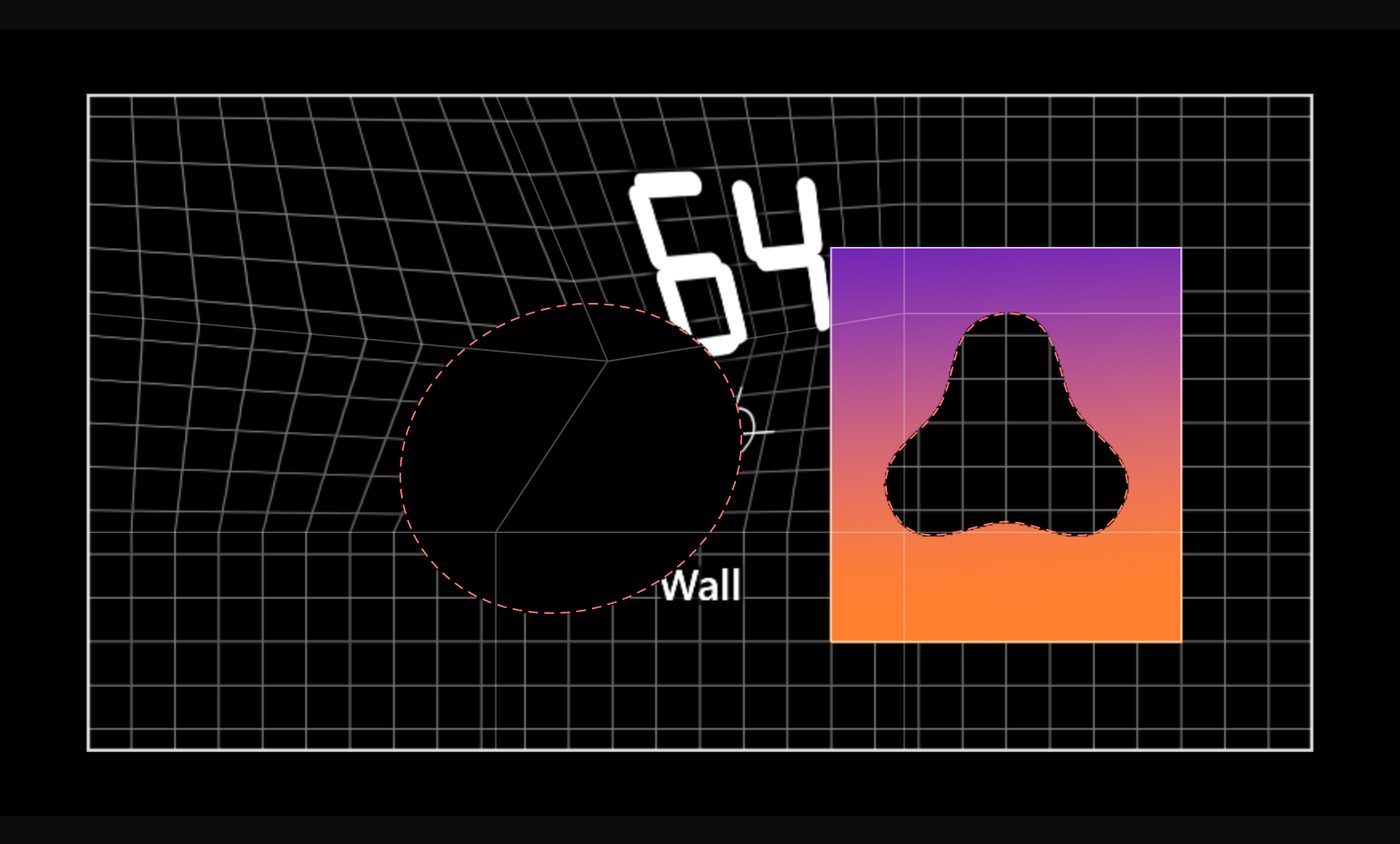
A mask that cuts a meshed surface bends with the picture, so a hole stays on the same part of the picture. Turn off the mask's Bends with the mesh to keep it fixed on the projector instead. See Masks on a mesh-warped surface.
10Hints and tips
- Start small. 4 × 4 is enough for most curves; add rows or columns (Alt-click) only where the object bends.
- Smooth for round, Straight for folded. A column or a drum wants Smooth; a folded screen wants Straight.
- Warp with the Test Grid on, and watch the projector: its lines show exactly how the picture sits on the object.
- Corners first. Place the quad's four corners on the object before you bend the grid.
- Soft selection of 100–200 px makes smooth bulges from a single drag.
- Same object, same warp: copy a finished mesh and paste it onto its twins.
11When something looks wrong
| You see | Why | Fix |
|---|---|---|
| M does nothing | The shape isn't a quad or a circle: polygons, triangles and lines can't take a mesh. | Use a quad for surfaces you want to bend. |
| “A corner is the quad’s…” | The mesh's corners are the quad's own corners. | Drag the corner itself; delete inner points instead. |
| “Select one point, or a whole inner row or column, to remove it” | Delete removes one point's row and column, or one whole inner line. | Select one point, or click a line twice for its row, then Delete. |
| Dragging one point moves others | Soft selection is on. | Set it to off. |
| No Bézier on a 3D object | An object's faces bend Straight or Smooth. | Use Smooth, and add points where you need control. |
| No Mesh warp section | Simple mode hides it. | Open the inspector's More…, or switch to Advanced. |
12Mouse and keyboard
| Action | How |
|---|---|
| Mesh on or off | M |
| Move points | Drag · arrows 1 px · Shift + arrows 10 px |
| Select points | Click · Shift/Ctrl-click · drag a box from outside the shape · Esc none |
| A whole row or column | Click a line, then click it again |
| Add a row and a column | Alt-click inside the mesh |
| Remove them | One inner point selected, Delete |
| Bézier handle alone | Alt-drag the handle |
| Menus | Right-click a point or a line |